Installing Bind9

  1. Download the latest version of source code file from BIND 9 - ISC.

  2. Extract the .tar file.

›_ Console

# tar -xvf bind9-9.18.14.tar.gz 
  1. Go to the extracted folder and run autoreconf command.

›_ Console

# autoreconf -fi 
  1. Install the dependent packages for bind9 .

›_ Console

# dnf install openssl-devel perl libicu-devel pkgconf userspace-rcu-devel libcap-devel libuv-devel 
  1. Run configure command

›_ Console

# configure CC="gcc -m64" -enable-threads –disable-doh
tmpklf0nwrk.jpg
tmpurowlr5l.jpg

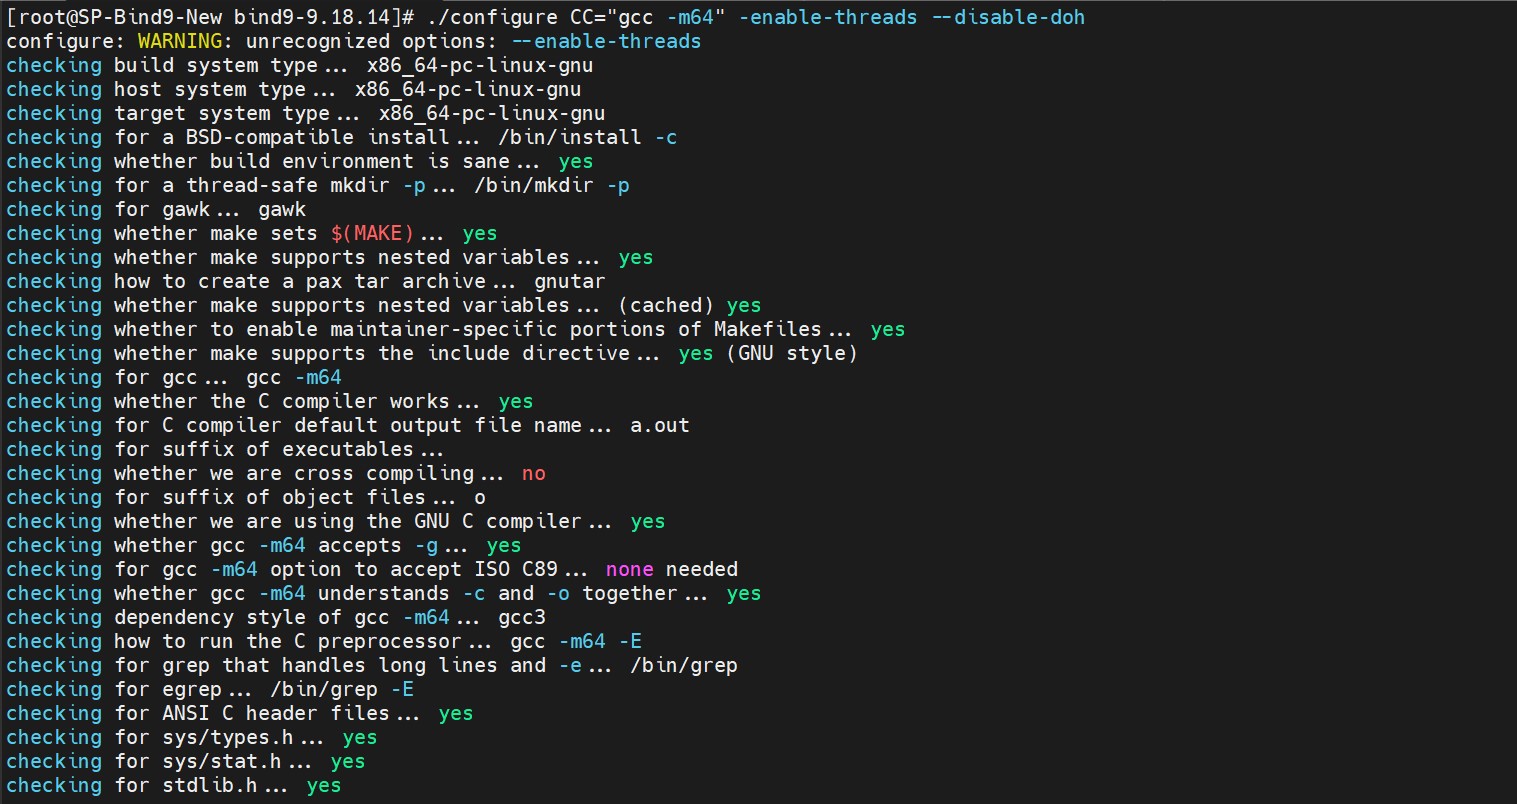
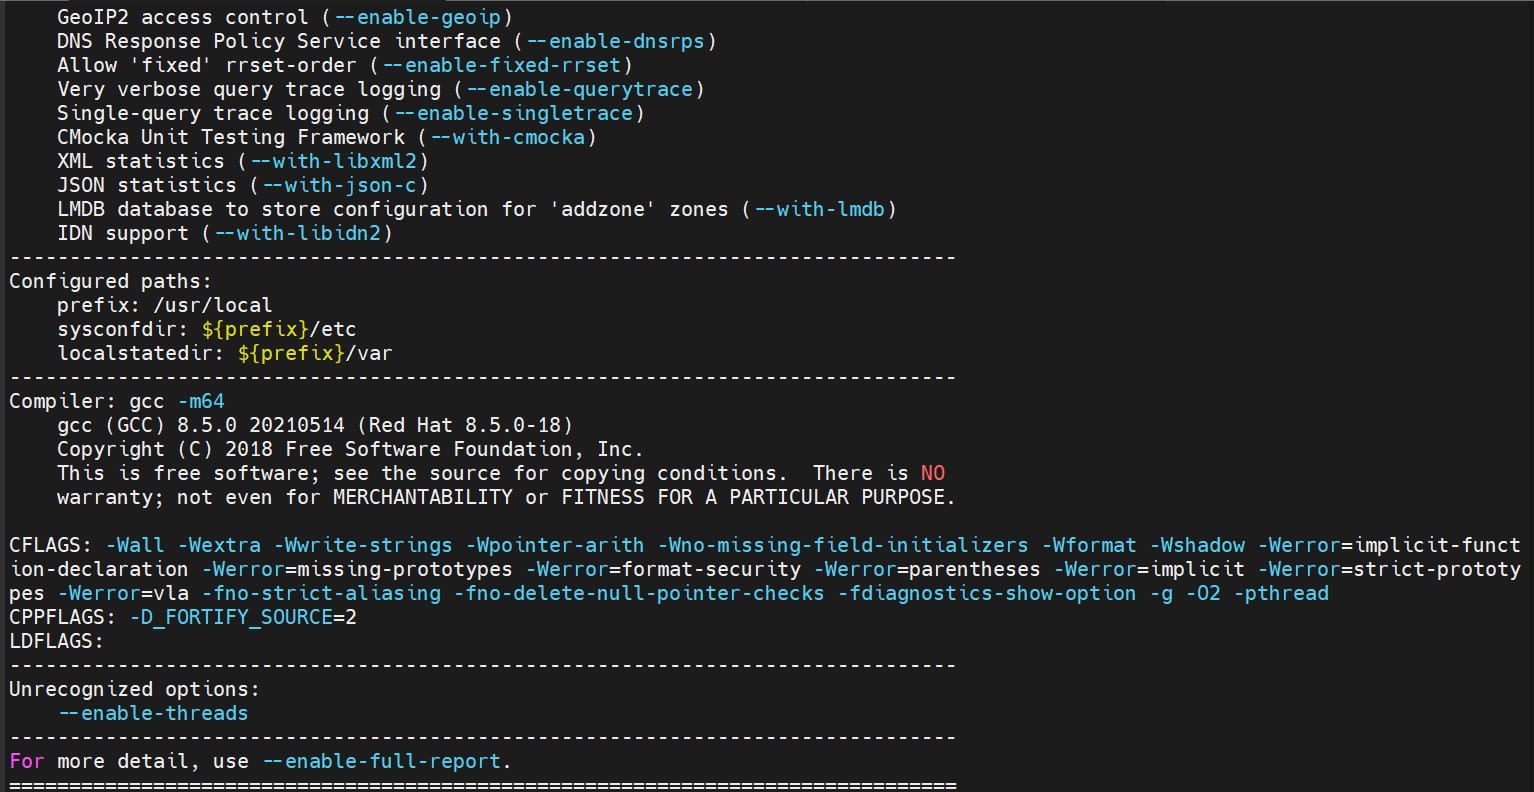
Configure command output

  1. Build and install Bind9 as described below:

›_ Console

# make
# make install 

It will install bind9 on default directory as /usr/local/.
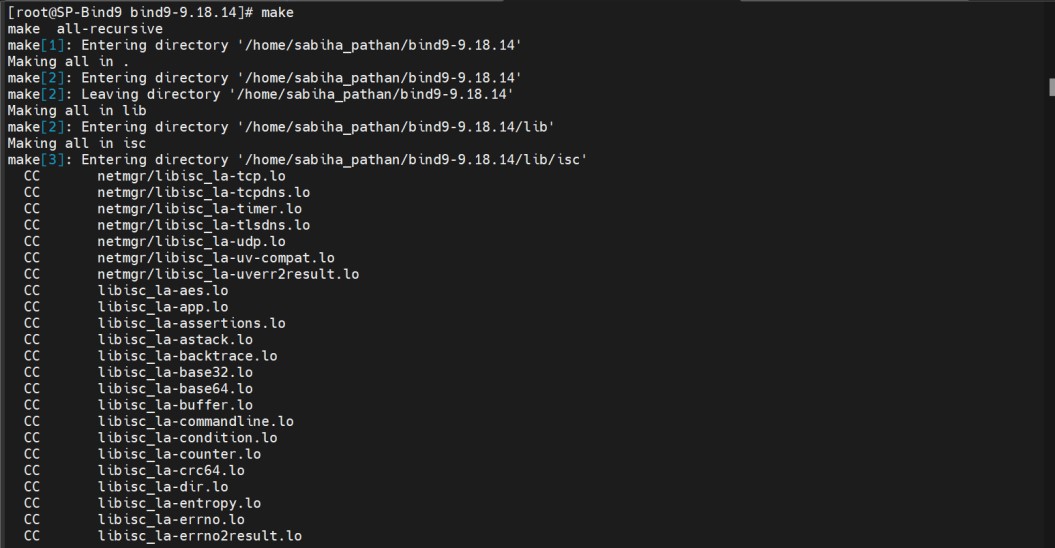
tmpbrlgj24u.jpg

make output

tmp9f3whhf7.jpg

make install output

  1. Move the file named.root.key and named.rfc1912.zones to /etc directory.

  2. Check the version of Bind9 as described below.

tmprkubgwbv.jpg

Bind9 Version Output

  1. Create a forward and reverse zone file at /var/named directory.

For example, below are samples files example.net and exampleRev.net for forward and reverse zone respectively.

example.net

$TTL 1D
$ORIGIN example.net.

@       IN      SOA     example.net. hostmaster.example.net. (
                        0       ; serial
                        1D      ; refresh
                        1H      ; retry
                        1W      ; expire
                        3H      ; minimum
)

        IN      NS      @
        IN      A       127.0.0.1

test    IN      A       172.23.0.69
mail    IN      A       172.23.0.18
neo     IN      A       172.23.0.15
        IN      AAAA    ::1

exampleRev.net

$TTL 86400
@       IN      SOA     exampleRev.net. hostmaster.exampleRev.net. (
                        2009072852 ; Serial
                        28800      ; Refresh
                        14400      ; Retry
                        3600000    ; Expire
                        86400      ; Minimum
)

        IN      NS      RHEL04.exampleRev.net.

104     IN      PTR     RHEL04.exampleRev.net.
105     IN      PTR     RHEL05.exampleRev.net.
69      IN      PTR     fzrxqf3b03gu3cmgnrl2ry4xad.rx.internal.cloudapp.net.
  1. Make the appropriate changes in configuration file of bind9 that is /usr/local/etc/named.conf related to zone as highlighted. Below is the sample file named.conf.

named.conf

options {
    listen-on port 53 {
        127.0.0.1;
        172.23.0.69;
    };

    listen-on-v6 port 53 {
        ::1;
    };

    directory "/var/named";

    dump-file            "/var/named/data/cache_dump.db";
    statistics-file      "/var/named/data/named_stats.txt";
    memstatistics-file   "/var/named/data/named_mem_stats.txt";
    secroots-file        "/var/named/data/named.secroots";
    recursing-file       "/var/named/data/named.recursing";

    allow-query {
        localhost;
    };

    recursion no;
    dnssec-validation yes;

    managed-keys-directory "/var/named/dynamic";

    pid-file "/run/named/named.pid";
    session-keyfile "/run/named/session.key";

    include "/etc/crypto-policies/back-ends/bind.config";
};

logging {
    channel default_debug {
        file "data/named.run";
        severity dynamic;
    };
};

zone "." IN {
    type hint;
    file "named.ca";
};

zone "example.net" {
    type primary;
    file "example.net";
};

include "/etc/named.rfc1912.zones";
include "/etc/named.root.key";
  1. Start the named service for bind9 using the command below.

›_ Console

# /usr/local/sbin/named -f -c /usr/local/etc/named.conf
tmppjj1jycu.jpg

Start named Service

  1. Now from other terminal check that the named is running on port 53 using the netstat command.


tmpqjsdf2zk.jpg

Check port of named Services