
Start and configure a two-node cluster using Simulate ONTAP, VMware, System Manager, and the command line.
-
Create the first Simulate ONTAP virtual machine and name it node1 using .ova file.
-
After a few minutes from starting the virtual machine, you receive a message to log in to System Manager to complete cluster setup. This message includes an IP address. Copy this IP address and paste it into your browser address bar to open System Manager.
-
System Manager will open. You can ignore the ‘partner details were not found’ error message.
-
If you have any issues with how System Manager displays pages, then try a different web browser or Java version on your laptop.
-
Enter these details as per your requirement, leaving the other checkboxes unchecked, then click Submit:
-
Storage System Name: cluster1
-
Administrative Password: Utimaco@123
-
Cluster IP Address: 192.168.182.61 Subnet Mask: 255.255.255.0 Gateway: 192.168.182.1
-
Node IP Addresses: 192.168.182.62
-
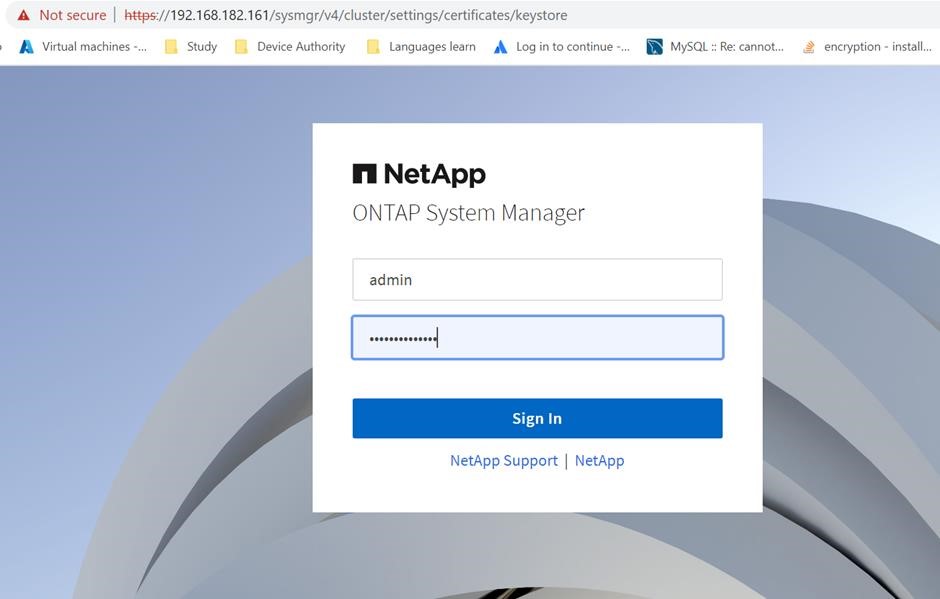
NetApp ONTAP Login window
-
Back in the VMware Workstation Player window, log in with the username admin and the password.
-
Add all existing disks to Cluster 1 Node 1 with the below command.
|
›_ Console |
|---|
|
If you get an error message it’s because the system already auto assigned the disks, you can ignore it.
-
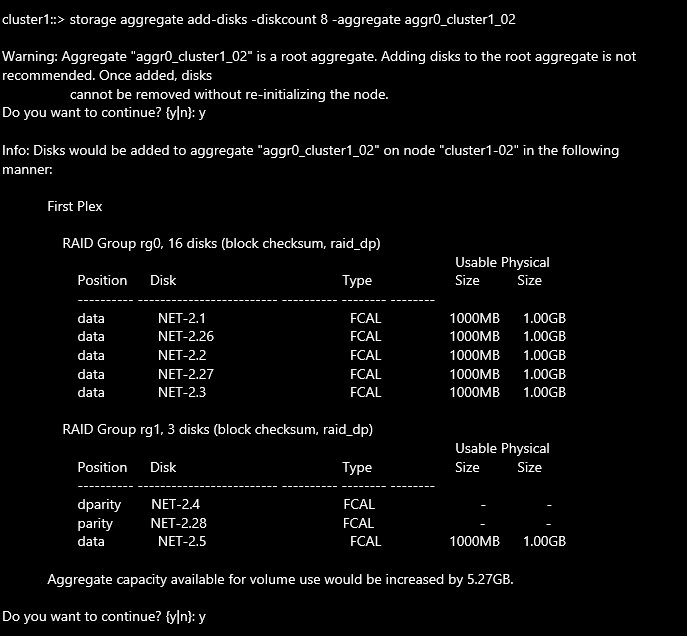
If necessary, add more disks to your root aggregate to increase its size and accommodate the additional space needed in your root volume.
|
›_ Console |
|---|
|
-
Set the root volume to a new size.
|
›_ Console |
|---|
|
-
Download a production data at rest encryption image from: https://mysupport.netapp.com.
-
Click to downloaded latest image for example “Download Latest Release [9.11.1P4]”.
-
Click I read the EULA. Click Accept and Continue.
-
Click Download ONTAP 9.11.1P4 with NetApp Volume Encryption for FAS [2.31 GB].
-
Save the file and make it accessible via a web server.
-
|
›_ Console |
|---|
|
-
Create the second Simulate ONTAP virtual machine and name it node2.
-
Power on the node2 virtual machine.
-
Change the system ID and serial number of the second node before joining the cluster as shown in the following steps.
-
Press the space bar when the Hit [Enter] to boot immediately, or any other key for command prompt. Booting in 10 seconds... message is displayed in the console of node2.
-
You should see a VLOADER> prompt.
-
Change the serial number and system ID for this node:
|
›_ Console |
|---|
|
-
Verify that the information was saved correctly:
|
›_ Console |
|---|
|
-
Enter the boot command to boot the node:
-
Type boot and press Enter to boot the node.
-
You will receive a message that System Initialization has completed successfully, and then the Node Management IP has been assigned. It may take several minutes for the messages to appear.
-
-
Log in with the username admin and a blank password. Then create a password for the admin account with the command.
|
›_ Console |
|---|
|
Enter your current password: Leave blank and hit Enter.
Enter a new password for example: Utimaco@123.
-
Back to the VMware Workstation Player window for Cluster 1 Node 1, and enter the command.
|
›_ Console |
|---|
|
Note the IP address of the first interface cluster1-01_clus1. It is 169.254.181.219.

Network Interface IPs
-
Back in the VMware Workstation Player window for Cluster 1 Node 2, enter the command.
|
›_ Console |
|---|
|
169.254.181.219 is the IP address you just noted on Node 1. This will join Node 2 to Cluster 1.
-
Add all existing disks to Cluster 1 Node 2 with the command.
|
›_ Console |
|---|
|
If you get an error message it’s because the system already auto assigned the disks, you can ignore it.
-
If necessary, add more disks to your root aggregate to increase its size and accommodate the additional space needed in your root volume.
|
›_ Console |
|---|
|
Adding disks to aggregate
24. Set the root volume to a new size.
|
›_ Console |
|---|
|

Modifying size of volume
-
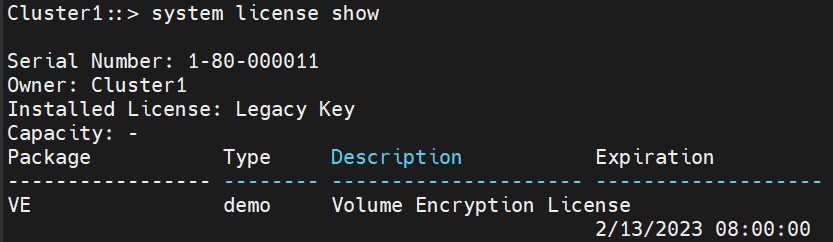
Install the VE license for a node:
|
›_ Console |
|---|
|
-
Verify that the license is installed by displaying all the licenses on the cluster:
|
›_ Console |
|---|
|
NVE License Show
-
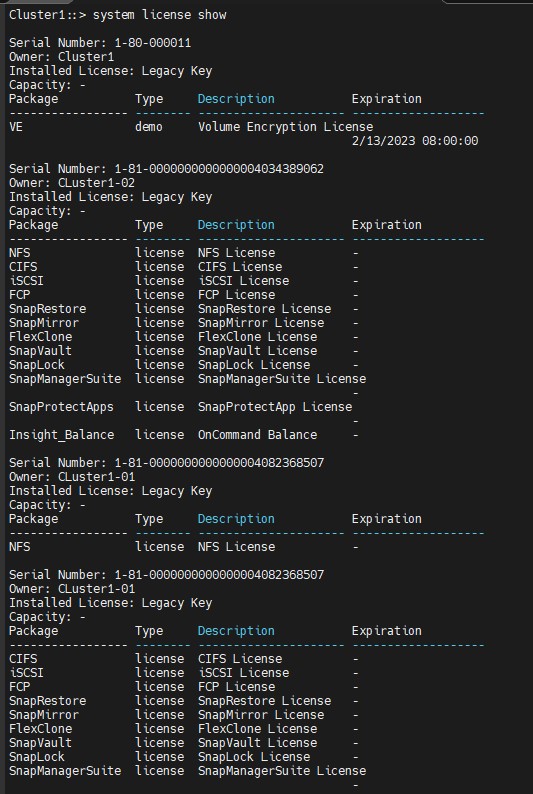
Add all the licenses for the ONTAP simulator via SM web GUI.
All Licenses Output