
Skip this section if OpenStack Barbican is already installed. The below steps are only for demonstration purposes and will change based on actual requirements.
Use the steps below to install OpenStack Flamingo with Barbican via DevStack on a single node. DevStack is a series of extensible scripts used to quickly bring up a complete OpenStack environment either based on the latest versions of everything from git master or a selected release (Dalmatian, Flamingo, etc.).
-
Create
stackuser with passwordless sudo privileges.
|
|
|---|
|
|
-
Clone the DevStack Repository and switch to stable Flamingo 2025.2 release branch.
|
|
|---|
|
|
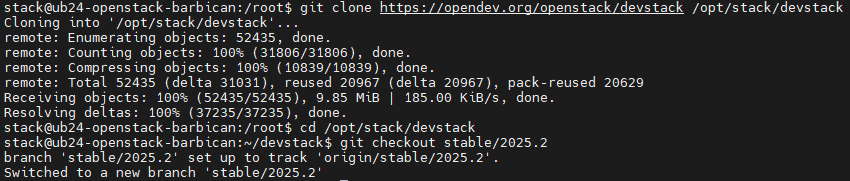
Cloning DevStack
-
Copy the sample DevStack configuration file
local.conffromsamplesfolder to the DevStack directory.
|
|
|---|
|
|
-
Edit the configuration file using your preferred text editor and make the following changes to the file:
-
Set the passwords (
ADMIN_PASSWORD,DATABASE_PASSWORD,RABBIT_PASSWORD,SERVICE_PASSWORD) to preferred values. -
Adjust
HOST_IPto your machine’s IP address if accessing from other systems. For single-machine testing,127.0.0.1is sufficient. -
Add the lines below to install and enable Barbican.
|
|
|---|
|
|
The sample configuration file explains each option and includes a link to more detailed settings documentation.
-
Run DevStack installation.
|
|
|---|
|
|
This process typically takes 15-30 minutes depending on your network speed and system resources. The script will download, configure, and start all necessary OpenStack services including Barbican.
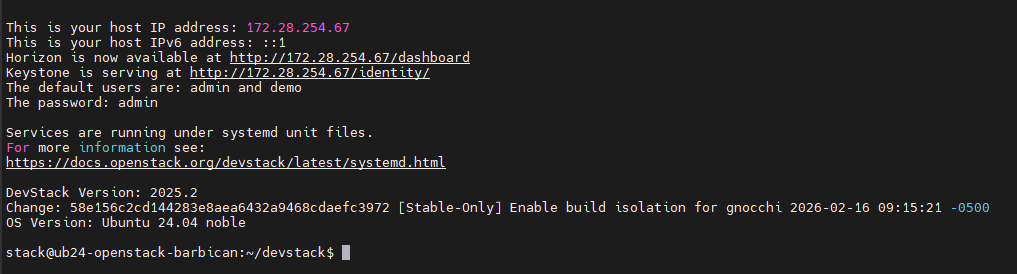
OpenStack installation finished
-
Verify the installation by sourcing the OpenStack credentials and then listing the Barbican secrets, which should return empty initially and check the OpenStack services status. All services (including Barbican) should be active and running.
|
|
|---|
|
|
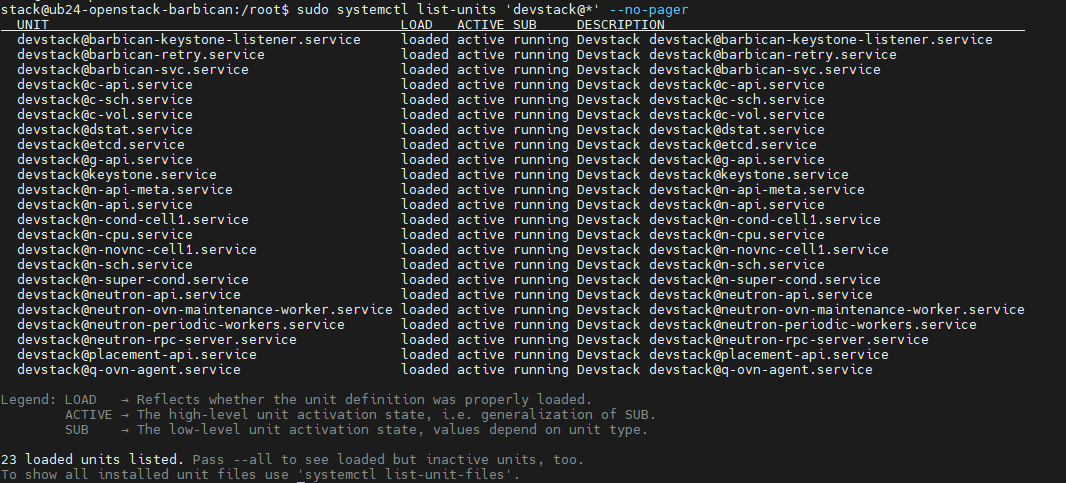
OpenStack services status after installation