
-
Select Create and configure a single instance database, as shown in Figure 1. Click on Next.
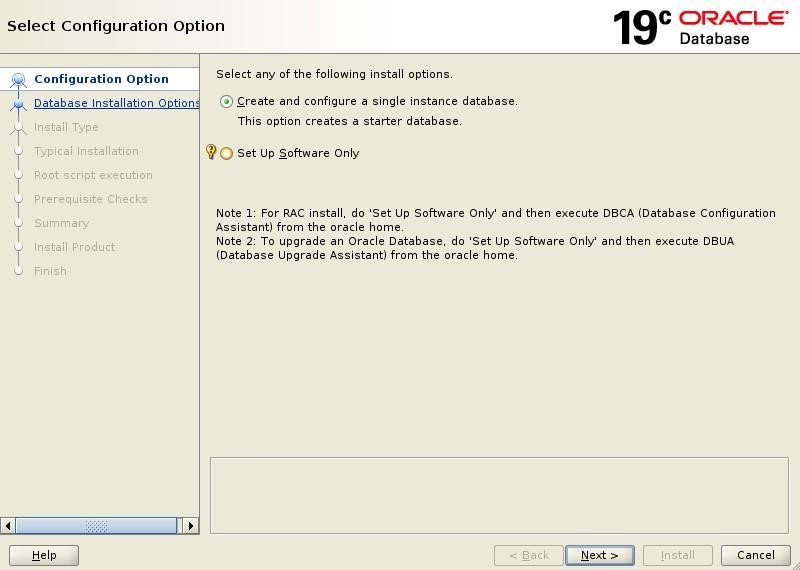
Figure 1: Install Oracle database
-
Choose between Desktop class and Server class options. Click on Next.
-
Set the basic configuration of your new Oracle DB installation. Carefully check that all settings are correct and click on Next.
Be sure to select Enterprise Edition that supports TDE!
The Figure 2 shows an example of such a configuration. These settings affect the PKCS#11 installation and are provided here to help you understand the scripts used later in the configuration of the server and PKCS#11.
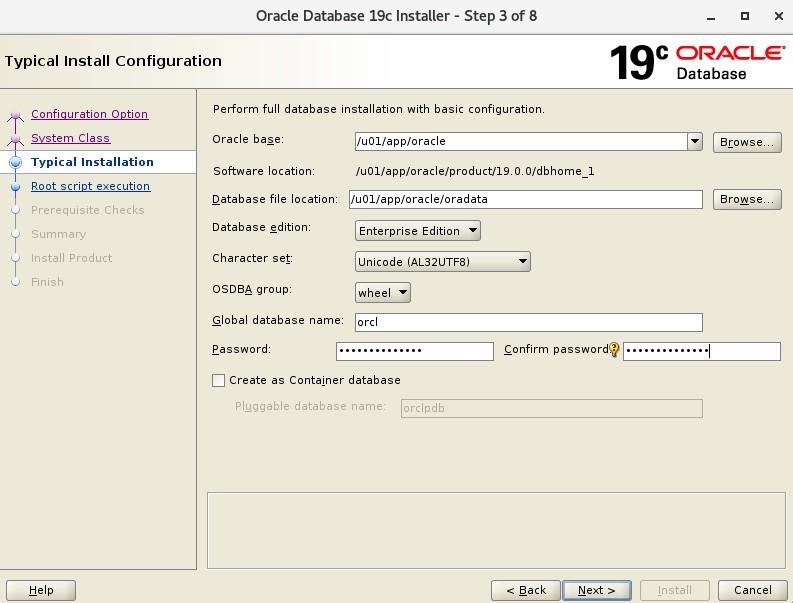
Figure 2: Install Oracle database
-
Set the directory for the installation of metadata files and the operating system group, as shown in Figure 3. Click on Next.
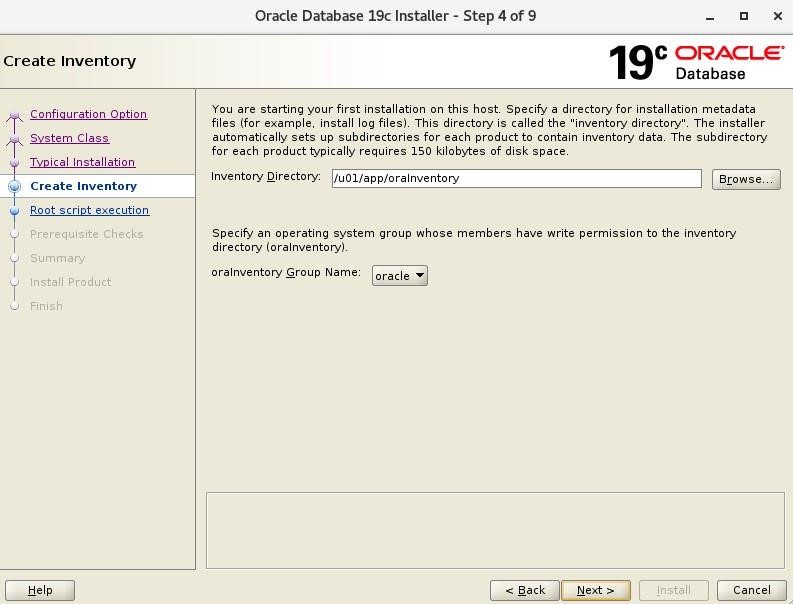
Figure 3: Install Oracle database
-
Provide root user credentials for the script execution, as shown in Figure 4. Click on Next.
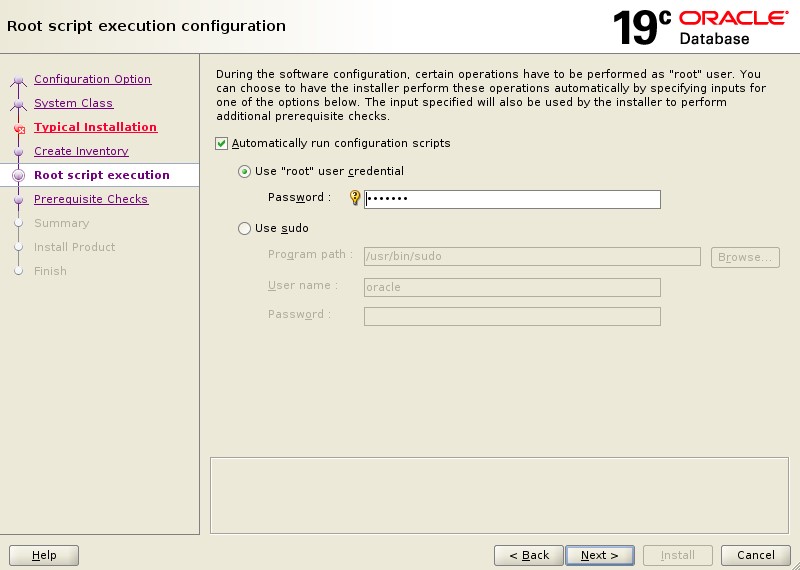
Figure 4: Install Oracle database
-
Prerequisite checks are performed.
-
Check the summary of all installation parameters. When satisfied, click on Install.
-
Wait for the installation to finish.
-
Click on Close.