Now that you have the Utimaco HSM PKCS#11 stack configured, you need to connect OKV to the provider.
You will start with initial steps in the OKV web GUI. Then proceed to login via the ssh shell and complete some command line operations.
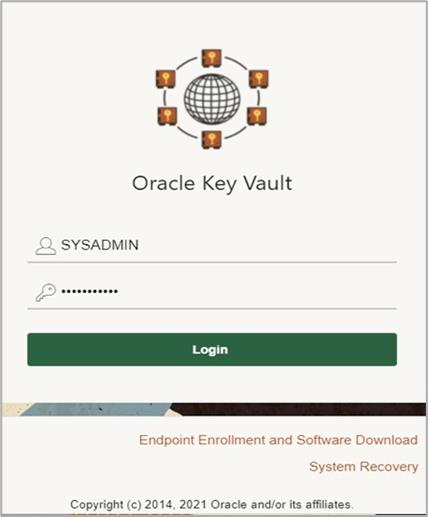
Login as the SYSADMIN user that we defined earlier in the OKV setup.
OKV Login
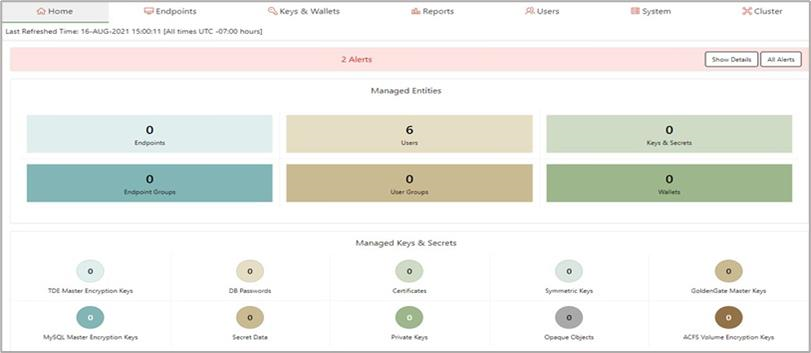
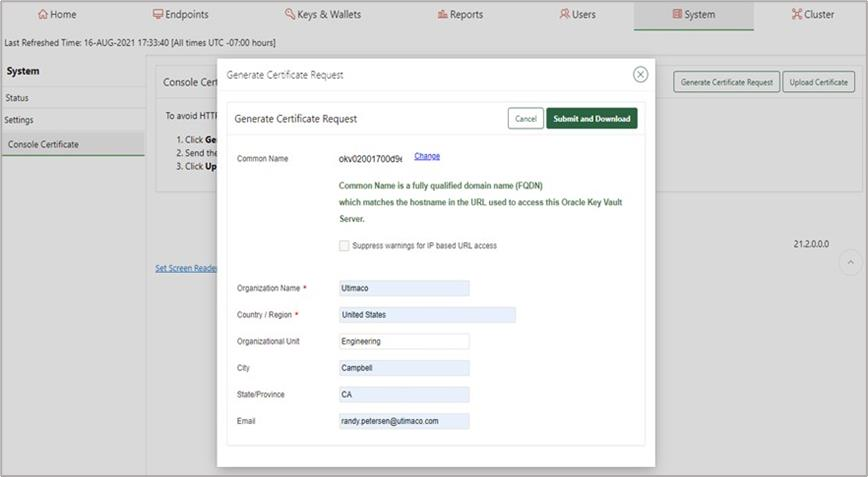
You are now in the Oracle Key Vault Console. You will need to select the System tab at the top right of your browser.
Oracle Key Vault Console
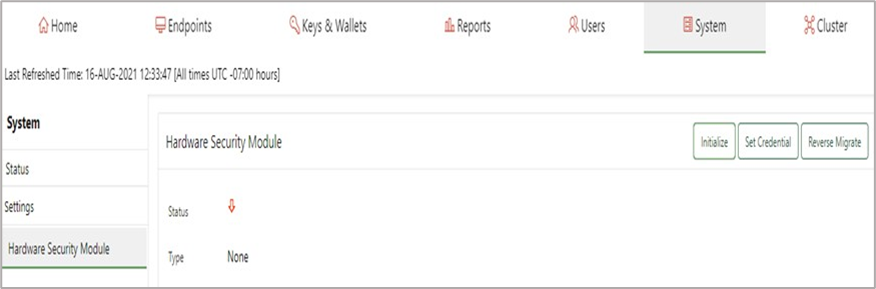
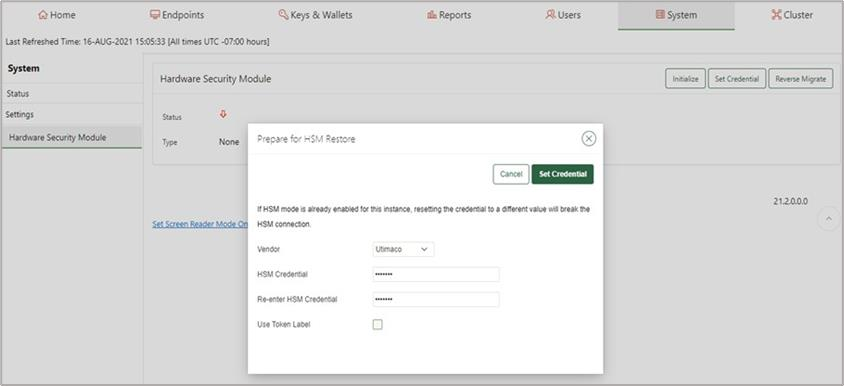
Now we will Initialize and Set Credential for the HSM.
Ensure that you have the PIN value that were set earlier when you configured the PKCS#11 user. In my case I used the PIN “123456".
Confirm that the Utimaco PKCS#11 provider library has been installed in the directory that OKV expects. This is specific to the HSM vendor. In our case /opt/utimaco/lib.
Initialize and set credential for the HSM
Set the HSM vendor to Utimaco. Then set the PIN value for the PKCS#11 token and then confirm that value in the next field. Ensure that the PIN values match.
Set up Utimaco HSM
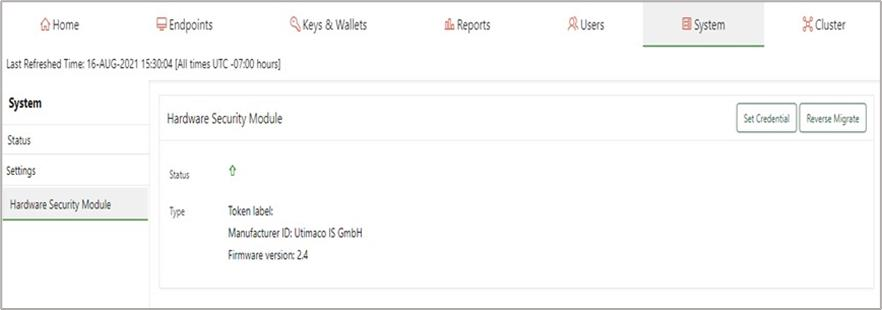
A successful initialization will show the following msg:
Token label:
Manufacturer ID: Utimaco
IS GmbH and the Firmware version: 2.4
You are now ready to set the credentials next.
Set the credentials
Select the HSM Vendor option and set Utimaco. Then enter the PIN you defined for the Slot 0000 token. Enter it twice. Then select Set Credential button.
Set PIN for slot
Now you will need to login via ssh to the OKV server and run the following command. Use the ssh RSA key you created when you initialize the OKV instance credentials.