
-
Download and install Splunk Enterprise in a Windows machine. Refer to the Splunk Enterprise link to register and download the latest version of Splunk Enterprise.
-
Access the Linux machine and install Syslog ng following the steps below.
-
Install the epel-release using the command:
dnf install -y epel-release
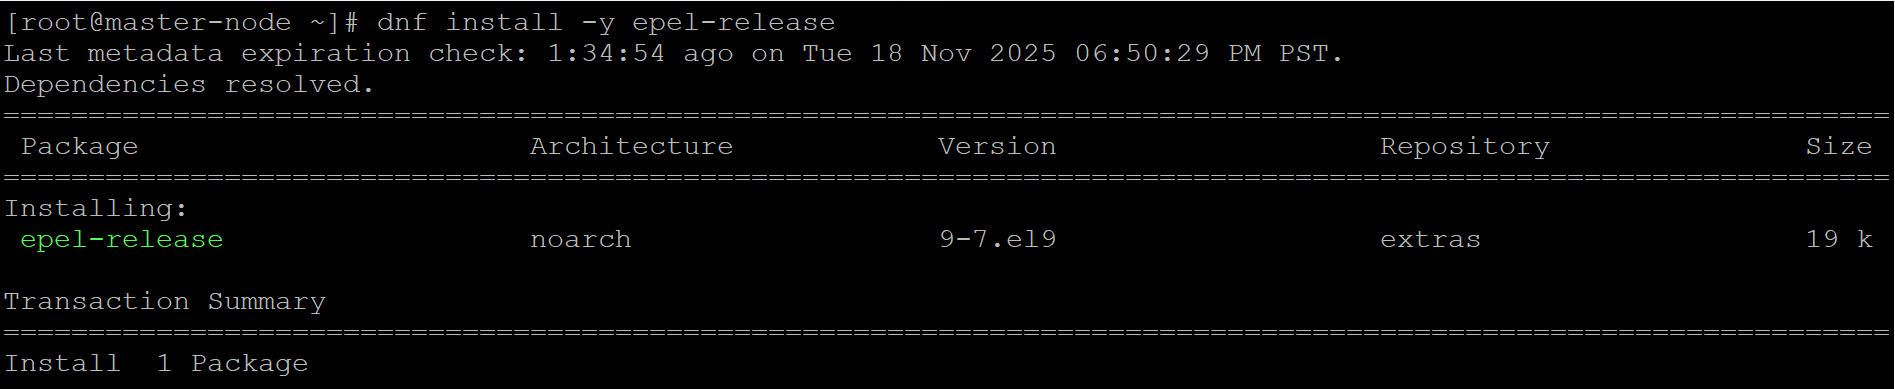
Install epel-release
-
Install syslog-ng using command below:
dnf install -y syslog-ng
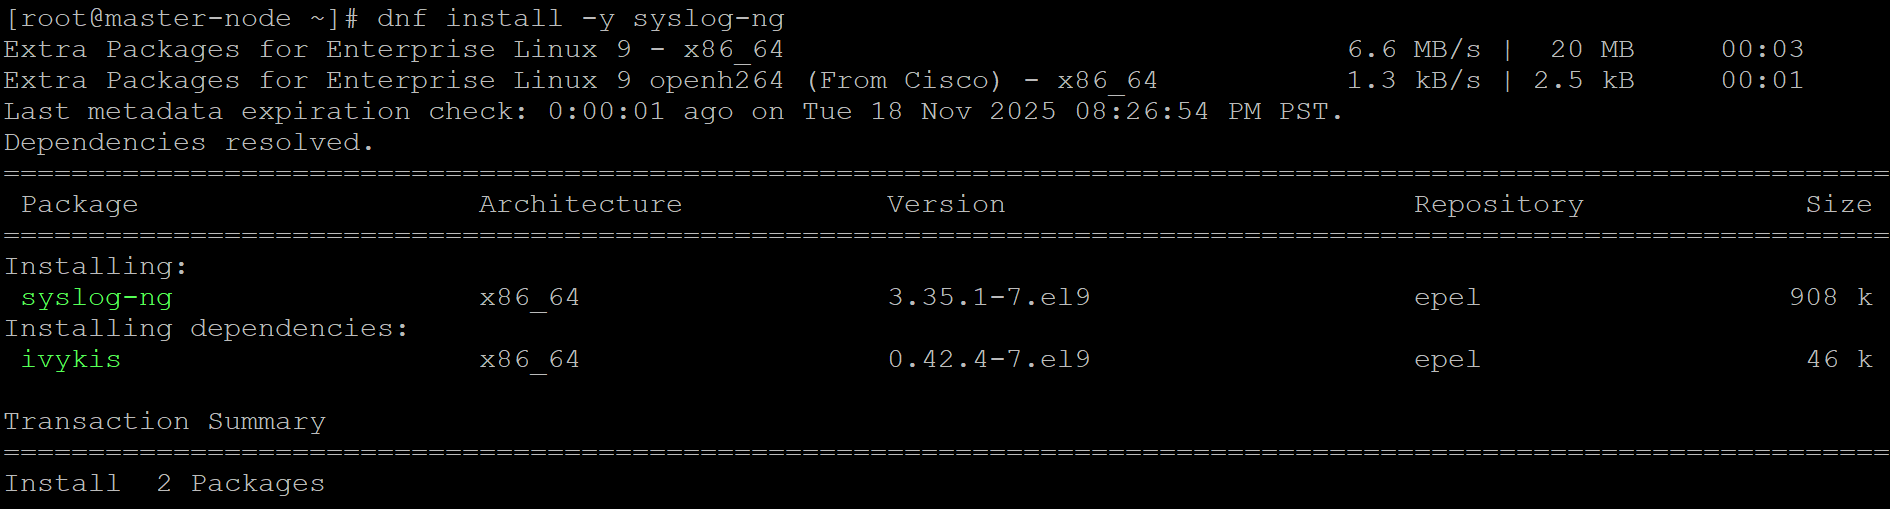
Install syslog-ng
-
Get the Splunk Universal Forwarder installation file using the wget command:
wget -O splunkforwarder-10.0.2-e2d18b4767e9.x86_64.rpm "https://download.splunk.com/products/universalforwarder/releases/10.0.2/linux/splunkforwarder-10.0.2-e2d18b4767e9.x86_64.rpm"
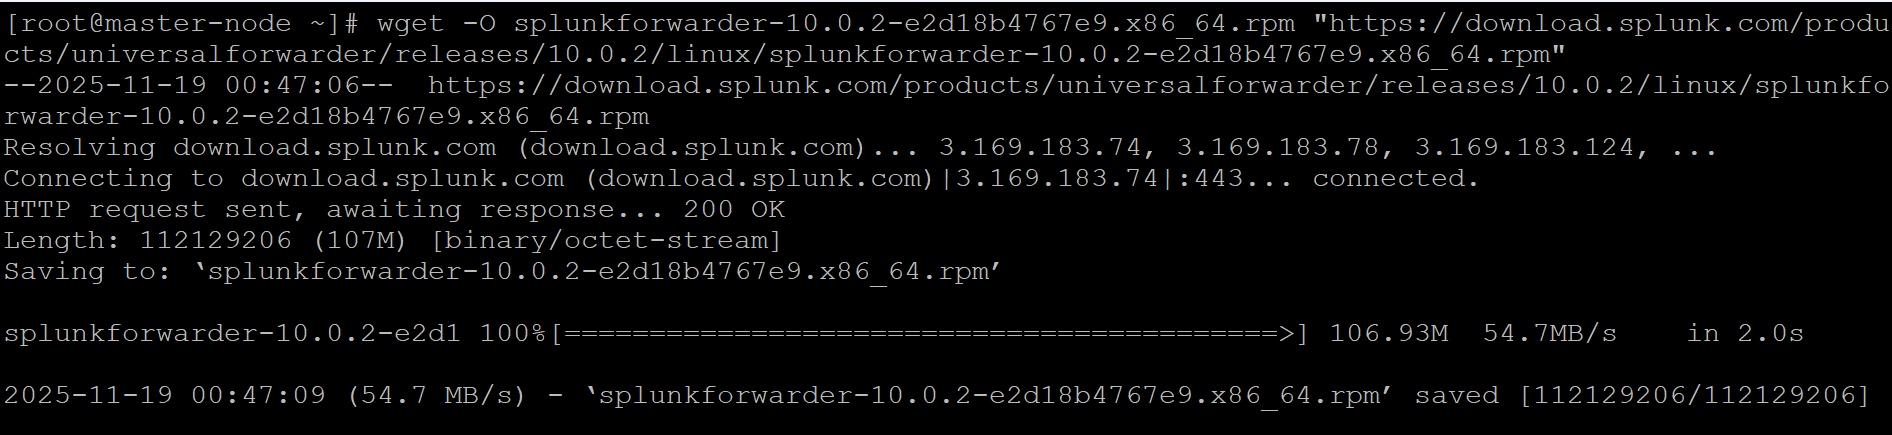
Get the Splunk Universal Forwarder Installation Universal Forwarder installation file
-
Install Splunk Universal Forwarder.
sudo rpm -i splunkforwarder-10.0.2-e2d18b4767e9.x86_64.rpm

Splunk Universal Forwarder installation
-
Create a user account for the Splunk Universal Forwarder by running the following command. When prompted, enter a username and password to complete the setup.
sudo /opt/splunkforwarder/bin/splunk start --accept-license

Create Splunk Universal Forwarder user
-
The following command configures the Splunk Universal Forwarder to start automatically every time the system boots. This ensures that log forwarding from the ESKM syslog server to Splunk Enterprise continues without requiring manual intervention after reboots or maintenance activities.
/opt/splunkforwarder/bin/splunk enable boot-start
Enable Splunk Universal Forwarder