
-
Create a file
/opt/tomcat/bin/setenv.shand add the environment variables listed below.
|
›_ Console |
|
|

Setting up environment
-
Open the
server.xmlfile
|
›_ Console |
|
|
-
Add the following entries for SSL to the connector section.
|
›_ Console |
|
|
Here:
-
certificateKeystoreFileis blank as HSM is being used -
certificateKeystoreTypeisCryptoServer -
certificateKeystoreProviderisCryptoServer -
certificateKeyAliasis the name of the key generated using thekeytoolcommand -
certificateKeystorePasswordis the PIN of the HSM key store
-
Reload the daemon using:
|
›_ Console |
|
|
-
Restart Tomcat Service using:
|
›_ Console |
|
|
-
Confirm that the Tomcat status is
runningusing:
|
›_ Console |
|
|
-
The output below shows that it is running.
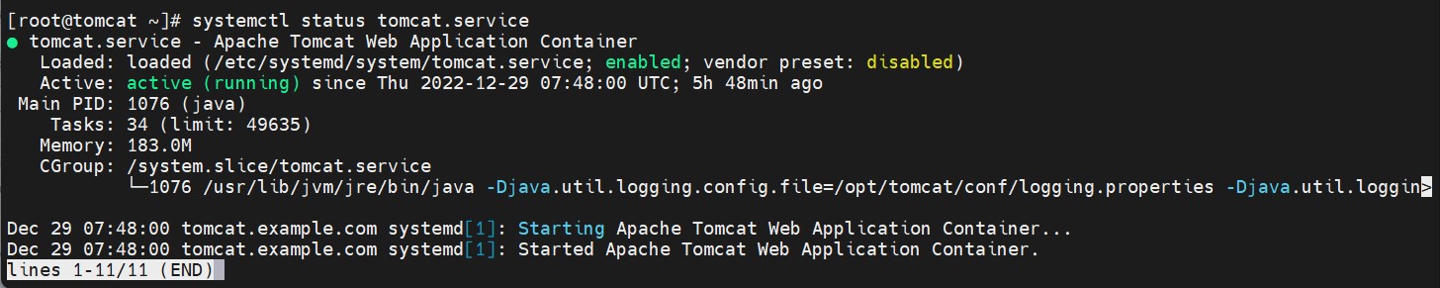
Tomcat service status output
-
Now access the page over https using
https://<apache_tomcat_server_ip>:443
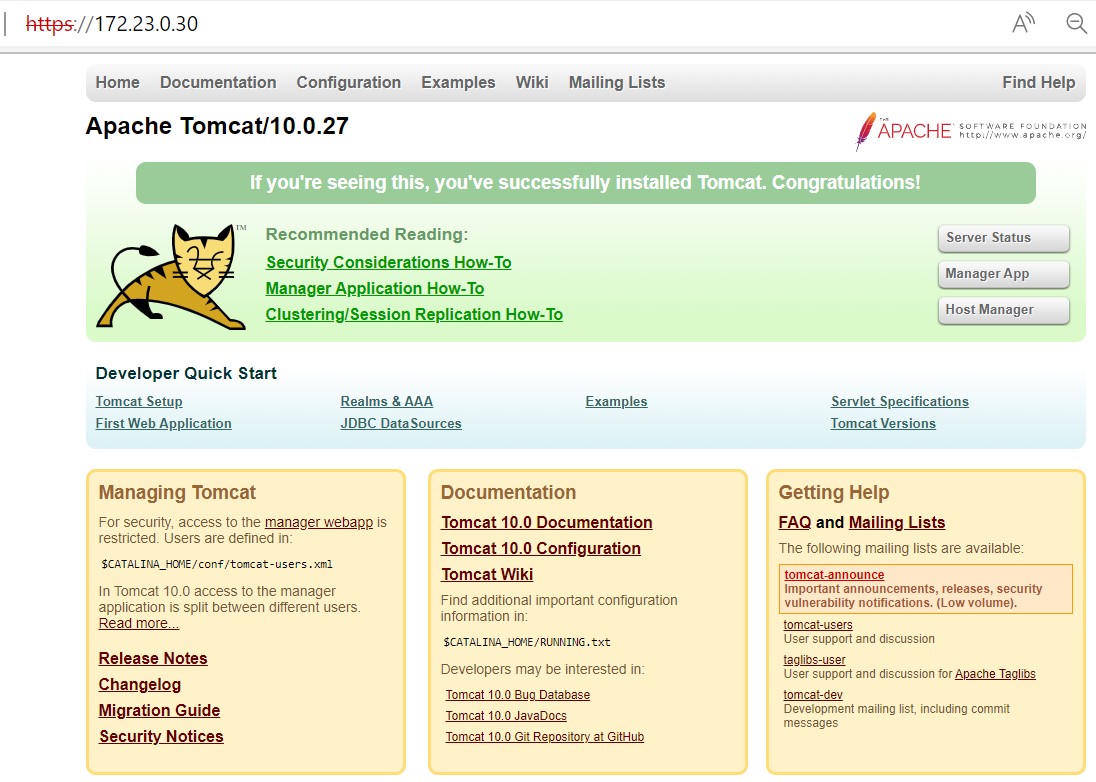
Browsing the page over https
This completes the integration of Apache Tomcat and Utimaco HSM.