Configuring a Utimaco Hardware Security Module (HSM) involves several steps, including setting up the hardware, initializing the HSM, creating users, managing cryptographic keys, and ensuring the necessary software environment is in place.
Hardware Setup
-
Ensure you have all the necessary components (the HSM device, cables, etc.) that came with the Utimaco HSM.
-
Connect the device to both a power supply and your network using the appropriate ports. This may include Ethernet cables for network access and power cables for the device itself.
Network Configuration
Set a Static IP Address:
-
When you connect the HSM to your network, you must assign a static IP address so that it can be reliably accessed at all times.
-
Access the HSM’s network settings either through a management interface or command-line tool.
-
Set:
-
Static IP address
-
Subnet mask (the range of IP addresses within your local network)
-
Gateway (the router or device that connects your network to the internet)
-
DNS servers (used for resolving domain names if required)
-
Installing Software Requirements
Install Java (LTS Version):
Download and install the latest Java LTS version, which is required to run the CryptoServer software.
Installing the Security Server:
-
Download SecurityServerEvaluation-V6.0.0.0.zip.
This software package will be provided by Utimaco.
-
Unzip the package and run SecurityServer-6.0.0.0.msi.
-
Installation steps:
-
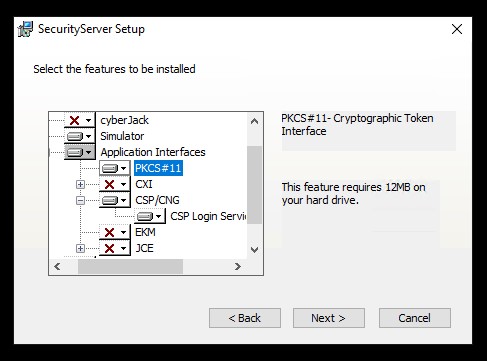
Choose the default folder(s) and select Custom installation.
-
Ensure the correct features are selected:
-
For PKCS#11, select the PKCS#11 feature.
-
For CNG, select the CSP/CNG feature.
-
-
-
Select Next.
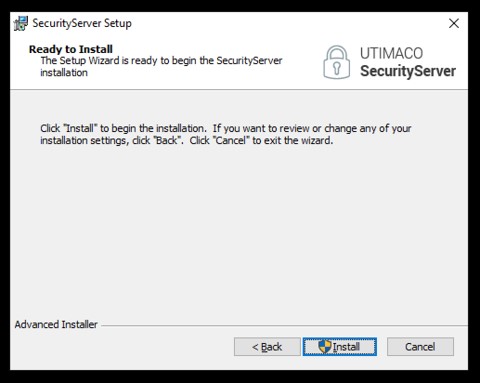
-
Select Install.
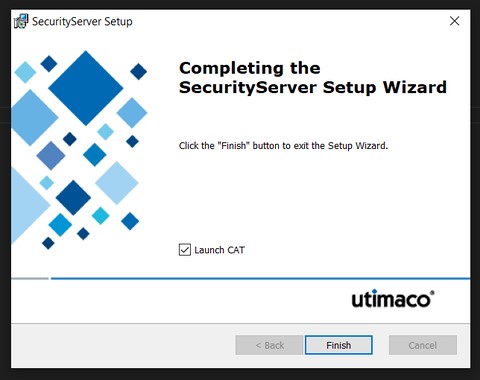
-
Select Finish.