
Please perform the following steps to configure the iLO to get enrolled with ESKM.
-
Log in to the iLO interface with “Local login name” and “Password”.
iLO Login Page
-
Click on the "Administration" menu and click on “Licensing” to verify if an iLO Advanced license is already installed.
Please contact HPE Support to request and install an iLO Advanced license using the following link:
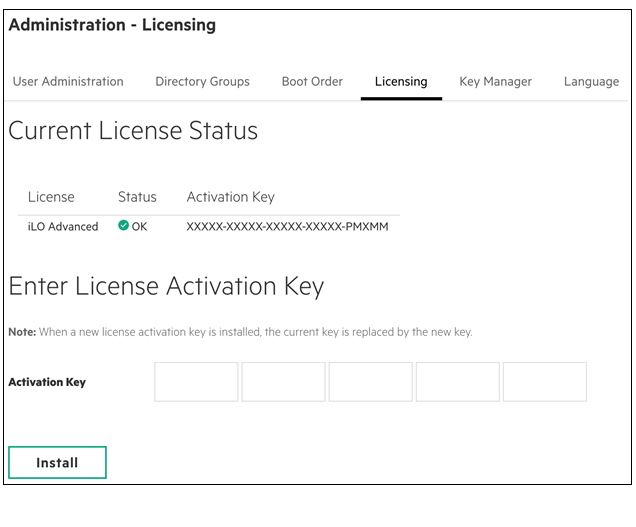
Licensing window
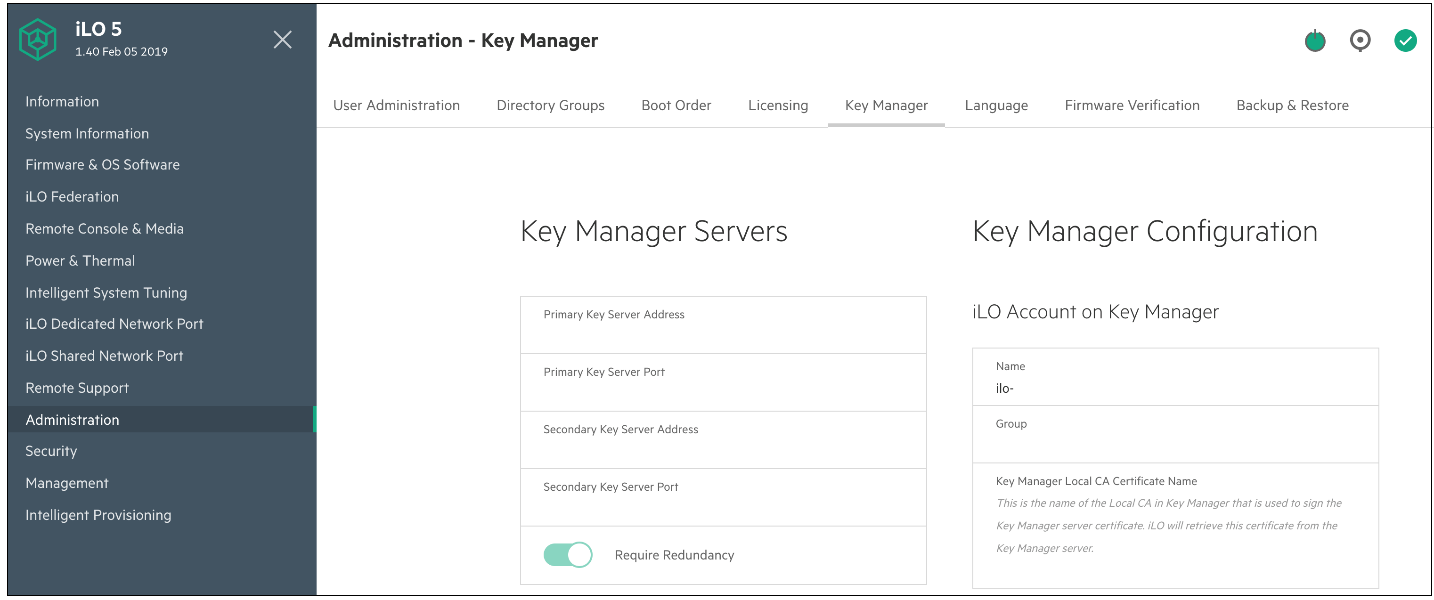
Click on the “Administration” menu and click on the “Key Manager” tab.
-
Fill out the “Key Manager Servers” form.
-
Primary Key Server Address: ESKM server IP Address
-
Primary Key Server Port: ESKM KMS Server Port (9000)
-
Require Redundancy: Enable
-
Key Manager Form
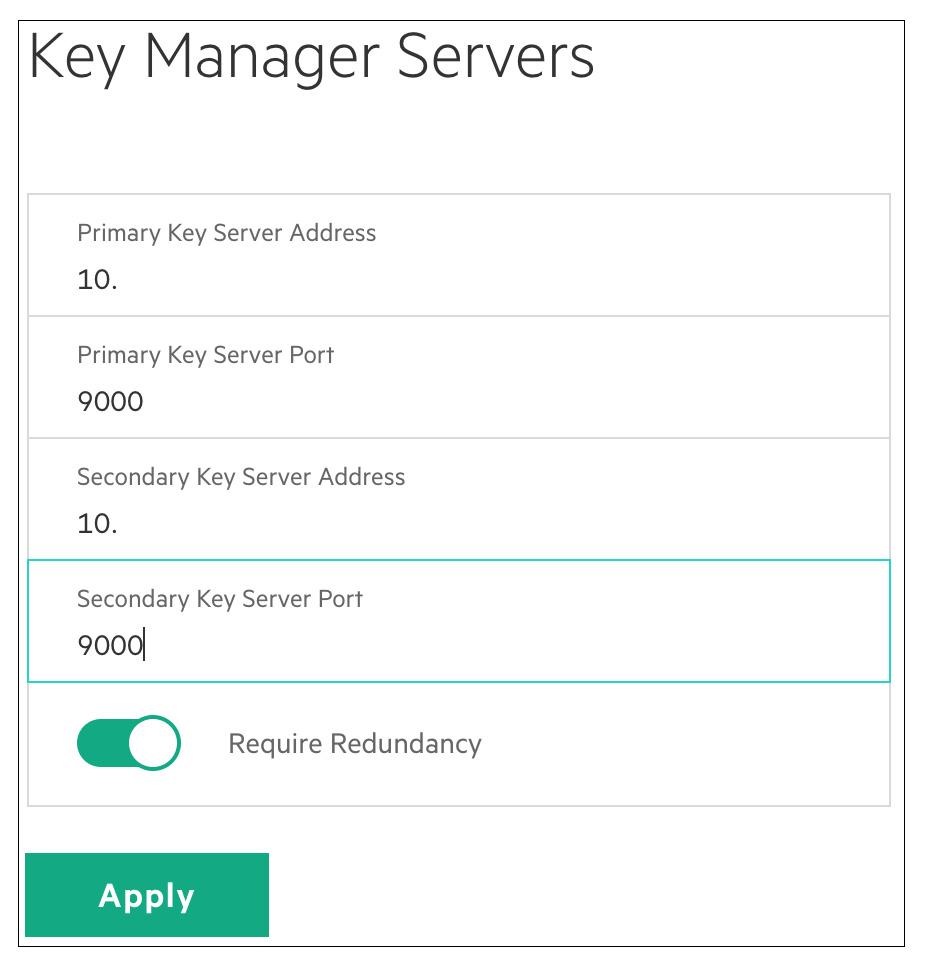
Key Manager Servers
-
Click on Apply after filling out the “Key Manager Servers” form, and “Key Manager settings saved successfully” will be displayed.
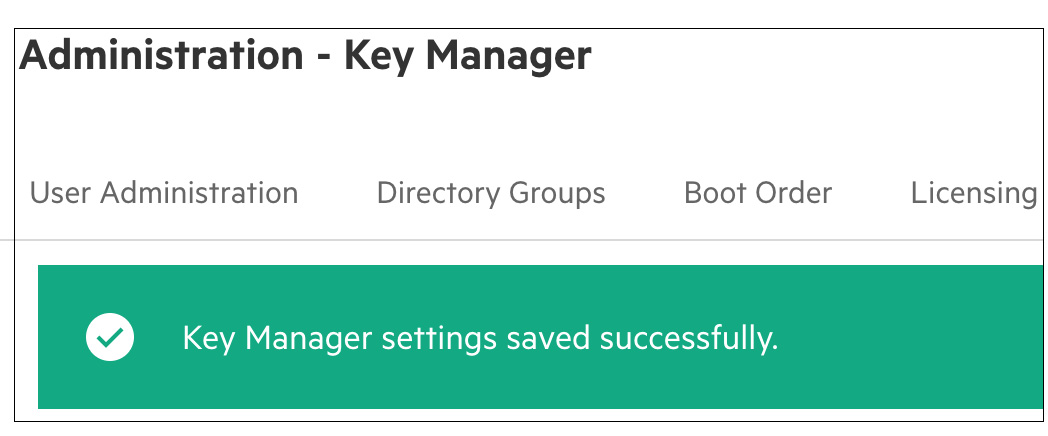
Key Manager settings successful
-
Again, click on the “Administration” menu and click on the “Key Manager” tab.
-
Fill out the “iLO Account on Key Manager” form under “Key Manager Configuration”.
-
Name: This will already be populated.
-
Group: The user group we created in the ESKM.
-
Key Manager Local CA Certificate Name: The name of the Local CA created on the ESKMs.
-
Name is the username for the iLO of this particular ProLiant server.
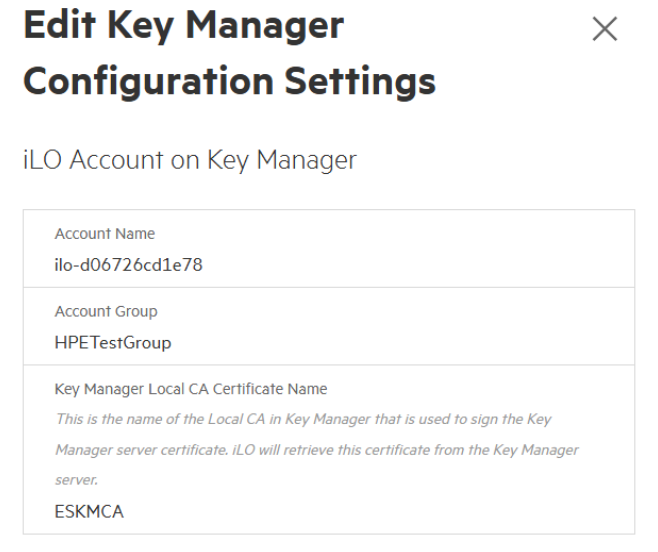
iLO Account on Key Manager form
-
Fill out the “Key Manager Administrator Account” form under “Key Manager Configuration”.
-
Login Name: ilo_reg_user (The user created on ESKM).
-
Password: The password created on ESKM.
-
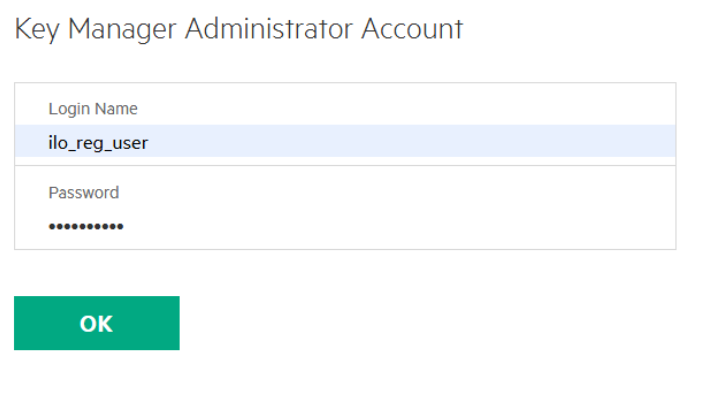
Key Manager Administrator Account form
-
Click on Update Key Manager, and again, the “Key Manager settings saved successfully” will be displayed.
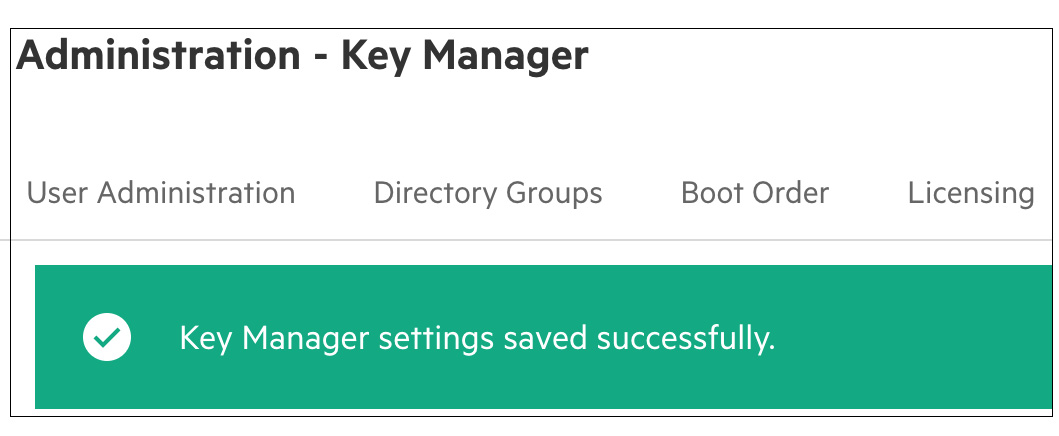
Key Manger settings successfull
-
Click on “Test Key Manager Connections” to test the connectivity to the key managers and to view the details of the “Key Manager Events”.
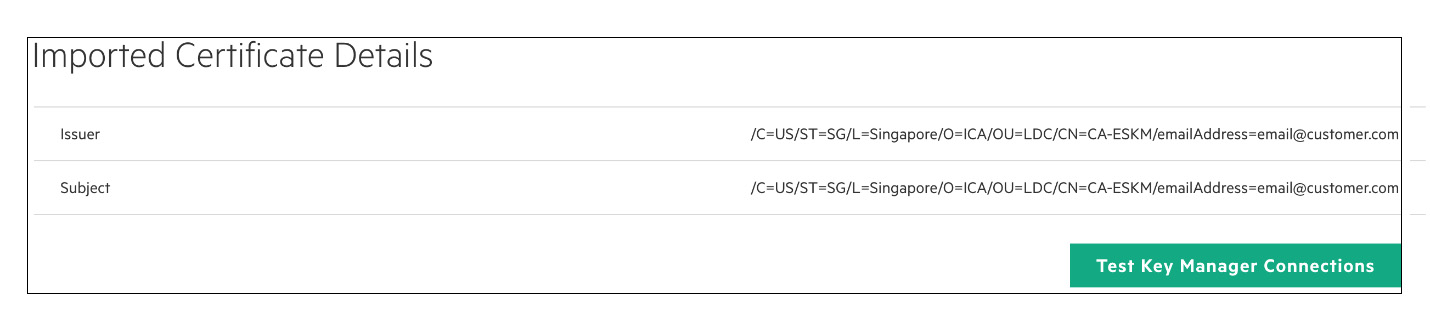
Imported Certificate Details window
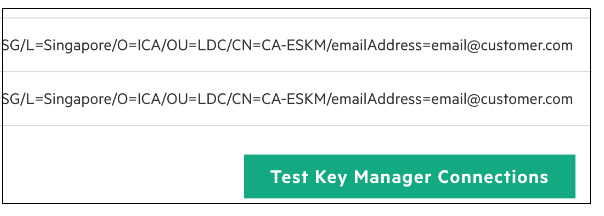
Test Key Manager Connections

Key Manager Events