Installing and Running Bind9

  1. Download the latest version of source code file from BIND 9 - ISC.

  2. Extract the tar file.

›_ Console

# tar -xvf bind9-9.18.14.tar.gz 
  1. Go to the extracted folder and run autoreconf command.

›_ Console

# autoreconf -fi 
  1. Install the dependent packages for bind9.

›_ Console

# dnf install openssl-devel perl libicu-devel pkgconf userspace-rcu-devel libcap-devel libuv-devel 
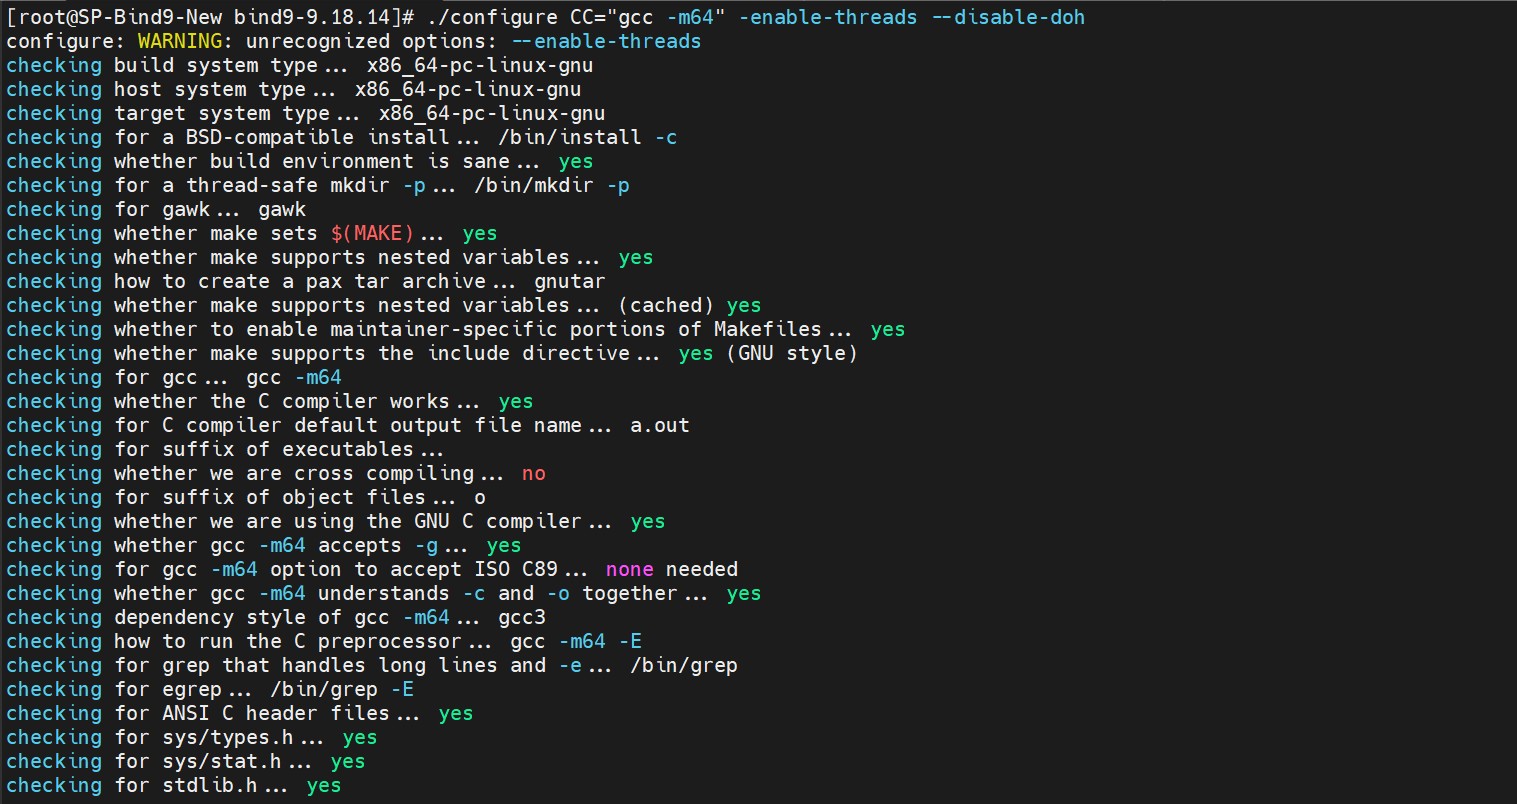
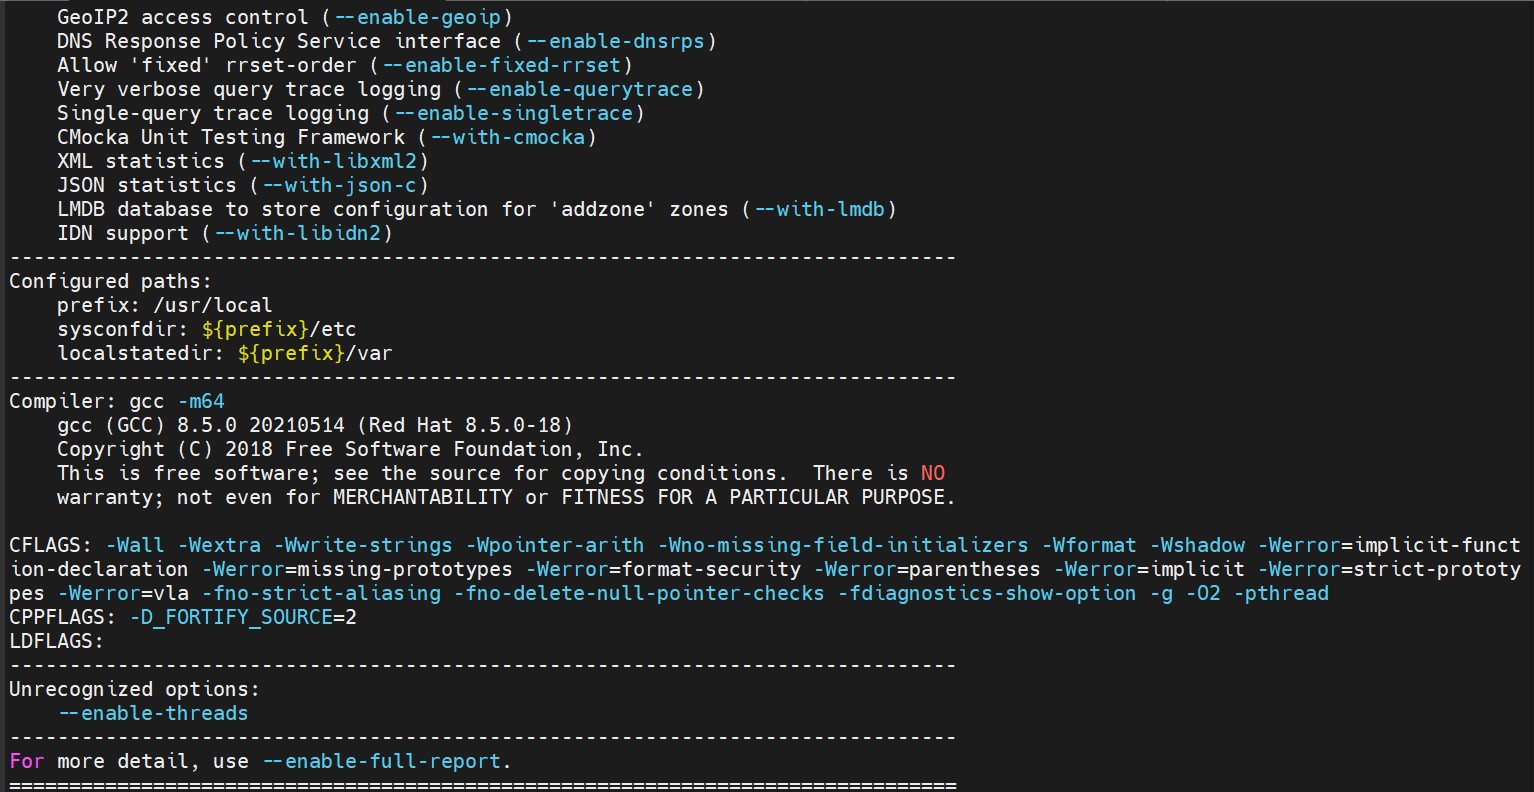
  1. If you are using OpenSSL 1.1.1x run configure command as shown below.

›_ Console

# configure CC="gcc -m64" -enable-threads –disable-doh 
tmpaszbddc3.jpg

Configure command output

tmp58h57ujs.jpg

Configure command output

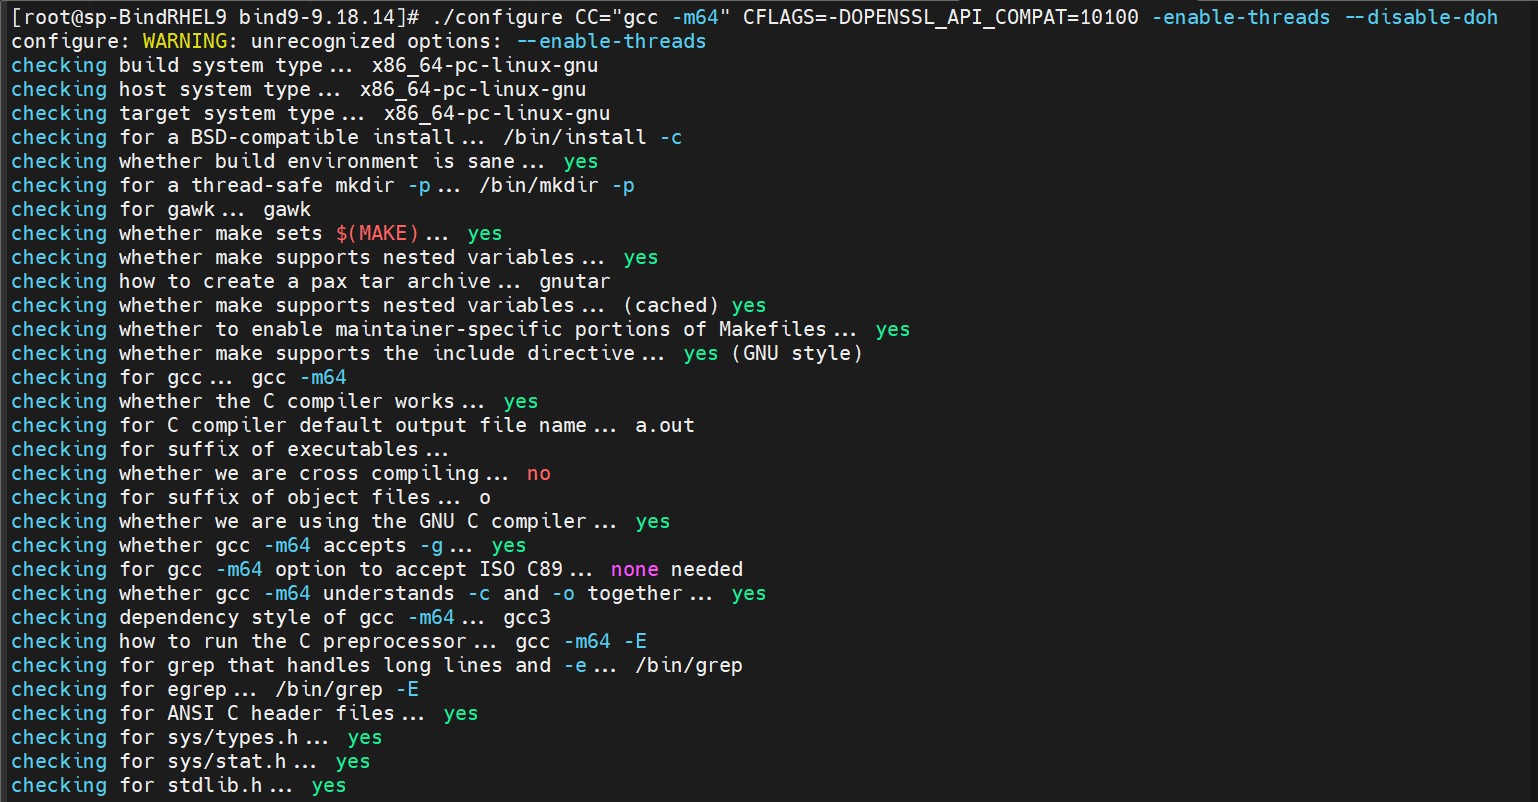
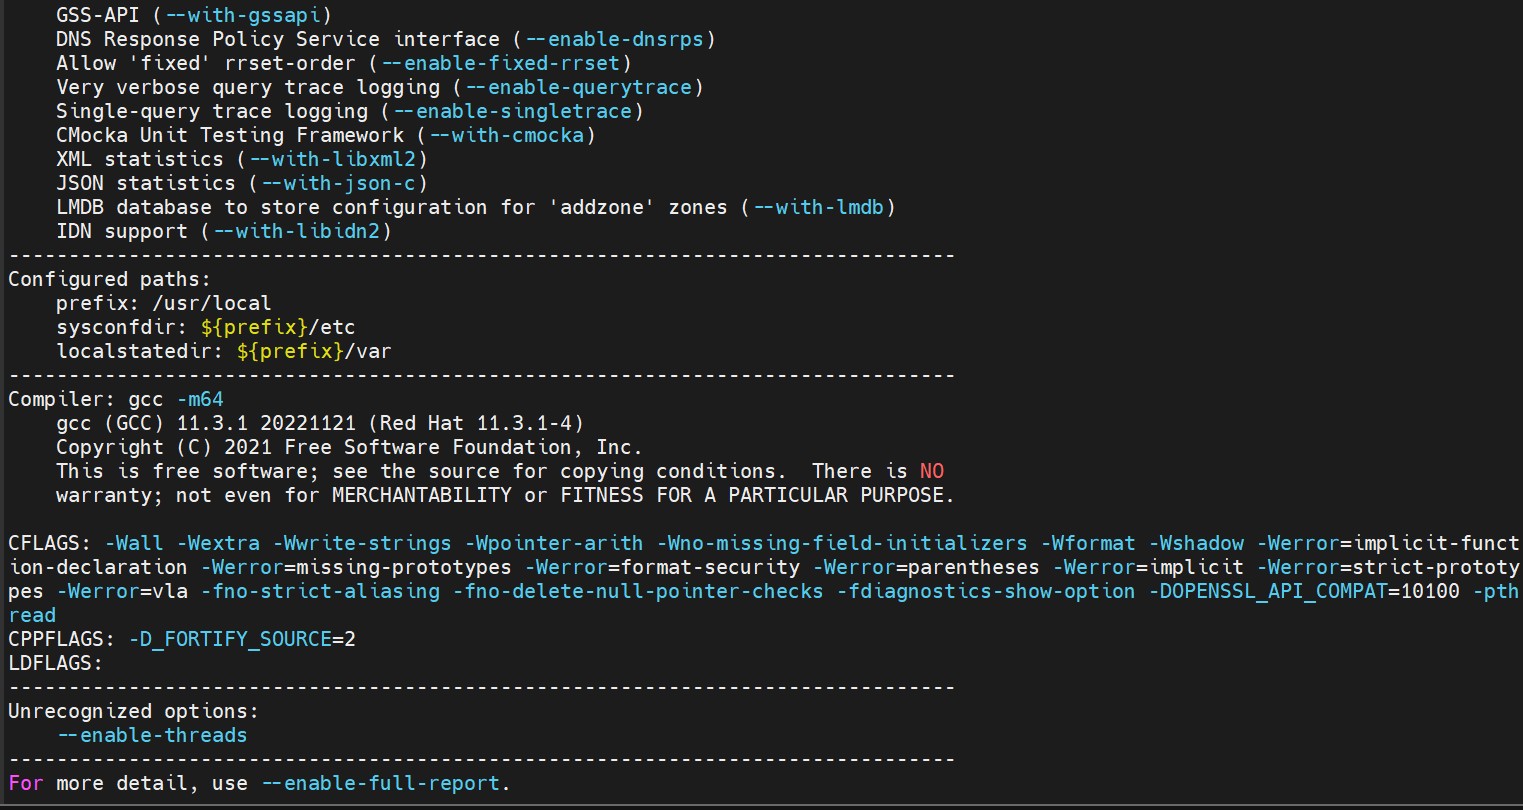
  1. If you are using OpenSSL 3.0.x run configure command as shown below.

›_ Console

# configure CC="gcc -m64" CFLAGS=-DOPENSSL_API_COMPAT=10100 -enable-threads – disable-doh 
tmpy0ob2sb_.jpg

Configuring Bind9

tmptjzrc3ok.jpg

Configuring Bind9

Bind9 by default doesn’t support dynamic engine in OpenSSL 3.0.x. You need to run above command to support dynamic engine.

  1. Build and install Bind9 as shown below.

›_ Console

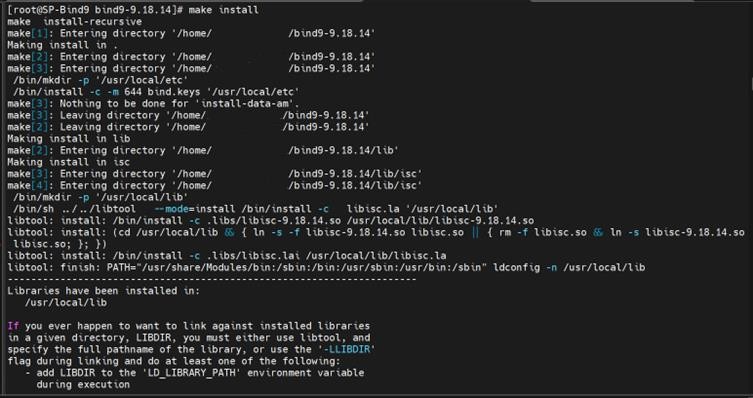
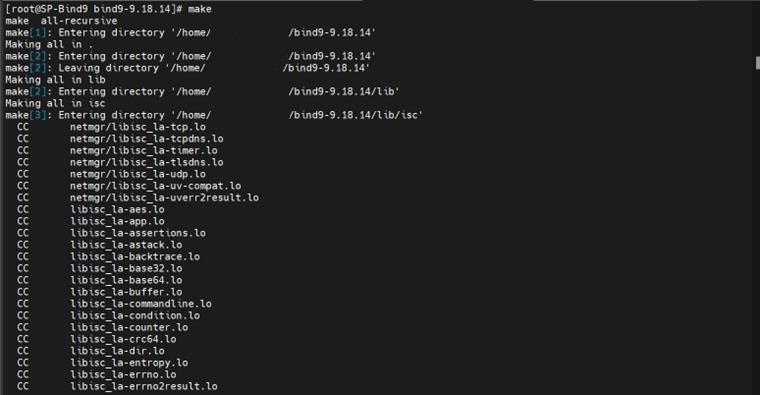
# make 

# make install 

It will install bind9 on default directory as /usr/local/.
tmpss4010k_.jpg

Make output

tmp2qle12sa.jpg

Make install output

  1. Move the file named.root.key and named.rfc1912.zones to /etc directory.

  2. Check the version of Bind9 as below.

tmp_8dk9h9g.jpg

Bind9 version output

  1. Create a forward and reverse zone file at /var/named directory.

For example, below are samples files example.net and exampleRev.net for forward and reverse zone respectively.

example.net

# vi /var/named/example.net  
$TTL 1D  
$ORIGIN example.net.  
@ IN SOA example.net. hostmaster.example.net. (  
 0 ; serial  
1D ; refresh  
1H ; retry  
1W ; expire  
 3H ) ; minimum  
 NS @  
 A 127.0.0.1  
test IN A 172.23.0.69  
mail IN A 172.23.0.18  
neo IN A 172.23.0.15  
 AAAA ::1   

exampleRev.net

Vi /var/named/exampleRev.net  
$TTL 86400  
@ IN SOA exampleRev.net. hostmaster.exampleRev.net.(  
 2009072852 ; Serial  
28800 ; Refresh  
14400 ; Retry  
3600000 ; Expire  
86400 ) ; Minimum  
 IN NS RHEL04.exampleRev.net.  
104 IN PTR RHEL04.exampleRev.net.  
105 IN PTR RHEL05.exampleRev.net.  
69 IN PTR fzrxqf3b03gu3cmgnrl2ry4xad.rx.internal.cloudapp.net
  1. Make the appropriate changes in configuration file of bind9 that is /usr/local/etc/named.conf related to zone as highlighted.

Below is sample named.conf file.

named.conf

# vi /usr/local/etc/named.conf  
options {  
 listen-on port 53 { 127.0.0.1; 172.23.0.69; };  
 listen-on-v6 port 53 { ::1; };  
 directory "/var/named";  
 dump-file "/var/named/data/cache_dump.db";  
 statistics-file "/var/named/data/named_stats.txt";  
 memstatistics-file "/var/named/data/named_mem_stats.txt";  
 secroots-file "/var/named/data/named.secroots";  
 recursing-file "/var/named/data/named.recursing";  
 allow-query { localhost; };  
 recursion no;  
 dnssec-validation yes;  
 managed-keys-directory "/var/named/dynamic";  
 pid-file "/run/named/named.pid";  
 session-keyfile "/run/named/session.key";  
 include "/etc/crypto-policies/back-ends/bind.config";  
};  
logging {  
 channel default_debug {  
 file "data/named.run";  
 severity dynamic;  
 };  
};  
zone "." IN {  
 type hint;  
 file "named.ca";  
};  
zone "example.net" {  
 type primary;  
 file "example.net";
 };  
include "/etc/named.rfc1912.zones";  
include "/etc/named.root.key";  
  1. Start the named service for bind9 using below command.

›_ Console

# /usr/local/sbin/named -f -c /usr/local/etc/named.conf 
tmpgmhgbagw.jpg

Start named service

  1. Now from other terminal check that the named is running on port 53 using netstat command.

tmpdz4cahdl.jpg

Check port of named services