

-
Log in to the Red Hat Customer Portal and download Red Hat JBoss Enterprise Application Platform 7.4.0 Installer.
-
Open a terminal and navigate to the directory containing the downloaded JBoss EAP installer.
-
Run the text-based installer using the following command:
|
›_ Console |
|---|
|
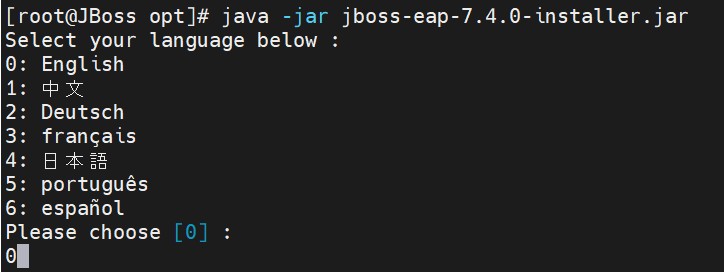
JBoss installation
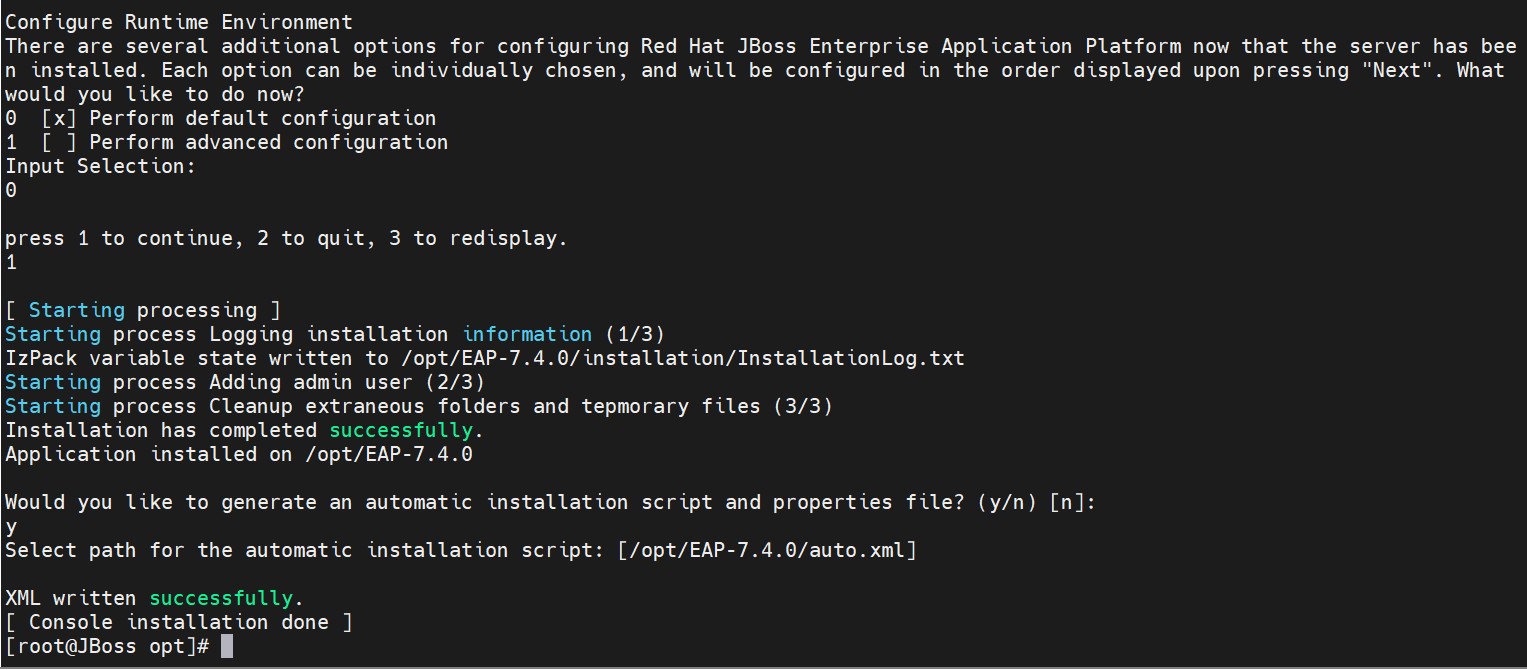
JBoss installation
-
Change the owner & group of the JBoss EAP folder.
|
›_ Console |
|---|
|
-
Edit JBoss EAP configuration file
/opt/EAP-7.4.0/bin/init.d/jboss-eap.confwith below entries.
|
jboss-eap.conf |
|---|
|
You need to modify the above values according to your environment. After adding the above lines, save the file.
-
Now edit the
/etc/profilefile to add the below lines.
|
profile |
|---|
|
-
Run the command below to reload the profile.
|
›_ Console |
|---|
|
-
Verify java home and jboss home path.
|
›_ Console |
|---|
|
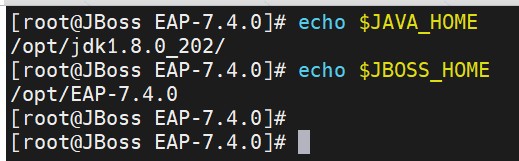
Verify Java and JBoss home PATH
-
Copy the below two files.
|
›_ Console |
|---|
|

Copy JBoss service files
-
Run below two commands to reset the security context.
|
›_ Console |
|---|
|
-
Start JBoss EAP service.
|
›_ Console |
|---|
|
-
Check the status of JBoss EAP service.
|
›_ Console |
|---|
|
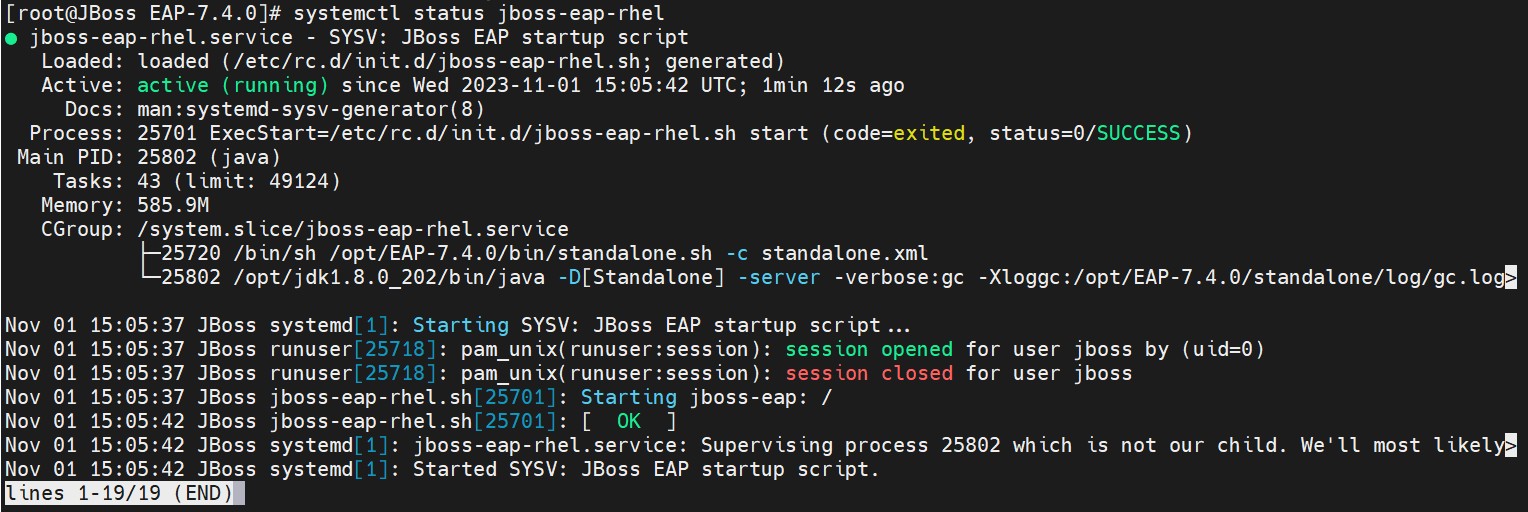
JBoss service status