
-
Select the Start menu, open Run, type
mmc, and click OK. -
In the mmc console that appears, select File, then select Add/Remove Snap-in…
-
In the Add or Remove Snap-Ins pop-up dialog that appears, find the Certificates snap-in (under the Available snap-ins section).

"Add/Remove Snap-in" Window
-
Select the snap-in and click Add.
-
In the dialog that appears, select the radio button for Computer Account and then click Next.
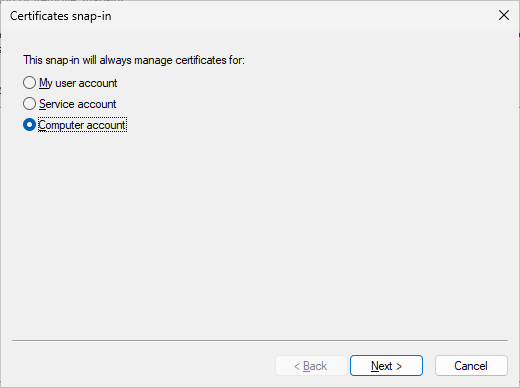
"Certificate Snap-in" Window
-
In the Select Computer dialog, ensure that Local Computer is selected and click Finish.
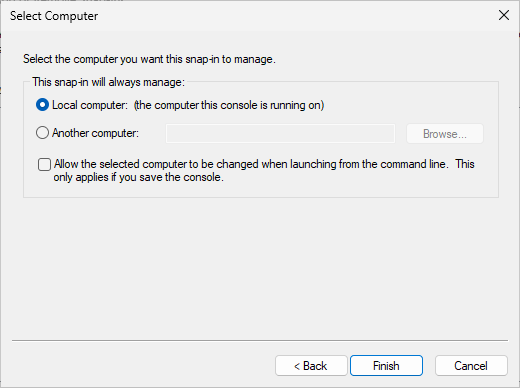
"Select Computer" Window
-
Click OK.
-
Under the Console Root, select the Certificates heading.
-
Select the Personal folder and expand it.
-
Right-click on Certificates and select All Tasks, and select Request New Certificate.
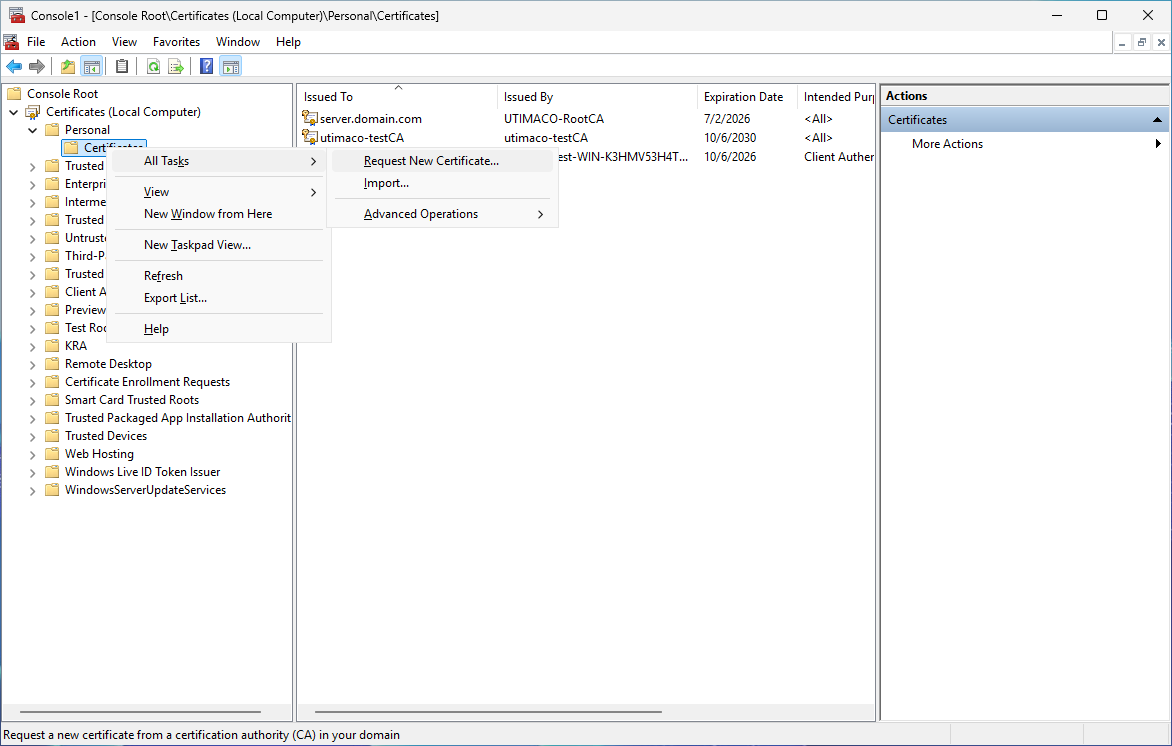
"Console" Window
-
On the Before You Begin page, click Next.
-
On the Select Certificate Enrollment Policy page, click Next.
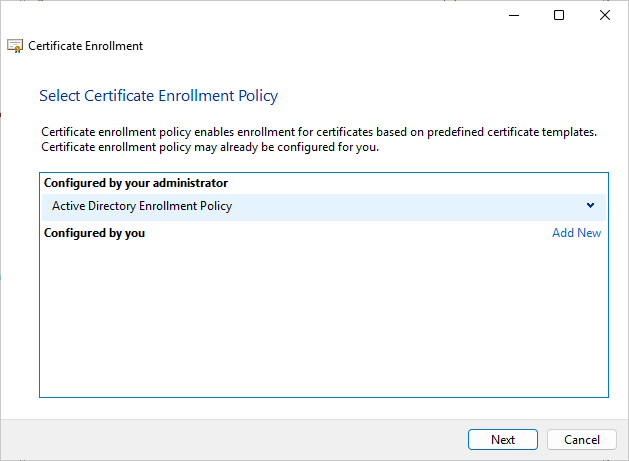
"Certificate Enrollment Policy" Window
If you are using smartcard authentication, the prompt will appear on the PIN Pad device to insert the smartcard and enter the PIN. Then, press the OK button on the PIN Pad.
-
On the Request Certificates page, select the OCSP Response Signing template and click Enroll.
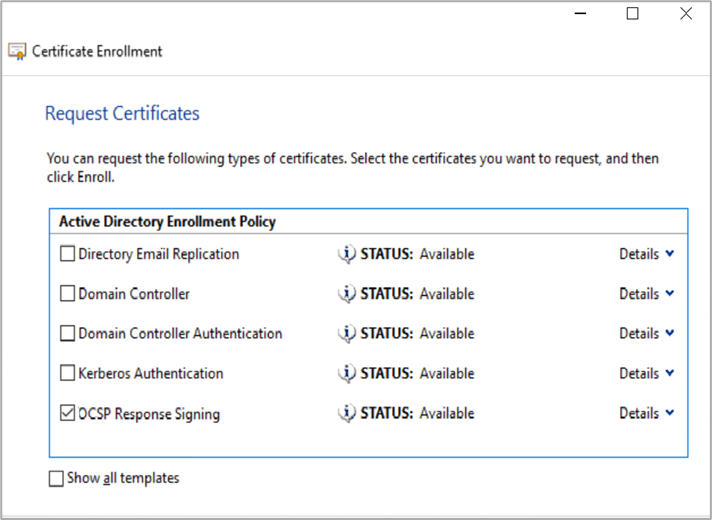
"Certificate Enrollment Policy" Window
-
On the Certificate Installation Results page, click Finish.
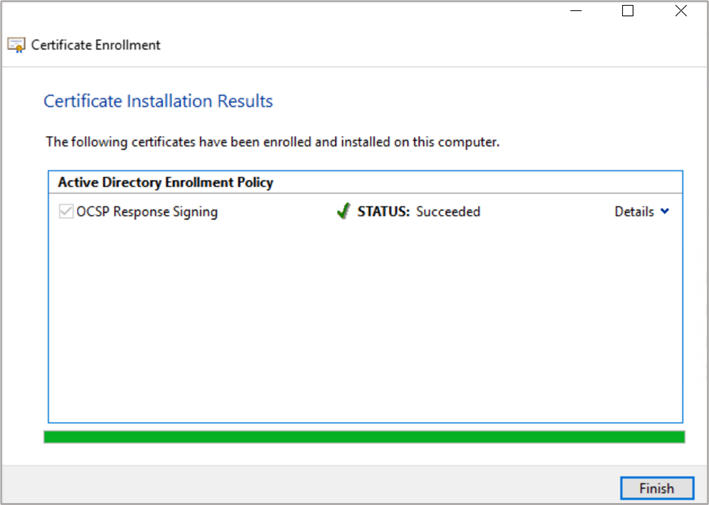
"Certificate Installation Results" Window