
Start and configure a single-node ONTAP cluster using Simulate ONTAP, VMware, System Manager, and the command line.
-
Create Simulate ONTAP virtual machine using .ova file.
-
After a few minutes of starting the virtual machine, you will receive a message asking you to log in to the system. Use System Manager to complete the cluster setup. This message includes an IP address. Copy and paste this IP address into your browser address bar to open System Manager.
-
System Manager will open. You can ignore the ‘partner details were not found’ error message.
-
If you have any issues with how System Manager displays pages, then try a different web browser or Java version on your laptop.
-
Enter these details as per your requirement, leaving the other checkboxes unchecked, then click Submit.
a) Storage System Name: cluster1
b) Administrative Password: Utimaco@123
c) Cluster IP Address: 192.168.182.61 Subnet Mask: 255.255.255.0 Gateway: 192.168.182.1
d) Node IP Addresses: 192.168.182.62
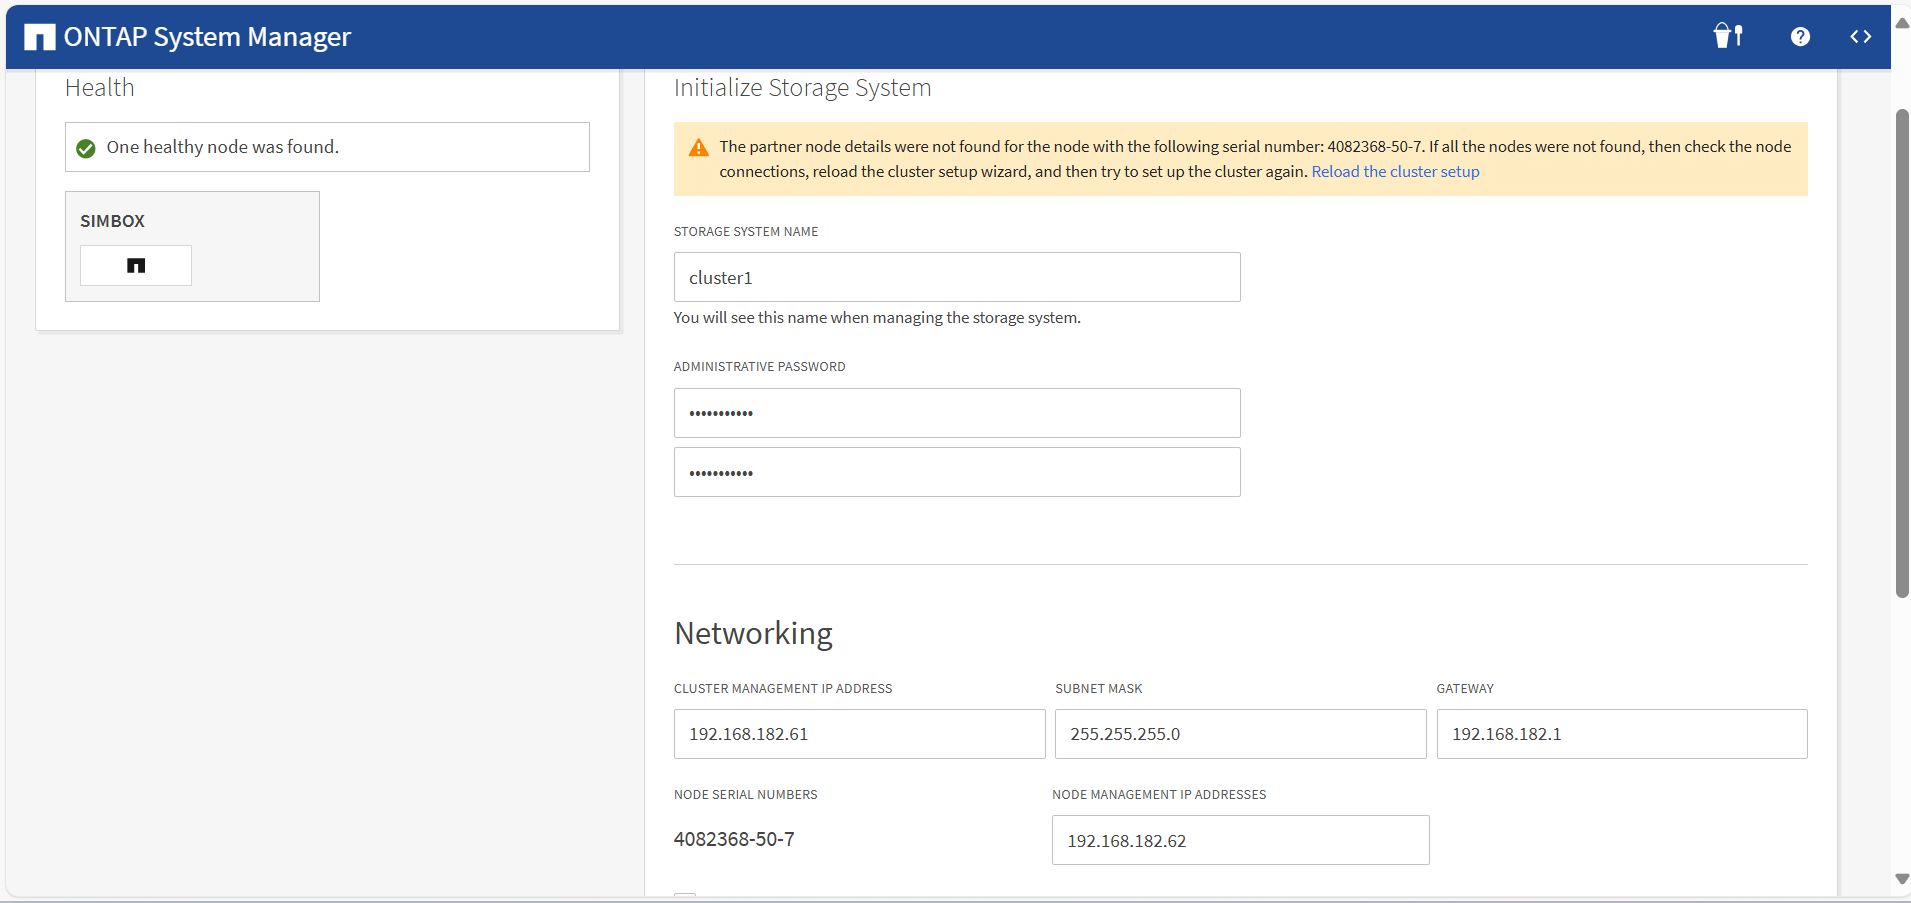
System Manager Initialize Storage System page
-
in the VMware Workstation Player window.
-
Add all existing disks to Cluster 1 Node 1 with the below command.
|
>_Console |
|---|
|
|
If you get an error message, it’s because the system has already auto-assigned the disks; you can ignore it.
-
If necessary, add more disks to your root aggregate to increase its size and accommodate the additional space needed in your root volume.
|
>_Console |
|---|
|
|
-
Set the root volume to a new size.
|
>_Console |
|---|
|
|
10. Download a production data at rest encryption image from NetApp Support.
a) Click download latest image, for example “Download Latest Release [9.12.1P17]”.
b) Click I read the EULA. Click Accept and Continue.
c) Click “Download ONTAP 9.12.1P17 with NetApp Volume Encryption for FAS [2.54 GB] “.
d) Save the file and make it accessible via a web server.
e) Download the package to ONTAP cluster and update the node using the below command.
|
>_Console |
|---|
|
|
11. Unlock the diag account and set the password.
|
>_Console |
|---|
|
|
12. Install the VE license.
|
>_Console |
|---|
|
|
13. Verify that the license is installed by displaying all the licenses on the cluster.
|
>_Console |
|---|
|
|
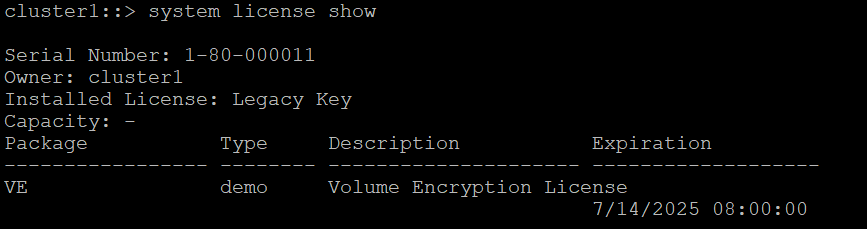
System license show