

Functional Testing
Create the Key Reference in OCI
-
In the OCI Console, open the External Vault created previously.
-
Go to Keys.
-
Click Create Key Reference.
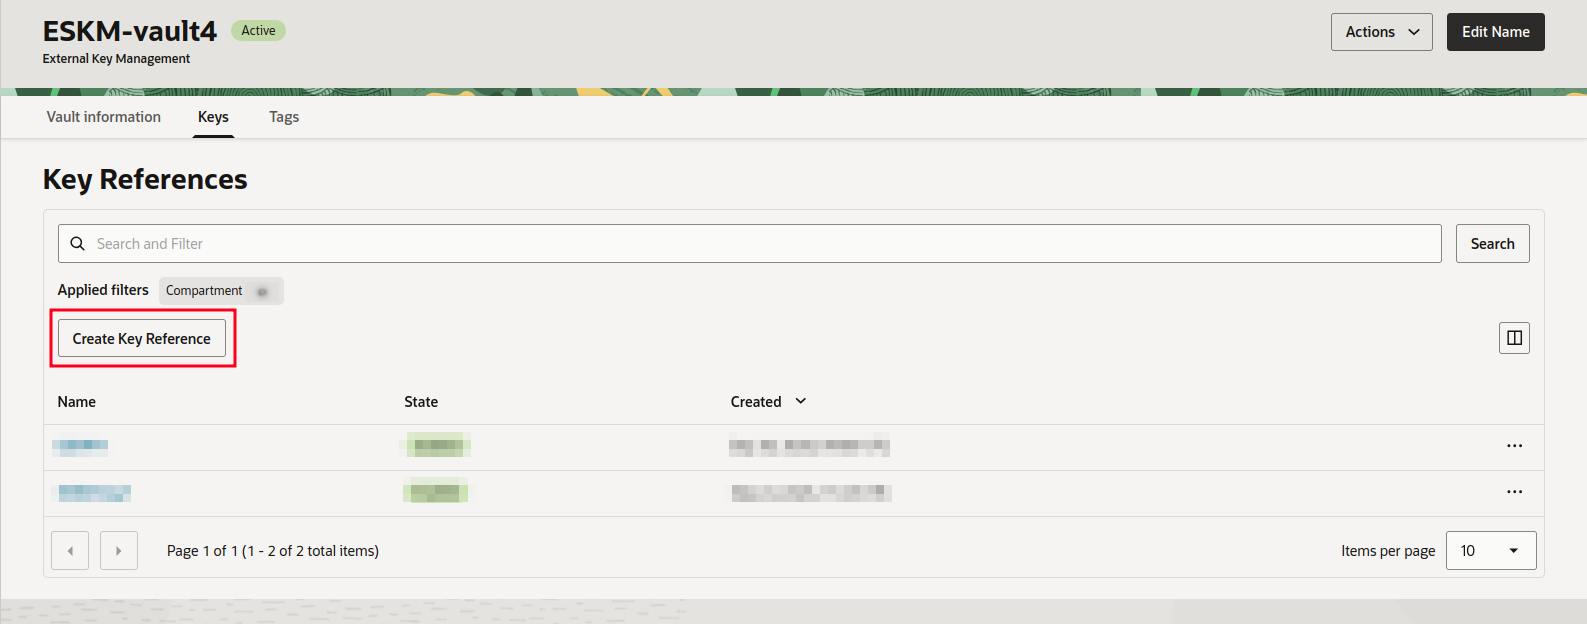
Create Key Reference
-
Enter the external key identifier created in the ESKM previously:
<EXTERNAL_KEY_ID>
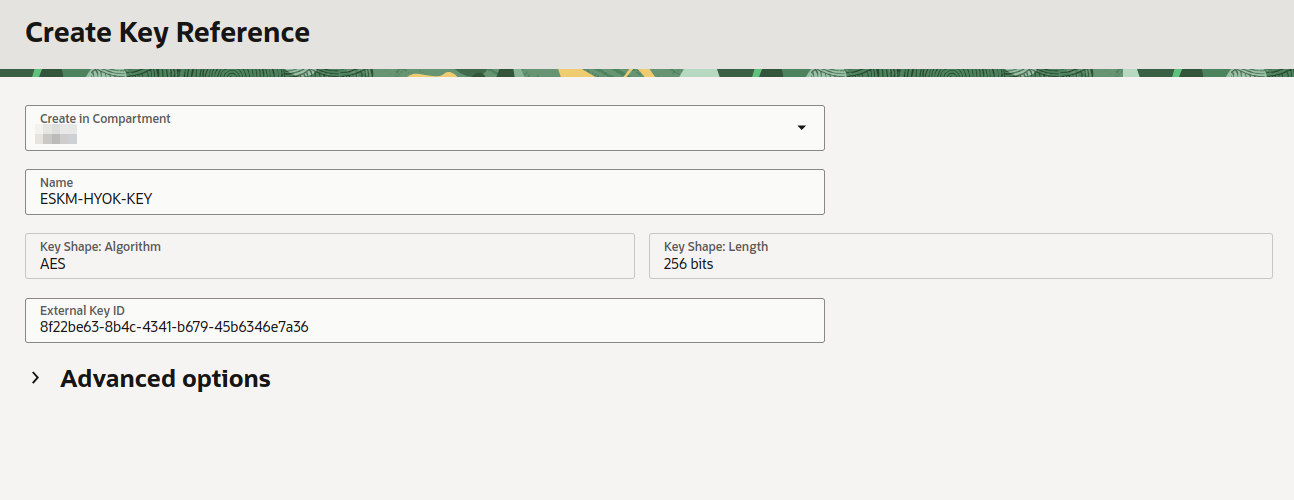
Key Reference Information
-
Enter the required algorithm and key length, if requested.
-
Enter the Key Reference name.
-
Click Create.
-
Verify that the Key is created and has the expected status.
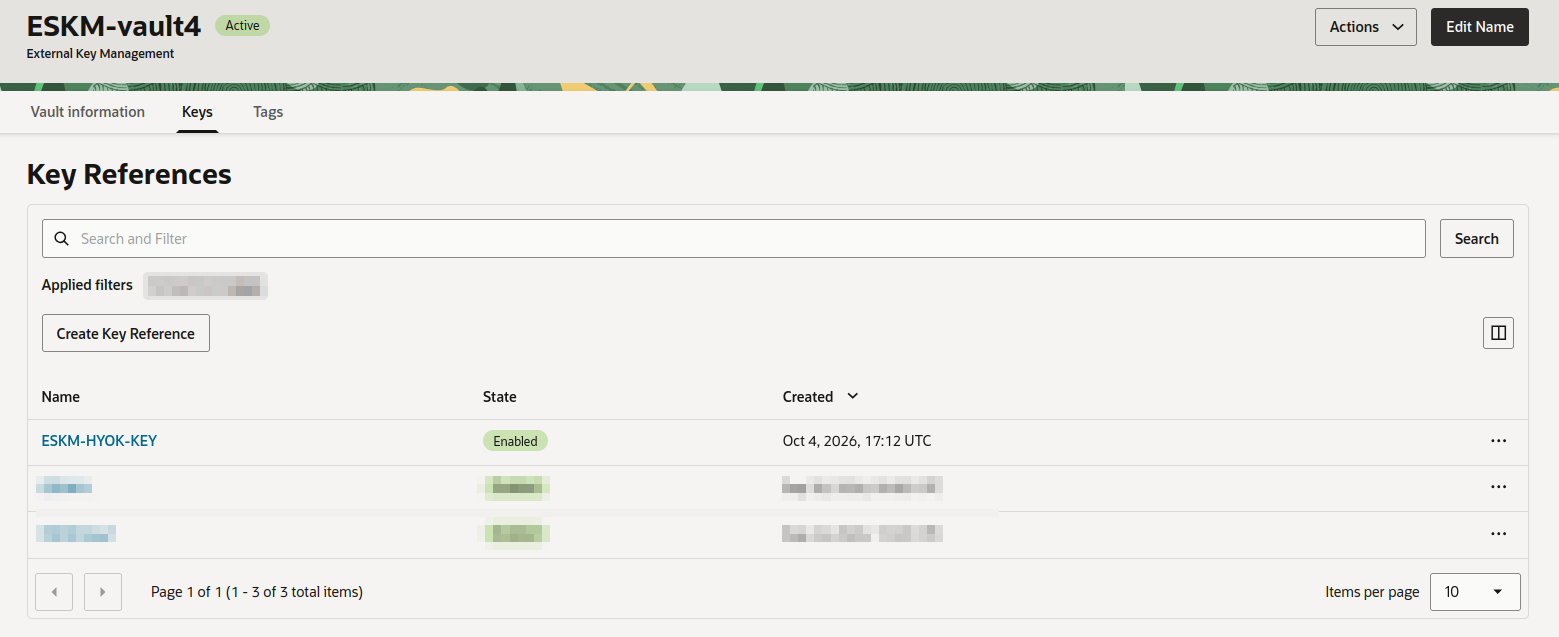
Key Reference Created
The Key Referece is associated with the key managed by the external KMS. The cryptographic key remains under the control of the external KMS.
Rotate the Key in OCI
-
In the OCI Console, open the External Vault and select Keys.
-
Select the HYOK Key Reference and open Key Reference Versions.
-
Select Rotate Key Reference.
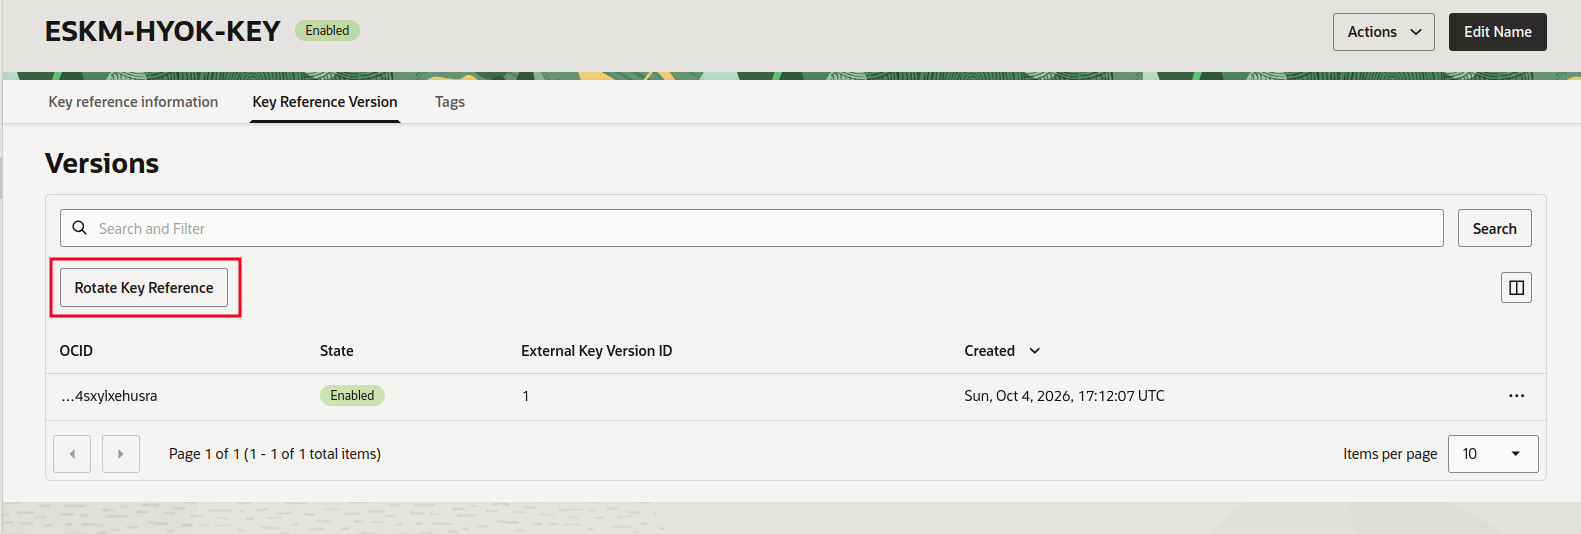
Rotate Key Reference
-
Leave the External Key Version ID field empty.
The External Key Version ID is optional. If a specific key version has already been generated in ESKM, its ID can be entered. If the field is left empty, OCI creates a new Key Reference Version using the latest key version available in the External Key Manager.
-
Confirm the rotation when prompted.
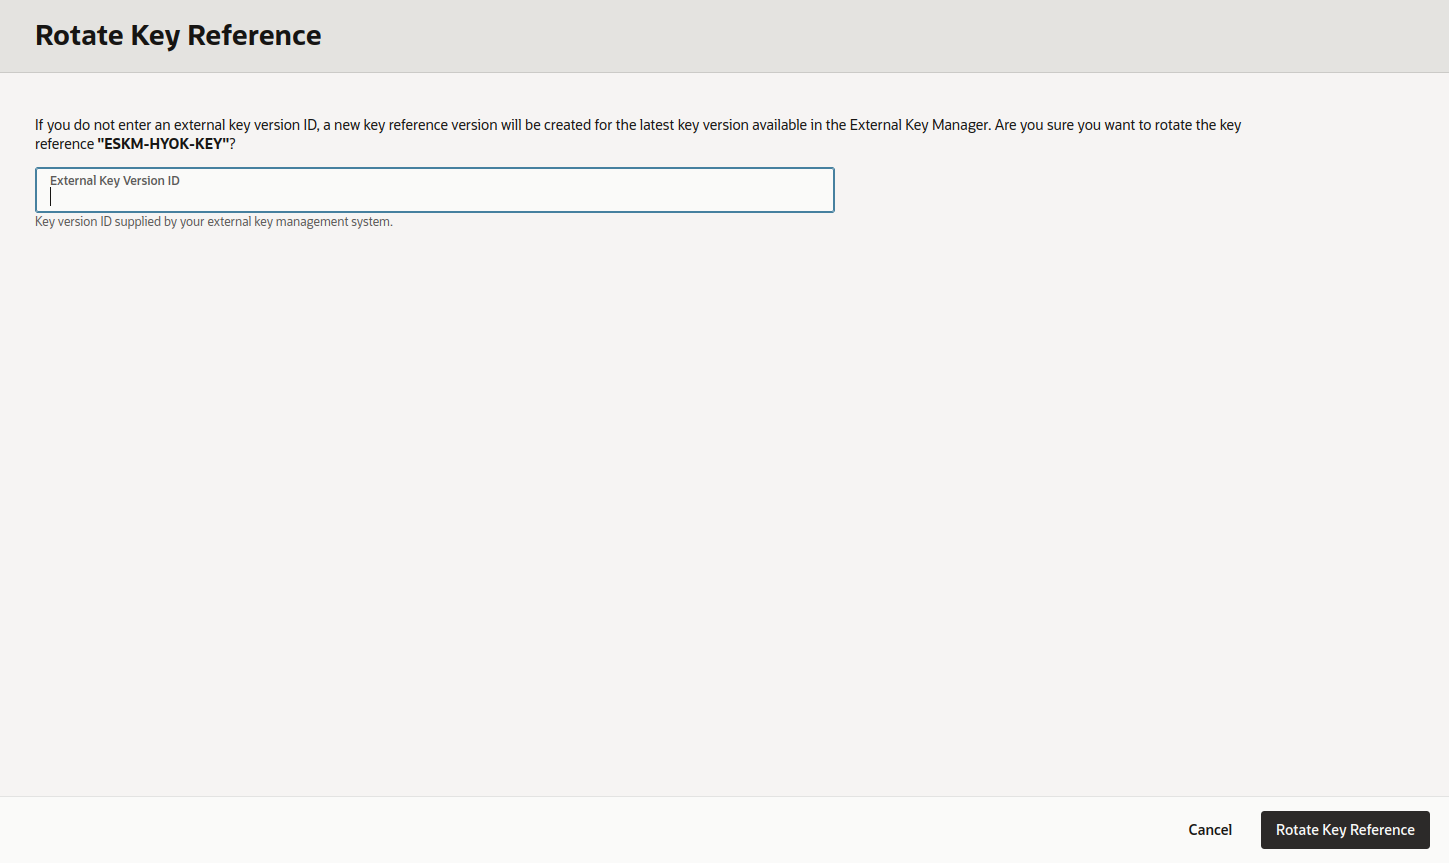
Rotate Key Reference Information
-
Verify that the new Key Reference Version is displayed as Enabled.
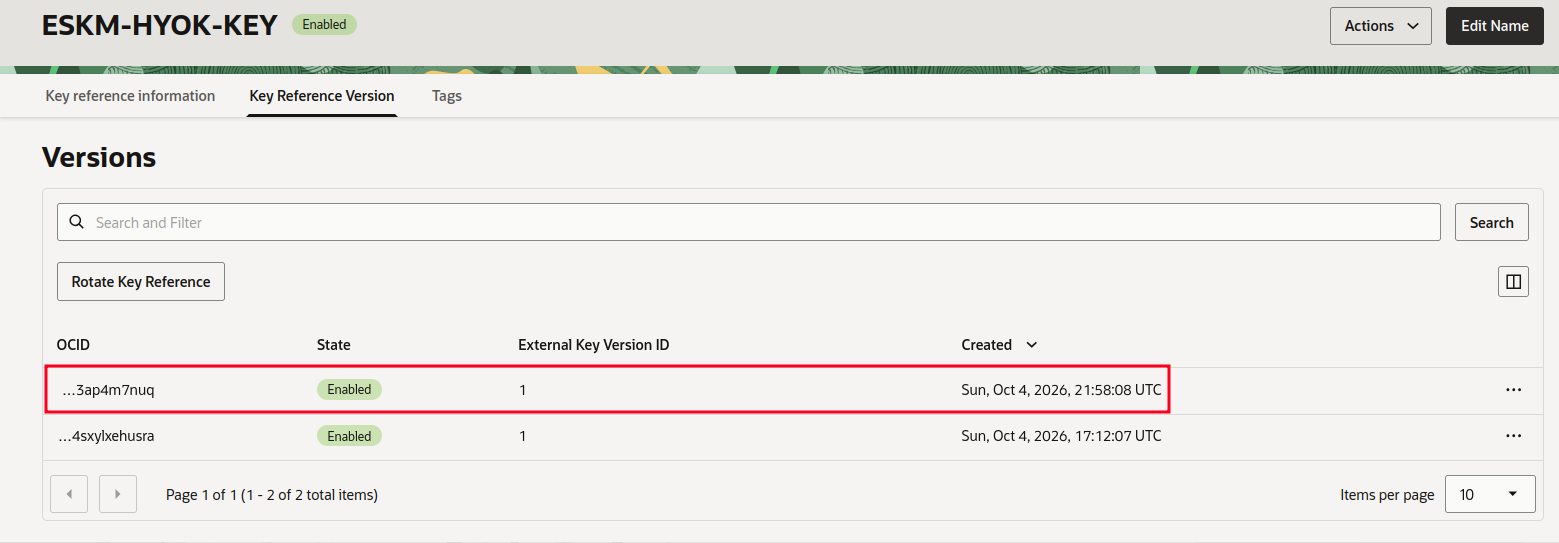
Key Reference Rotated
Disable the Key in OCI
-
In the External Vault, go to Keys.
-
Select the HYOK Key Reference and open Actions.
-
Select Disable and confirm the operation.
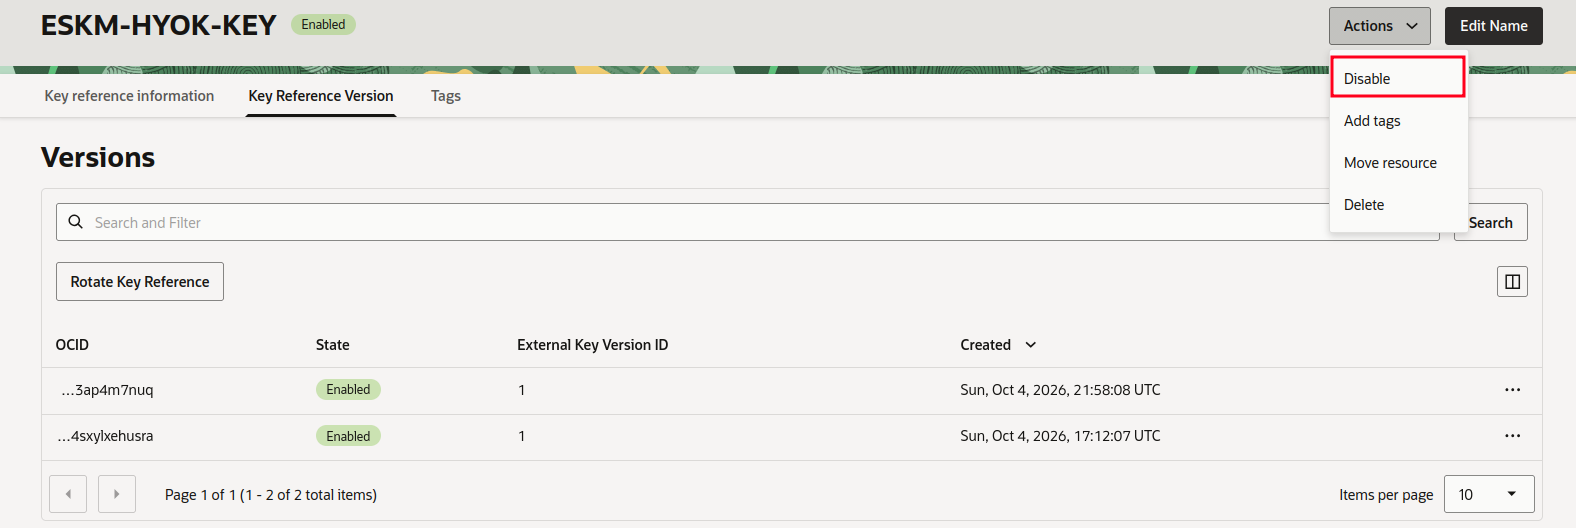
Disable Key Reference
-
Verify that the Key Reference status changes to Disabled.
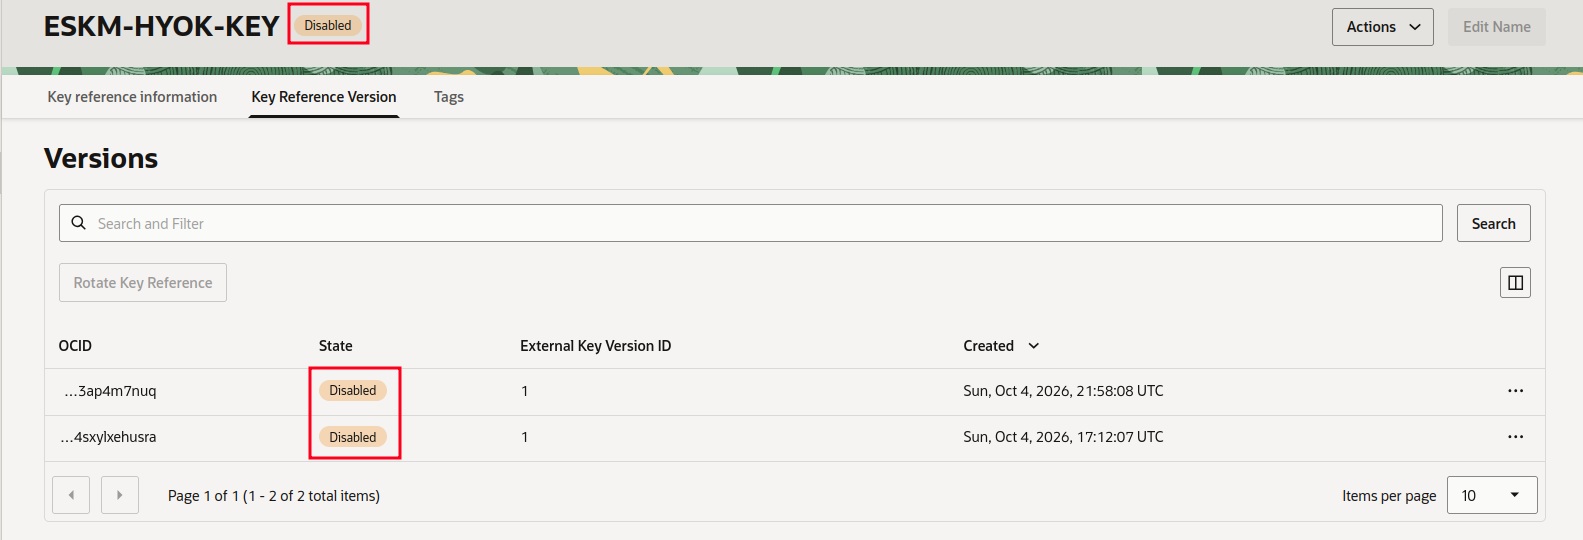
Key Reference Disabled
A disabled Key Reference cannot be used for cryptographic operations.
Modify the Key in OCI
For HYOK, the key material itself cannot be modified in OCI. To test modification of the OCI-side resource:
-
In the External Vault, go to Keys.
-
Select the HYOK Key Reference.
-
Select Edit Name and modify the available key name.
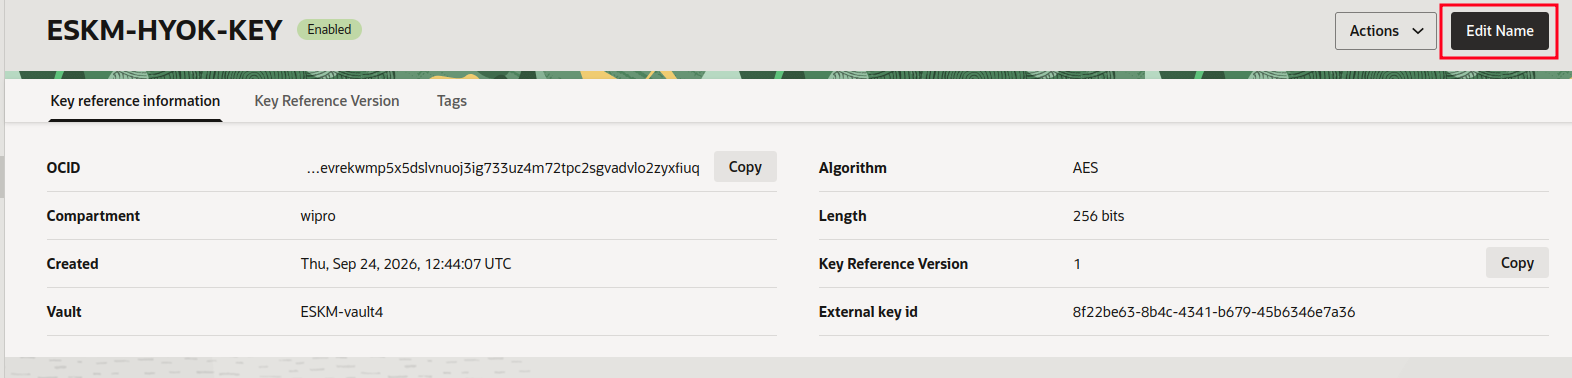
Edit Key Name
-
Save the changes and verify that the modification is displayed.
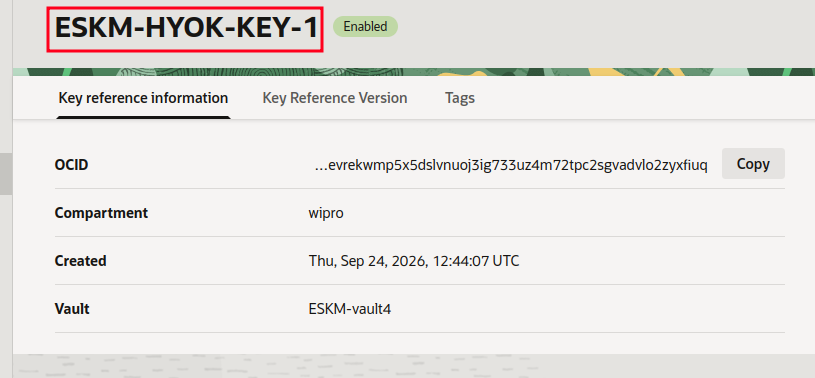
Key Name Modified
Encrypt with the Key in OCI
-
In the OCI Console, go to Storage → Block Storage → Block Volumes.
-
Click Create Block Volume.
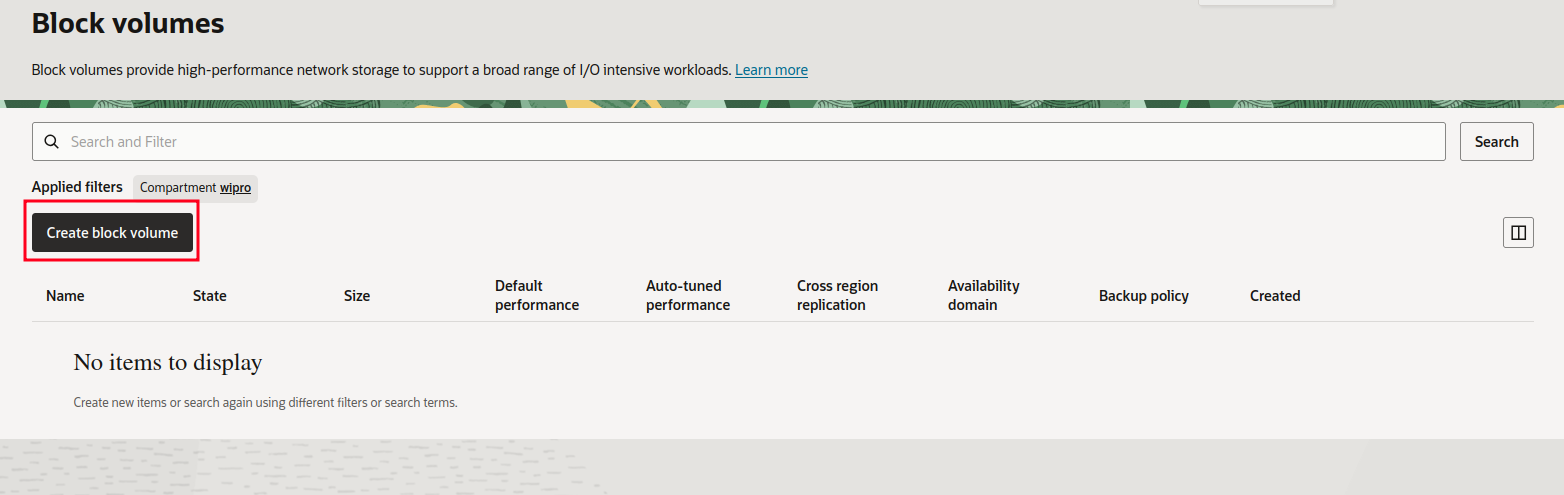
Create Block Volume
-
Enter the required volume information.
-
Under Encryption, select Encrypt using a customer-managed key.
-
Select the External Vault created previously.
-
Select the HYOK Key Reference.
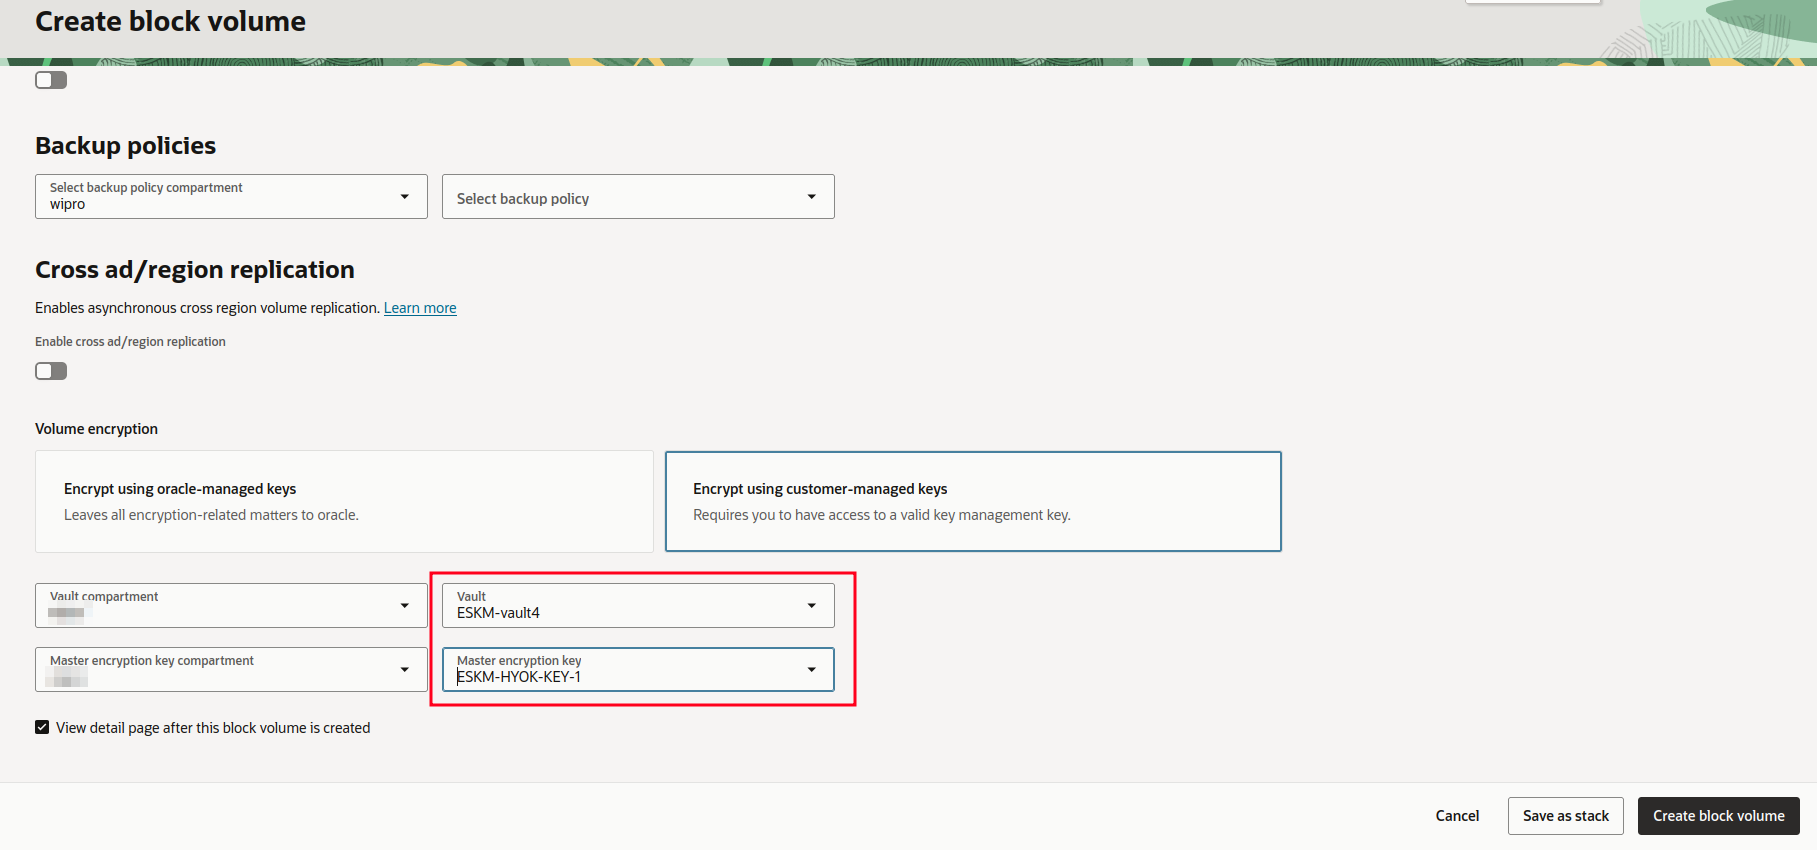
Select HYOK Key Reference
-
Click Create.
-
Verify that the Block Volume is created successfully and that the HYOK Key Reference is displayed as the encryption key.
Delete the Key in OCI
-
In the External Vault, go to Keys.
-
Select the HYOK Key Reference and open its actions.
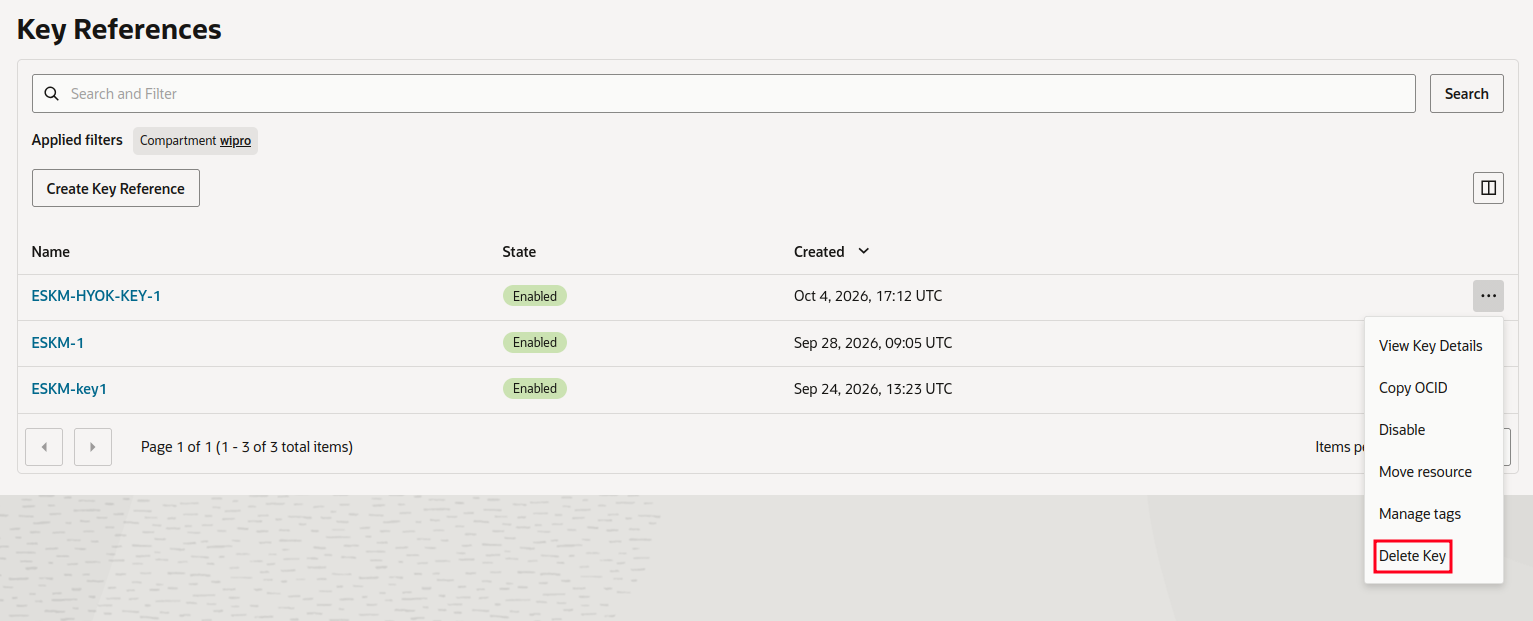
Delete Key
-
Select Delete.
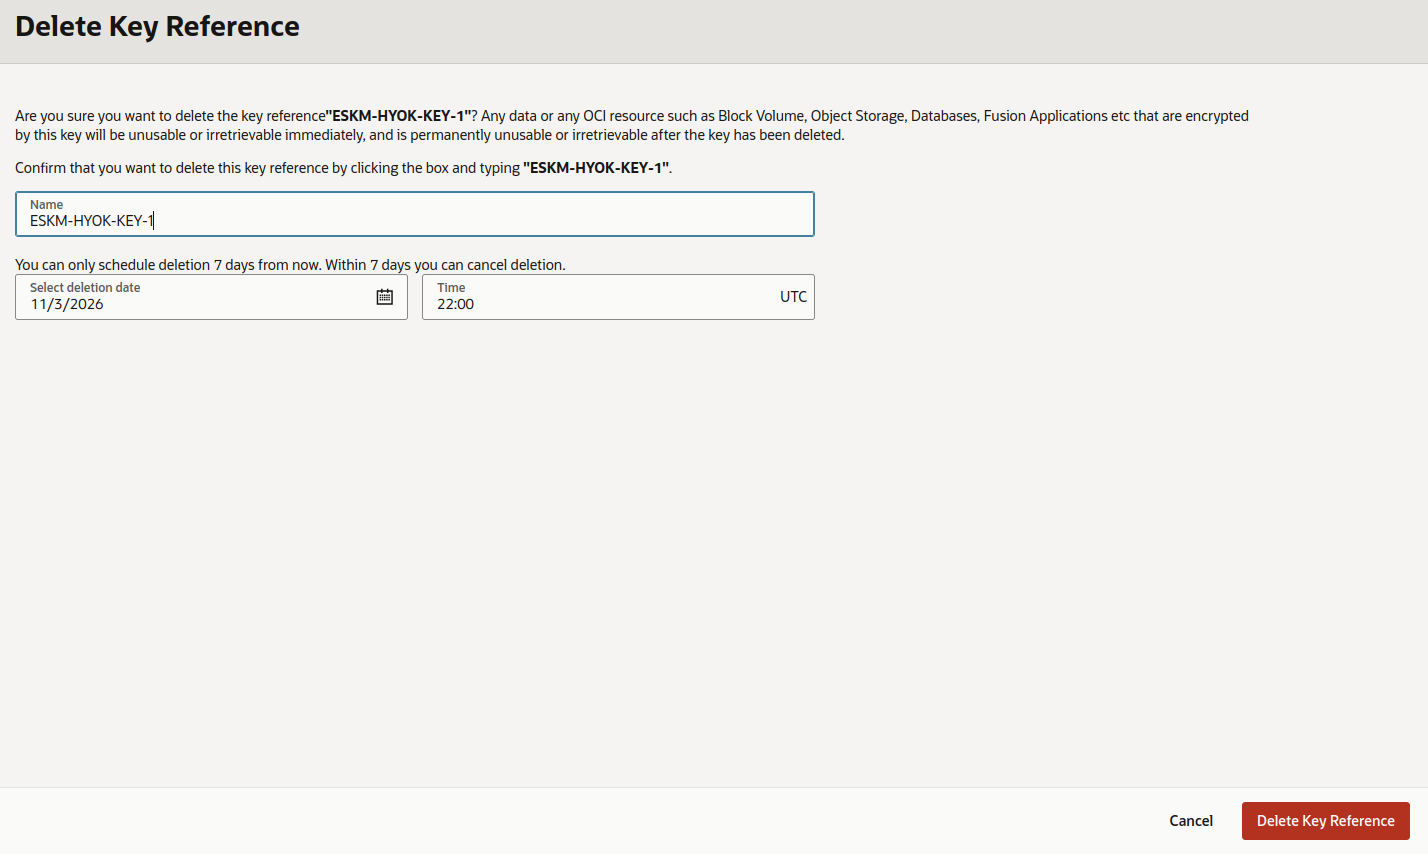
Confirm Deletion Schedule
-
Confirm the deletion and verify that the Key Reference is scheduled for deletion or removed according to its current state.
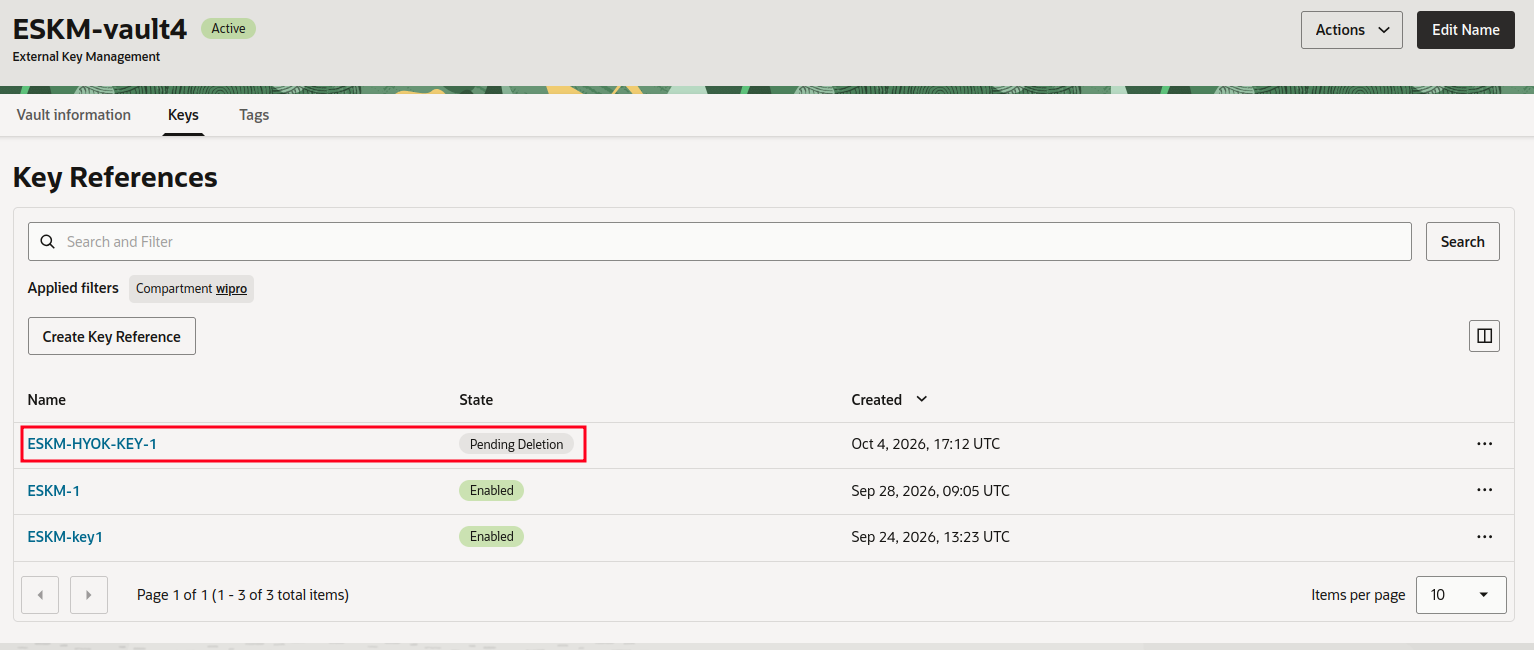
Key Pending Deletion
Deleting the Key Reference in OCI does not delete the corresponding key in ESKM. the external key remains available in the external KMS.
Logs and Validation Steps
The ESKM logs can be used to verify the operations performed during the OCI-HYOK integration and to confirm the successful upload of the key to OCI.
-
In the ESKM Management Console, click Device > Logs & Statistics > Log Viewer > REST.
-
In the ESKM Management Console, click Device > Logs & Statistics > Log Viewer > Audit.
-
In the ESKM Management Console, click Device > Logs & Statistics > Log Viewer > System.
-
Review the REST, Audit, and System logs for the operations performed during the OCI-HYOK integration.
-
In the Audit log, verify that the key upload operation was successfully completed.

ESKM HYOK Logs
The successful Audit log entry confirms that the key upload operation was completed by ESKM. Together with the key being visible in the OCI Vault, this validates the successful transfer of the key as part of the OCI-HYOK integration.