
The steps below illustrate the configurations using a VMware vSphere Web Client.
This section is not a substitute for VMware documentation. Should this section offer different instructions than VMware’s documentation, follow the instructions issued by VMware.
-
Open a web browser and enter the vSphere Web Client URL.
-
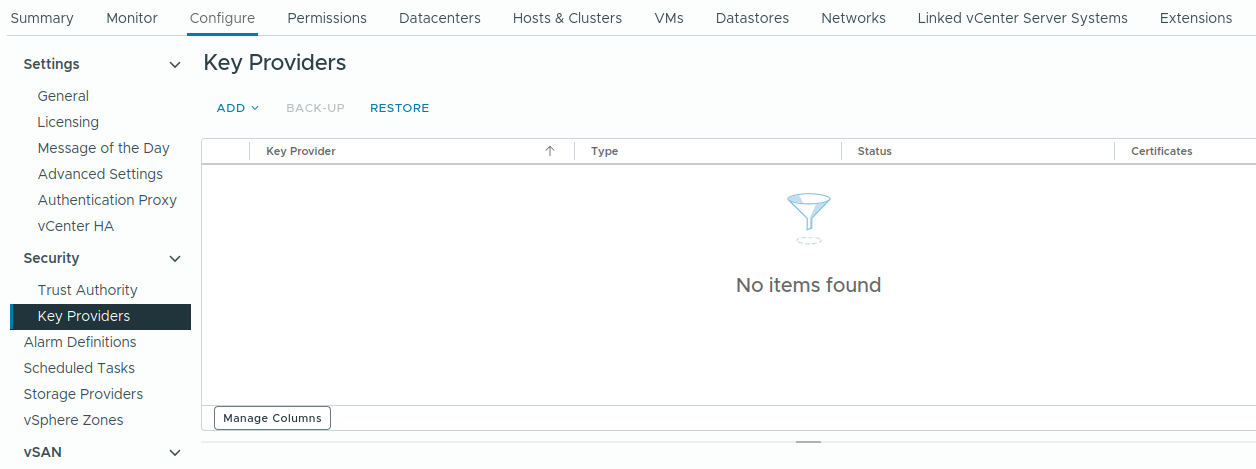
Go to Configure > Key Providers.
The screenshots used in the following sections, are captured from vSphere version 9.
Configure
-
Click on ADD.
-
Enter the following details to add a new Key Management Server (KMS).
|
Filed Name |
Details |
|---|---|
|
Name |
Enter a name for the key provider configuration in vCenter. This is an internal identifier used to reference the KMS instance. |
|
KMS |
Enter a name or alias for the Key Management Server. This value is used to identify the KMS within the key provider configuration. |
|
address |
Enter the IP address of the configured ESKM. |
|
port |
KMIP port number 5696. |
|
Proxy server |
Do not enter anything. |
|
Proxy port |
|
|
User name |
|
|
Password |
New ESKM
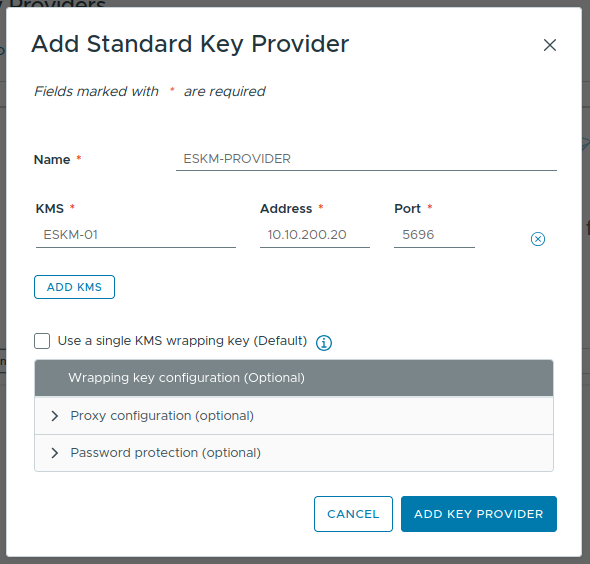
Add KMS
-
Review the input information and click ADD.
vCenter Server provides an optional configuration to use a single KMS wrapping key. When this option is enabled, vCenter retrieves a single key from the KMS and uses it to wrap internally generated data encryption keys. This approach reduces the number of KMIP operations and minimizes key management overhead on the KMS.
While this mode can improve performance and scalability in environments with a large number of encrypted workloads, it also reduces the visibility of individual key lifecycle operations at the KMIP level. In contrast, when this option is not enabled, vCenter requests a unique key from the KMS for each encryption operation, allowing full traceability and management of keys within the KMS.