
-
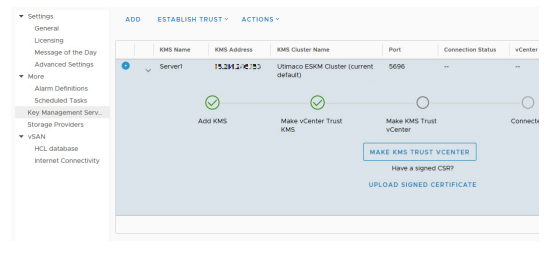
Click TRUST in the “Make vCenter Trust KMS” window and click on “MAKE KMS TRUST VCENTER”.
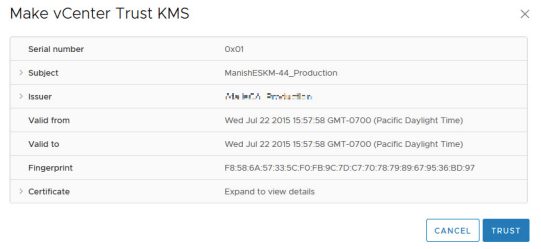
Make vCenter Trust KMS
Make KMS Trust vCenter
-
Navigate to Choose a method, Select “New Certificate Signing Request (CSR)” and click NEXT.
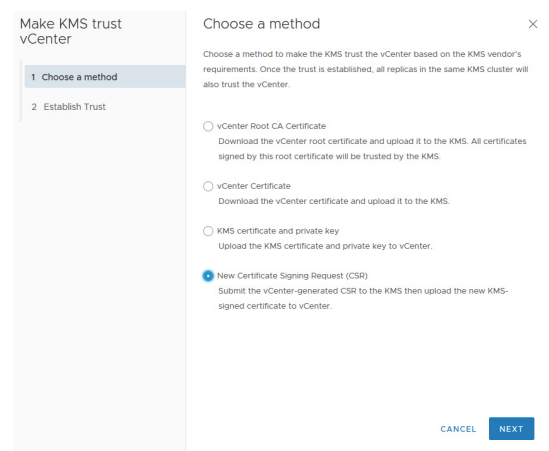
Choose a Method
-
In “Submit CSR to KMS”, click on COPY to copy the certificate. Alternatively, click on DOWNLOAD to download the certificate.
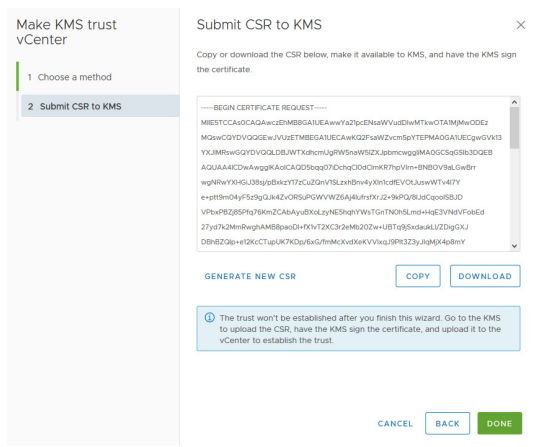
Submit CSR to KMS
-
Click on DONE.

Click 'Done'
-
Go to ESKM and click on Security > Certificates & CAs > Local CAs.
-
Select the CA, and then click Sign Request.
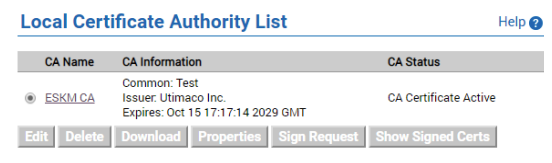
Local Certificate Authority List
-
Set “Certificate Purpose” to Client.
-
Paste the certificate request generated by the client application into the certificate request field.
-
Click Sign Request.
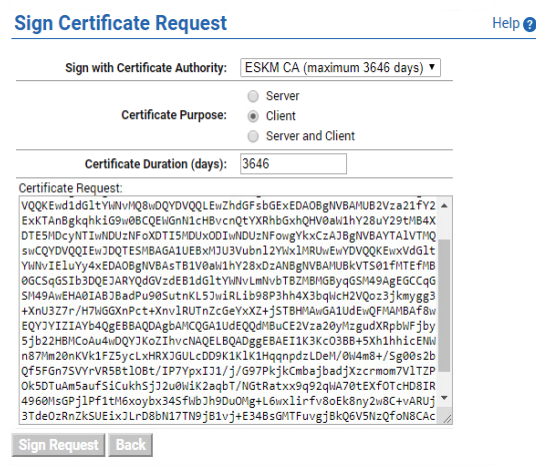
Sign Certificate Request
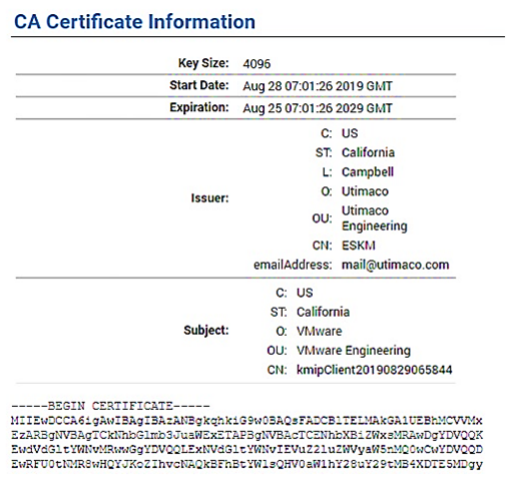
CA Certificate Information
-
Please note down the Common Name (CN) from the certificate information page and download the certificate.
-
Open the Management Console of the ESKM and navigate to Security > Local Users & Groups > Local Users.
-
At the bottom of the list, click Add.
-
The Create Local User window appears.
-
Create a KMIP local user in ESKM and provide the signed certificate content.
The “Username” must match with the noted “Common Name (CN)”.
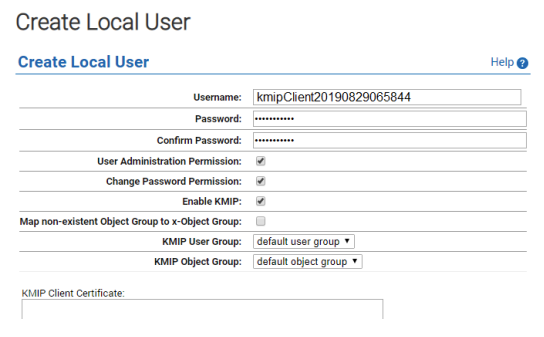
Create Local User
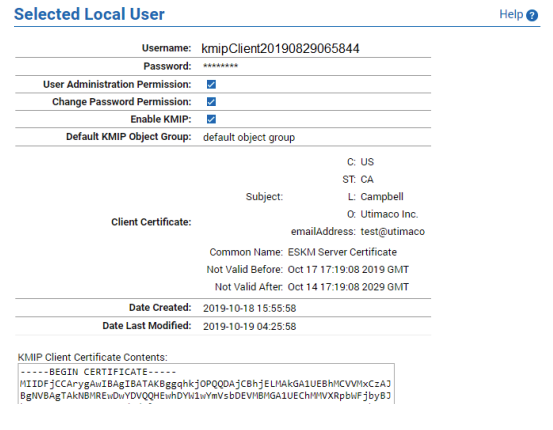
Selected Local User
-
Go to vCenter and click on “Upload Signed Certificate”.
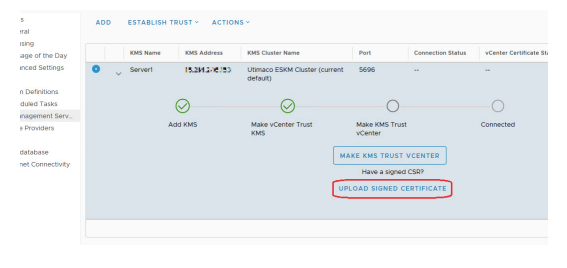
Upload Signed Certificate
-
Click UPLOAD A FILE and select the downloaded certificate from ESKM.
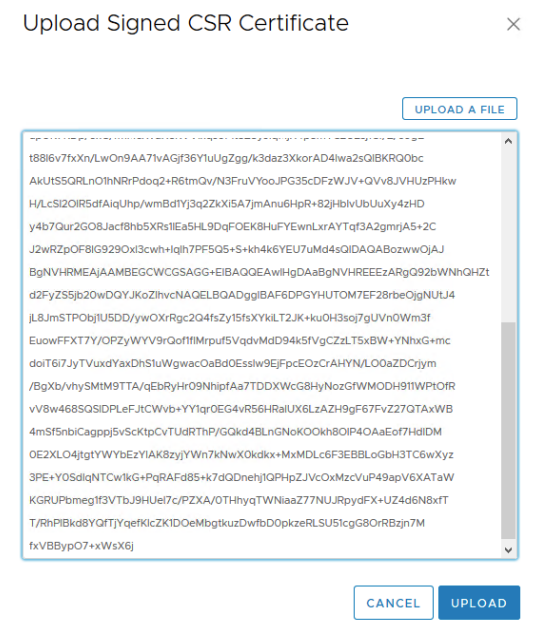
Upload Signed CSR Certificate
-
Click on UPLOAD and confirm trust.
-
Confirm that the ESKM server is accessible.
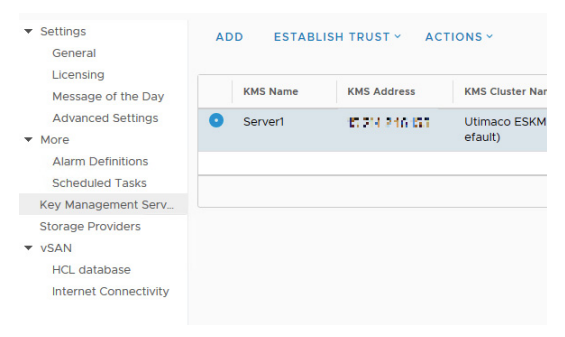
Server1
-
Click on ADD again to add another ESKM server to the existing cluster and allow failover.
-
Enter the details to add a Key Management Server (ESKM).
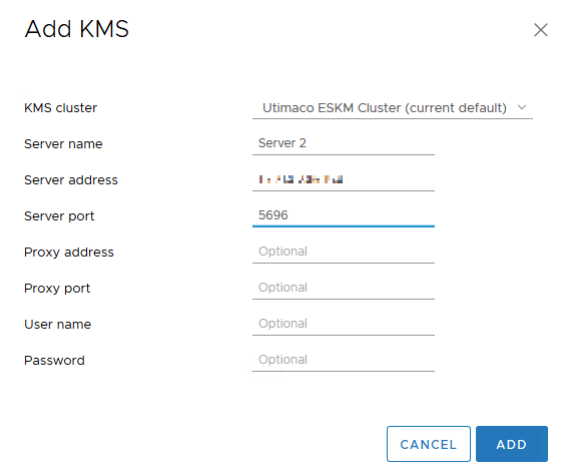
Add KMS
-
Review the input information and click ADD.
-
Click TRUST to make the vCenter trust KMS.
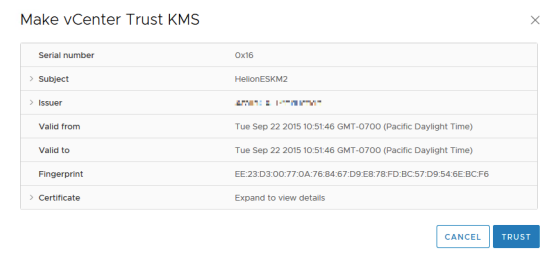
Make vCenter Trust KMS
-
Confirm both the ESKM servers are accessible.
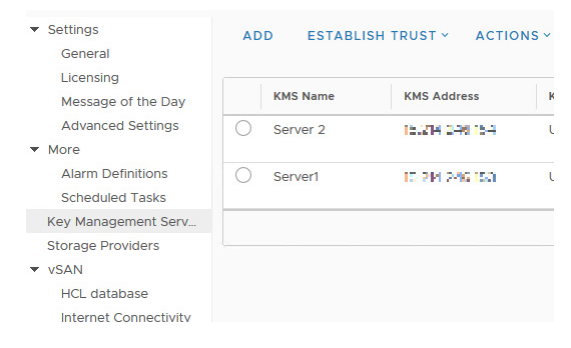
Server1 and Server 2
ESKM will be successfully integrated with VMware by following the procedure described above. Please follow the VMware policy guidelines to encrypt the VMs/ VSAN.