
-
To allow communication between Vault Server and Utimaco HSM, open the CyberArk Vault configuration file located at
C:\Program Files (x86)\PrivateArk\Server\Conf\dbparam.iniand configure theAllowNonStandardFWAddressesparameter to open the Firewall and enable access to the HSM.
|
|
|
|

Replace HSM IP and port according to your setup.
-
Specify Utimaco
PKCS#11provider DLL in the PKCS11ProviderPath parameter in theDBParm.inifile.
|
|
|
|

-
Save the changes to the dbparam.ini file and close it.
-
Restart the PrivateArk Server service.
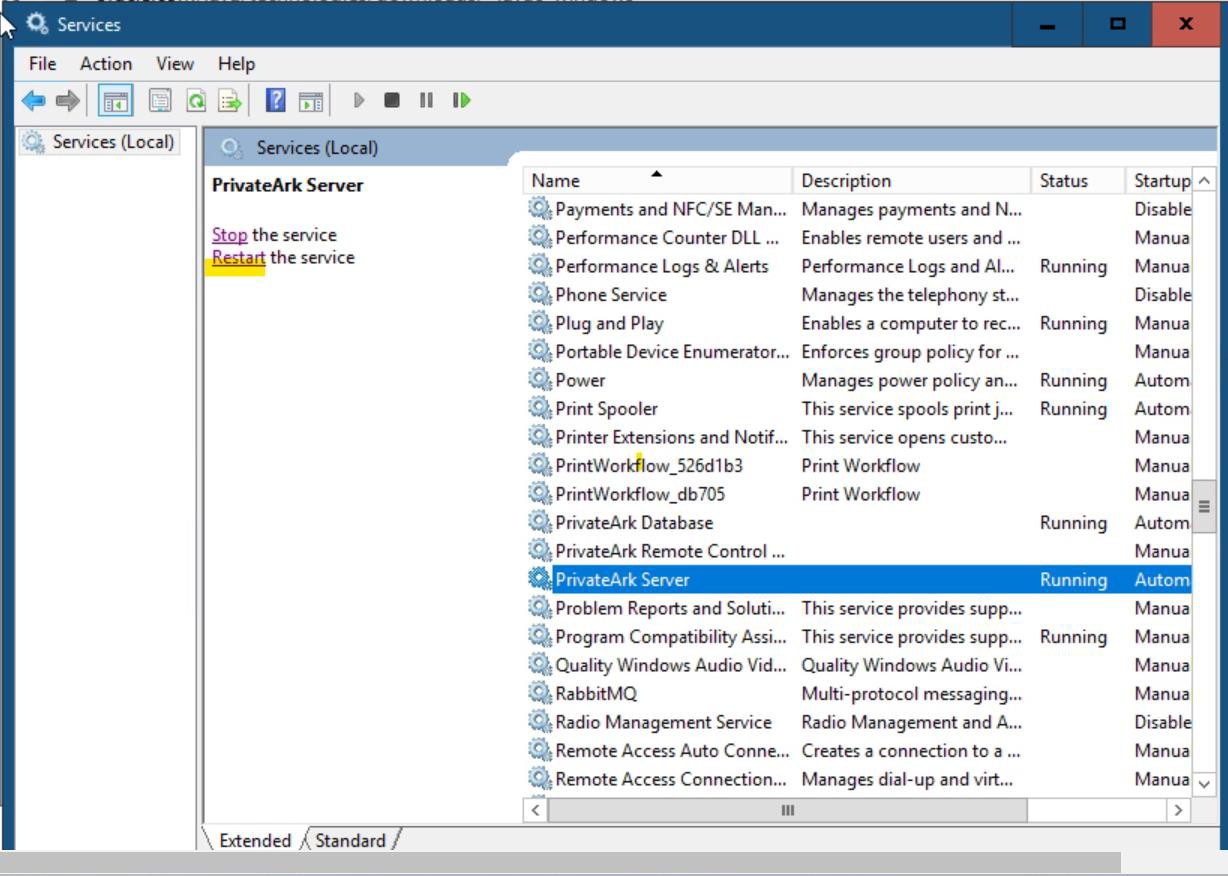
Restart PrivateArk Server Service
-
Store the HSM Slot PIN as an encrypted password to access the Utimaco HSM:
|
|

CAVaultManager SecureSecretFiles command output
-
Replace 12345678 with the Slot PIN.
-
Open the
DBParm.inifile and verify that the HSMPinCode parameter has been added with the encrypted value of the Slot PIN.
|
|
|
|
