
To create an AD-integrated CA, that is, an Enterprise CA, an account with Enterprise Administrator level privileges is required for the role configuration.
-
Join a machine to the Domain and Log in as a user with Administrative privileges
-
Select Start then select on Server Manager to open Server Manager
-
Select Manage, then select Add Roles & Features. The Before you begin window opens.
Click Next
-
On the Select installation type window, make sure the default Role or Feature Based
Installation is selected. Click Next
-
On Server selection, select a server from the server pool. Click Next
-
On the Select server roles window, select the Active Directory Certificate Services role
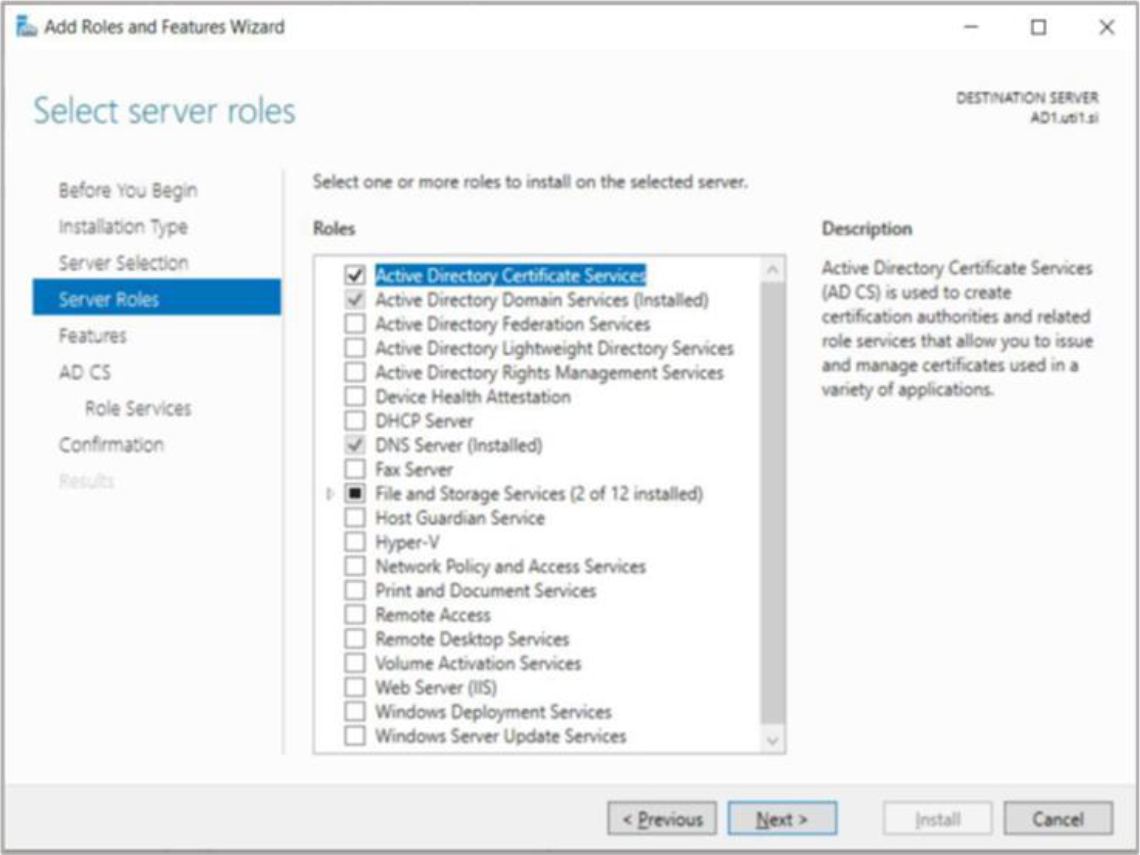
Figure 3: Select server roles window
-
When prompted to install Remote Server Administration Tools, select Add Features. Click
Next
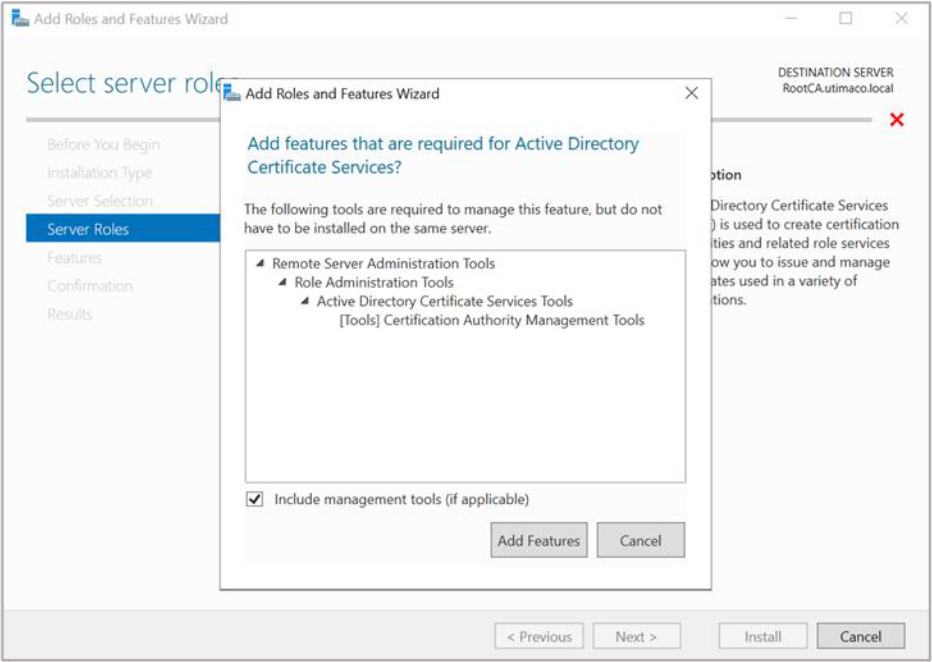
Figure 4: Add Roles and Features window
-
On the Select features window, click Next
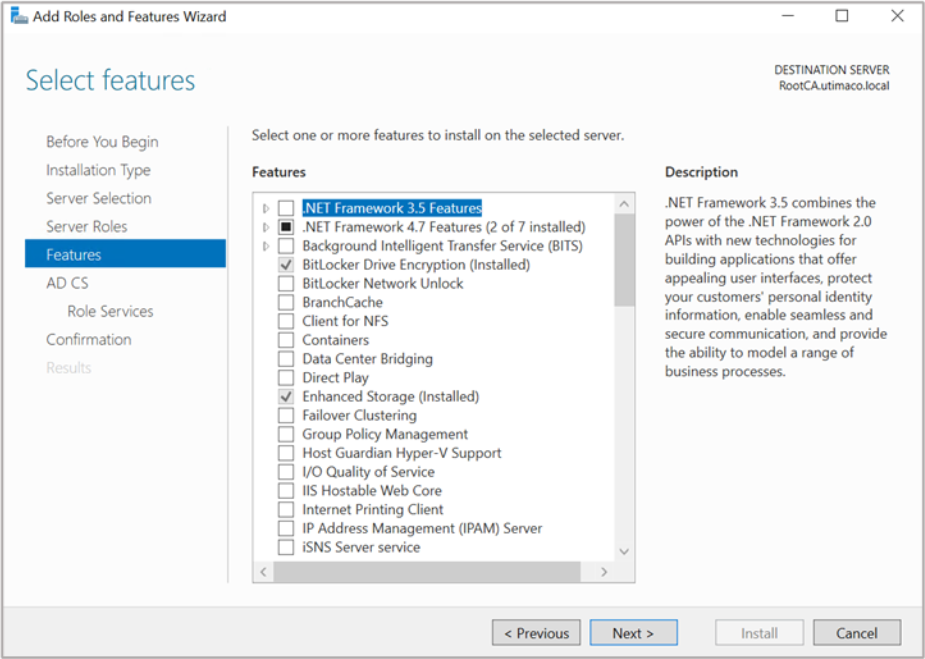
Figure 5: Select features window
-
On the Active Directory Certificate Services window, click Next
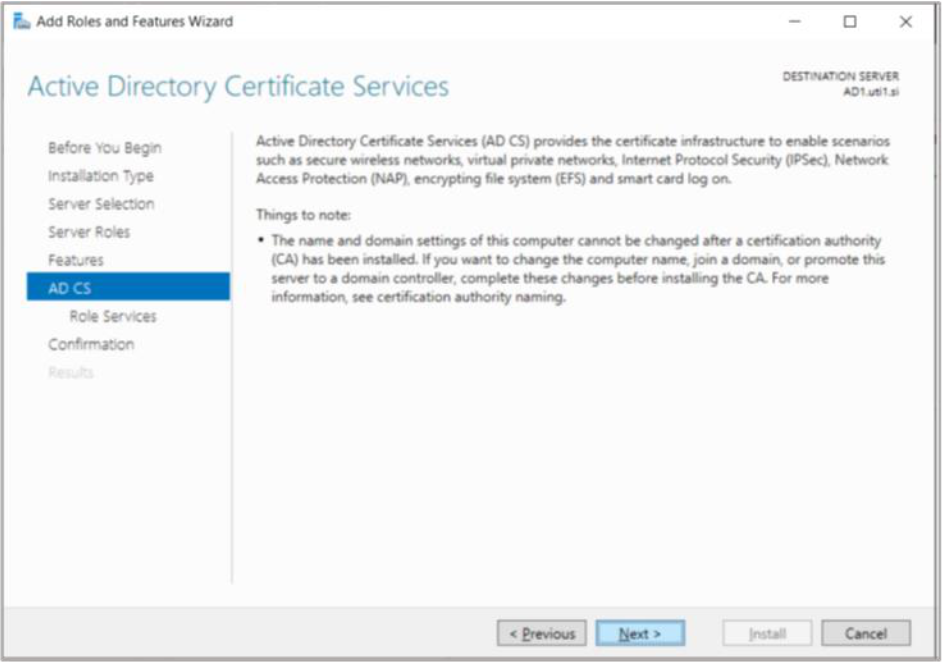
Figure 6: Active Directory Certificate Services window
10. On the Select role services window, the Certification Authority role is selected by default. Click Next
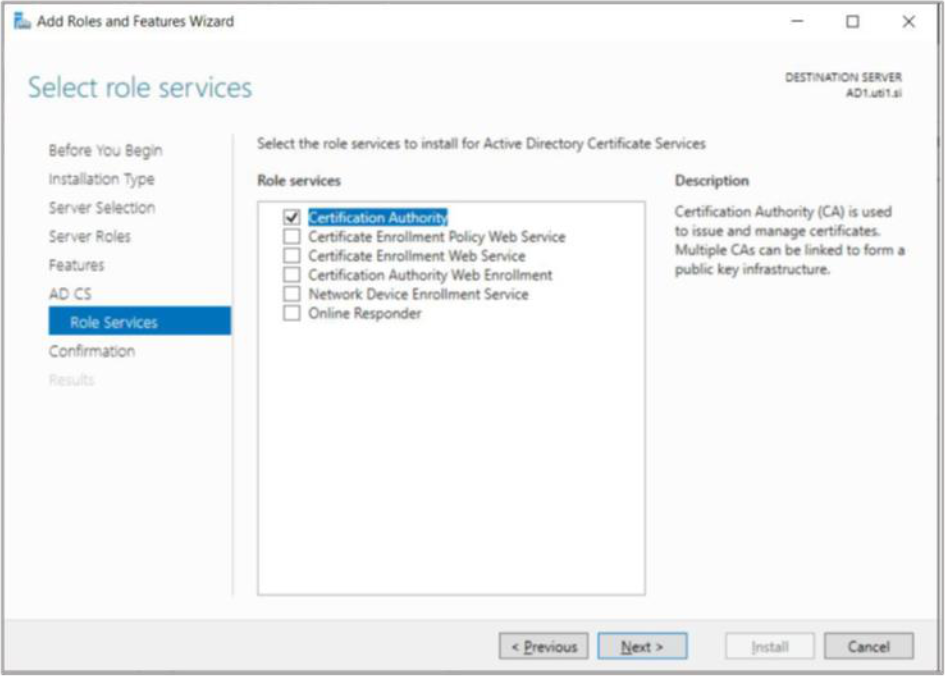
Figure 7: Select role services window
11. On the Confirm installation selections window, check, and verify the information then click Install
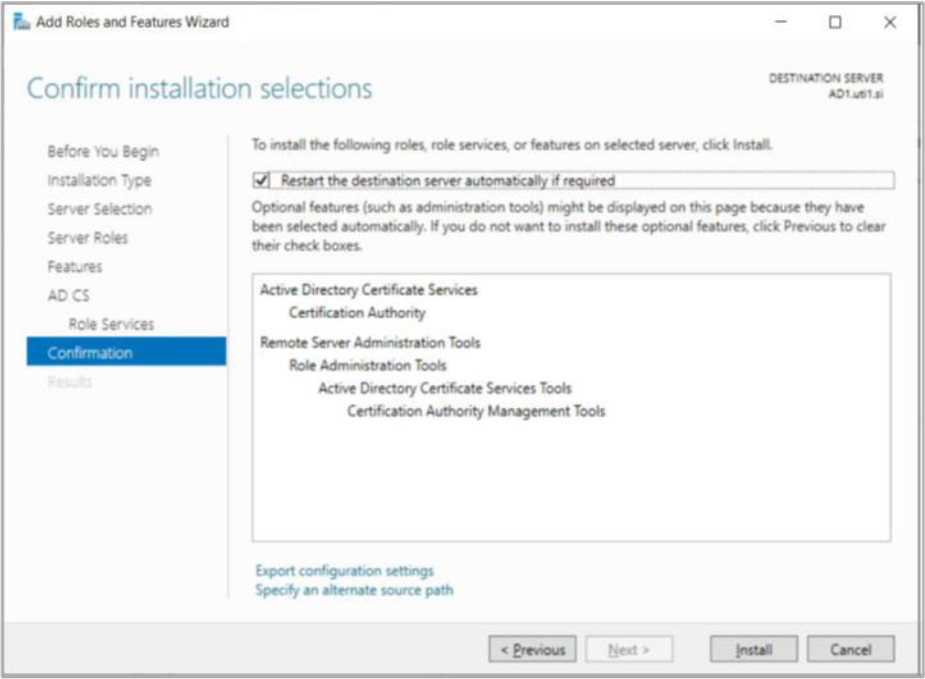
Figure 8: Confirm installation selections window
12. When the installation is complete, click on the Configure Active Directory Certificate Services on the destination server link
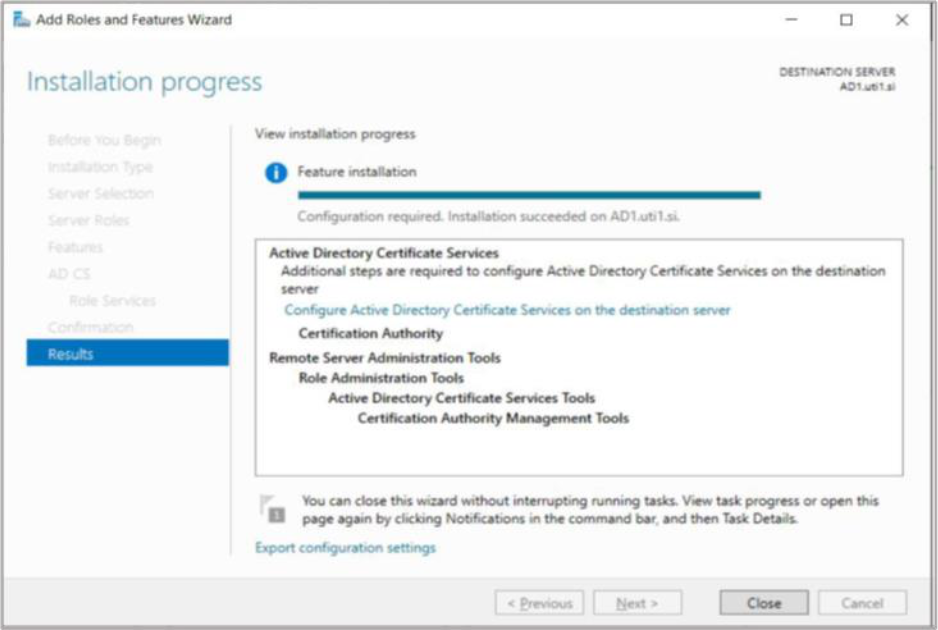
Figure 9: Installation Progress window
13. On the Credentials window, make sure that Administrator’s credentials are displayed in
the Credentials box. If not, select Change and specify the appropriate credentials. Click
Next
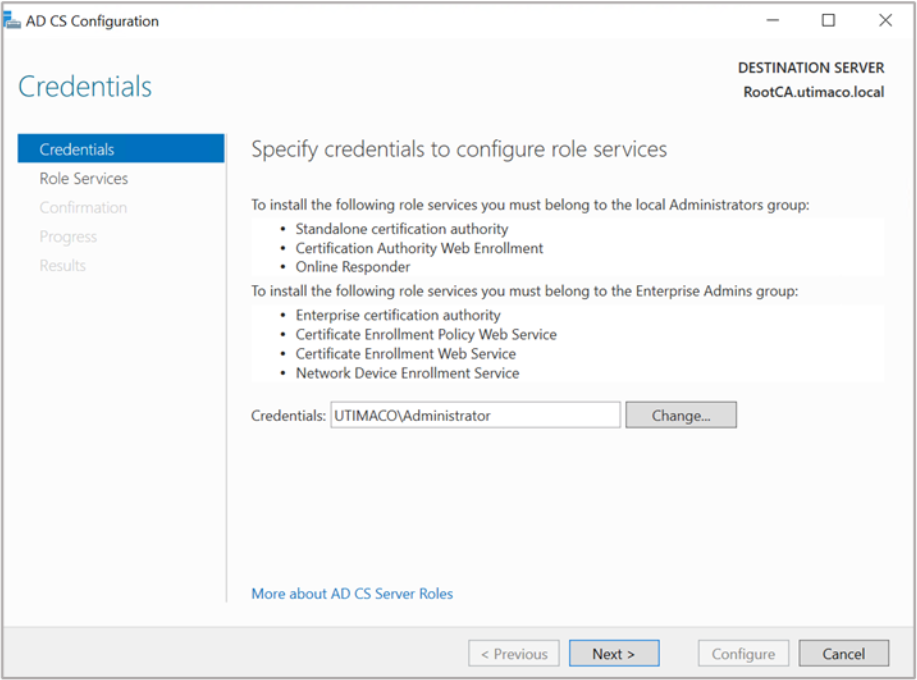
Figure 10: Credentials window
14. On the Role Services window, select Certification Authority. This is the only available
selection when the certification authority role is installed on the server, Click Next

Figure 11: Role Services window
If you are using Smartcard Authentication, the prompt will go on the PIN Pad device to insert
Smartcard and enter the pin. Then press OK button on the PIN Pad.
15. On the Setup Type window, select the appropriate CA setup type for your requirements.
Click Next
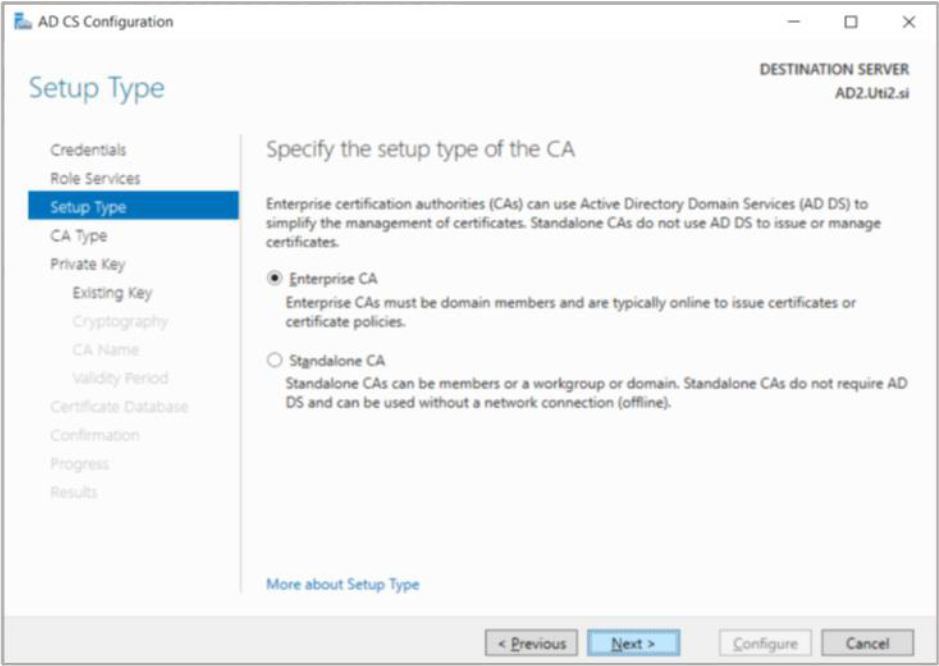
Figure 12: Setup Type window
16. On the CA Type window, Root CA is selected by default. Click Next
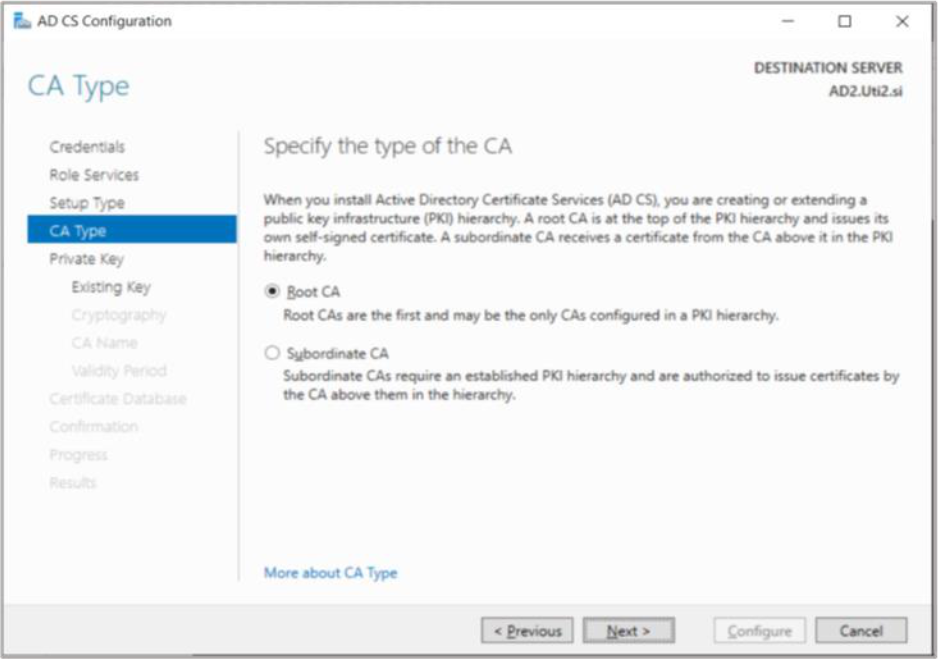
Figure 13: CA Type window
17. On the Private Key window, leave the default selection to Create a new private key
selected. Click Next
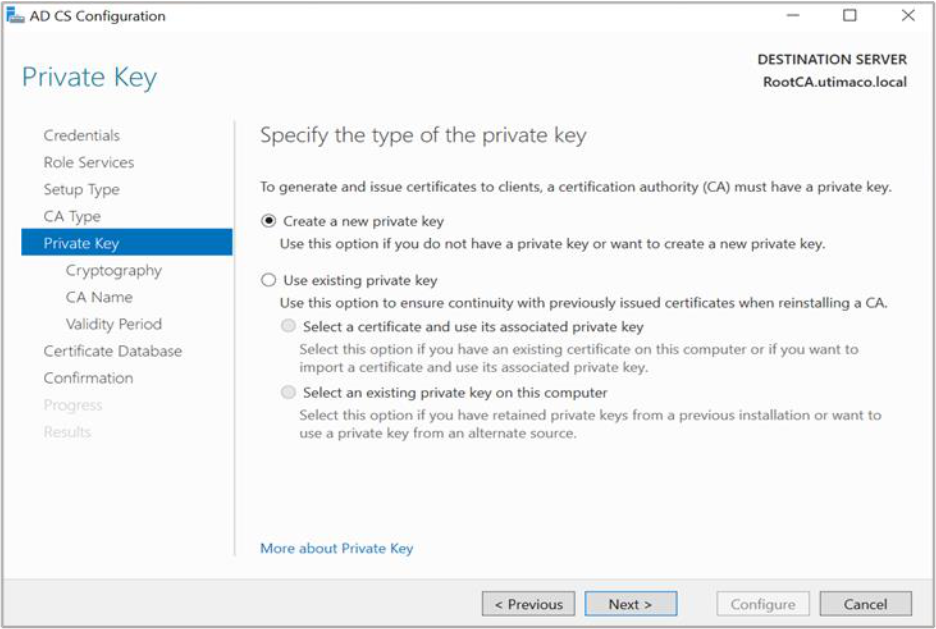
Figure 14: Private Key window
18. On the Cryptography for CA window, select the appropriate Utimaco CryptoServer
cryptographic provider along with the key type, key length, and suitable hash algorithm:
-
RSA #Utimaco CryptoServer Key Storage Provider
-
ECDSA_P256 #Utimaco CryptoServer Key Storage Provider
-
ECDSA_P384 #Utimaco CryptoServer Key Storage Provider
-
ECDSA_P521 #Utimaco CryptoServer Key Storage Provider
If KeyFile or SmartCard protection is used, select the Allow administrator interaction when the
private key is accessed by the CA option.
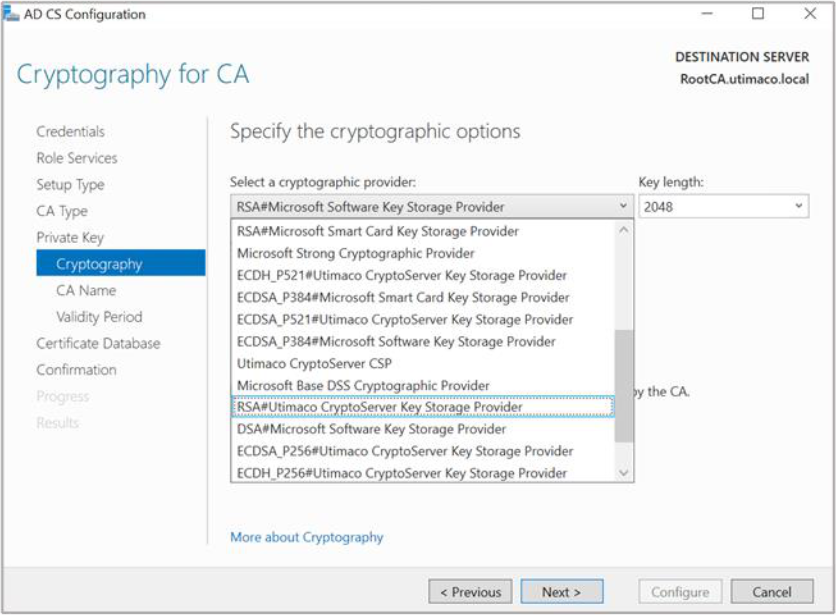
Figure 15: Cryptography for CA window
19. Click Next
20. On the CA Name window, give the appropriate CA name. Click Next
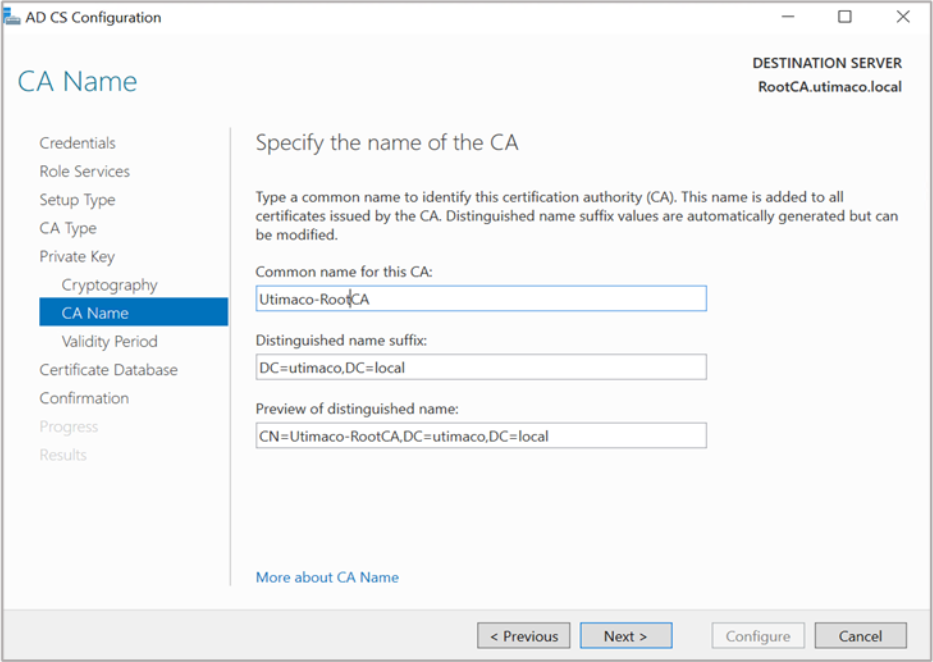
Figure 16: CA Name window
21. On the Validity Period window, enter the number of years for the certificate to be valid.
Click Next
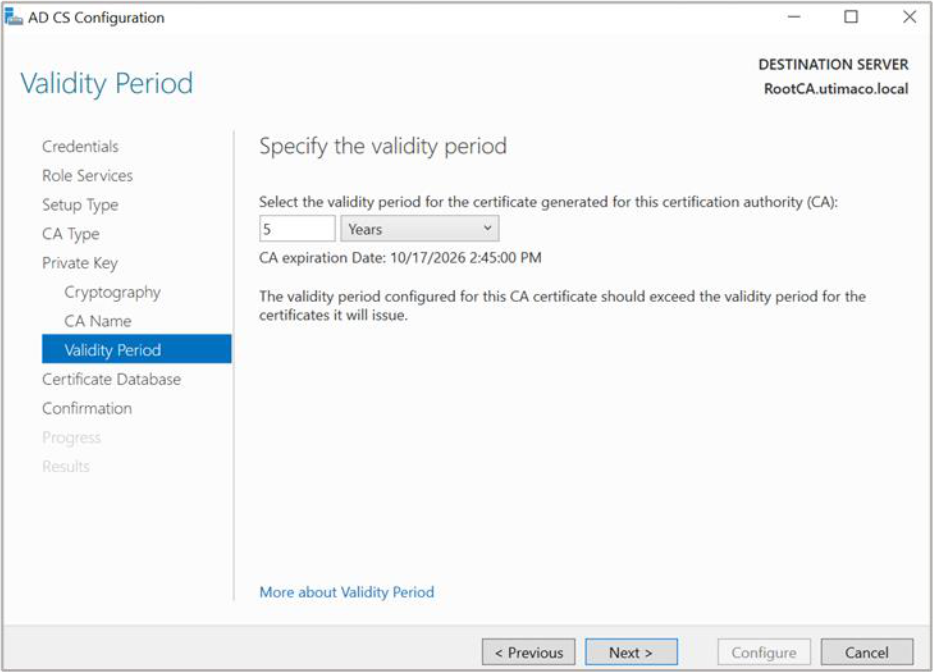
Figure 17: Validity Period window
22. On the CA Database window, leave the default locations for the database and database
log files. Click Next
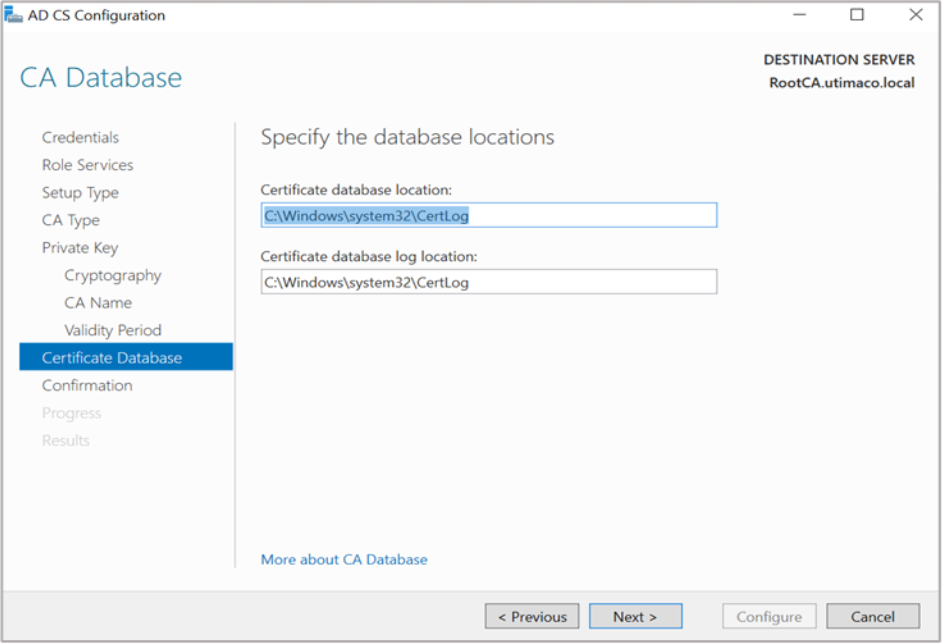
Figure 18: CA Database window
23. On the Confirmation window, click Configure
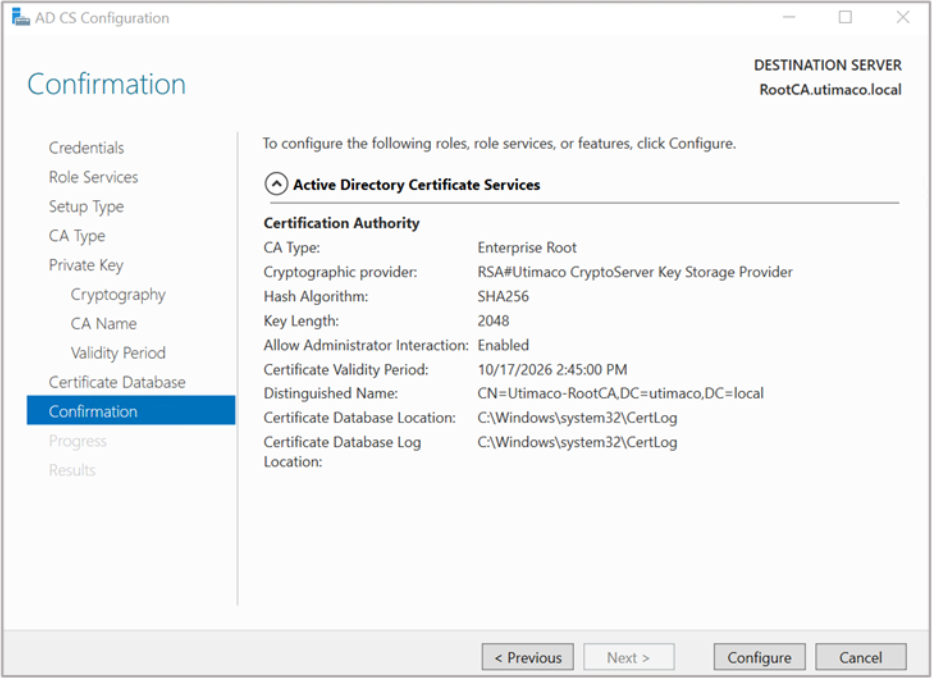
Figure 19: Confirmation window
24. Click Close to exit the AD CS Configuration wizard after viewing the installation results. A
private key for the CA will be generated and stored on the HSM
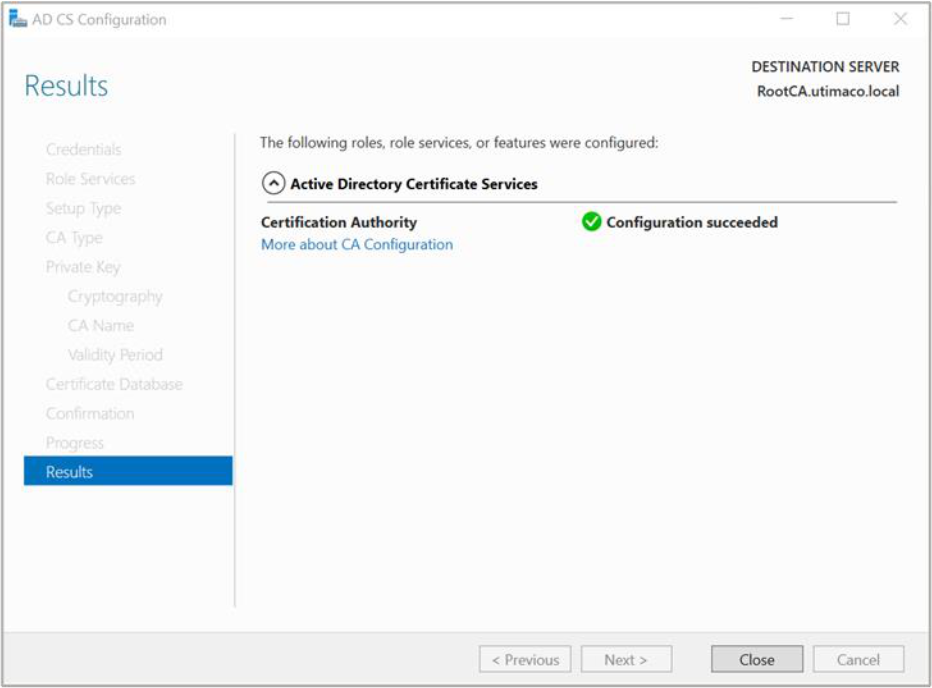
Figure 20: Results window
If you are using Smartcard Authentication, the prompt will go on the PIN Pad device to insert
Smartcard and enter the pin. Then press OK button on the PIN Pad.
25. Open a command prompt and run the following command to verify that service is running:
> sc query certsvc
26. Open a command prompt and run the following command to verify the CA key
> certutil –verifykeys
If you are using Smartcard Authentication, the prompt will go on the PIN Pad device to insert
Smartcard and enter the pin. Then press OK button on the PIN Pad.
The result of the command shows the CA keys have successfully been verified.