
After installing Microsoft AD CS, a new CA needs to be configured.
The CNG Provider must first be configured to configure the CA. Please refer to the CNG provider configuration section.
-
On the Notifications menu of the Server Manager, click on Post-deployment Configuration → Configure Active Directory Certificate Services on the destination Server. The AD CS Configuration menu will appear.
-
On the Credentials window, make sure that Administrator’s credentials are displayed in the Credentials box. If not, select Change and specify the appropriate credentials. Click Next.

"Credentials" Window
-
On the Role Services window, select Certification Authority. This is the only available selection when the certification authority role is installed on the server. Click Next.
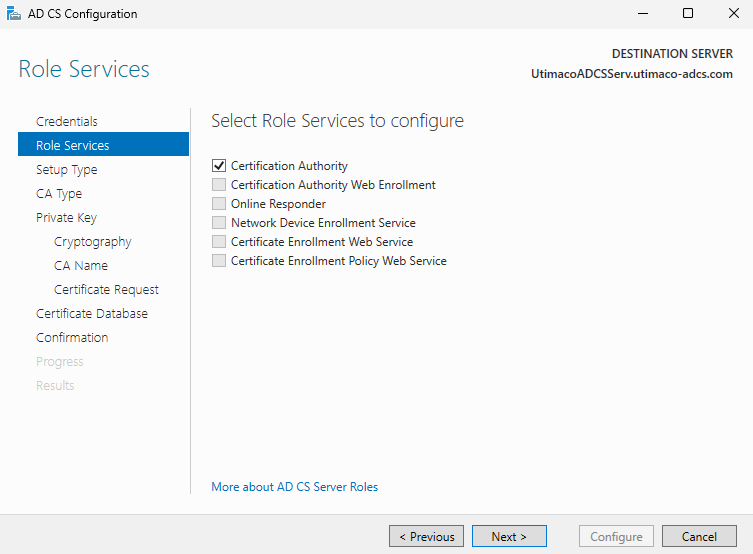
"Role Services" Window
If you are using smartcard authentication, the prompt will appear on the PIN Pad device to insert the smartcard and enter the PIN. Then, press the OK button on the PIN Pad.
-
On the Setup Type window, select the appropriate CA setup type for your requirements. Click Next.
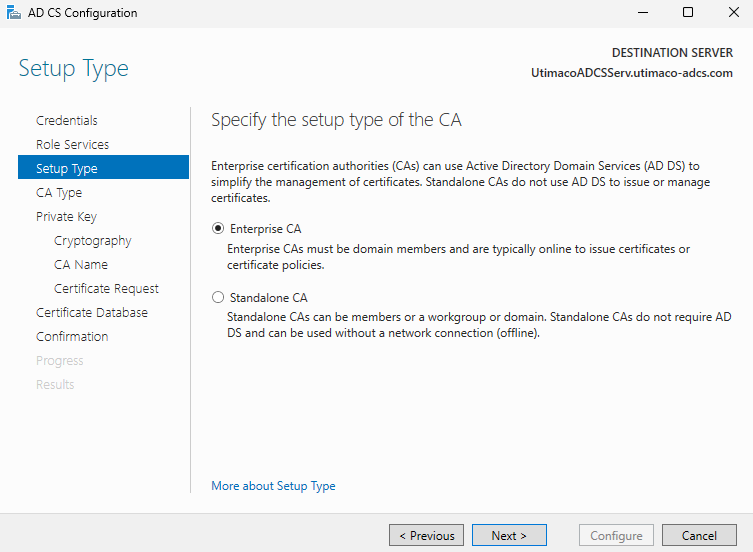
"Setup Type" Window
-
On the CA Type window, Root CA is selected by default. Click Next.
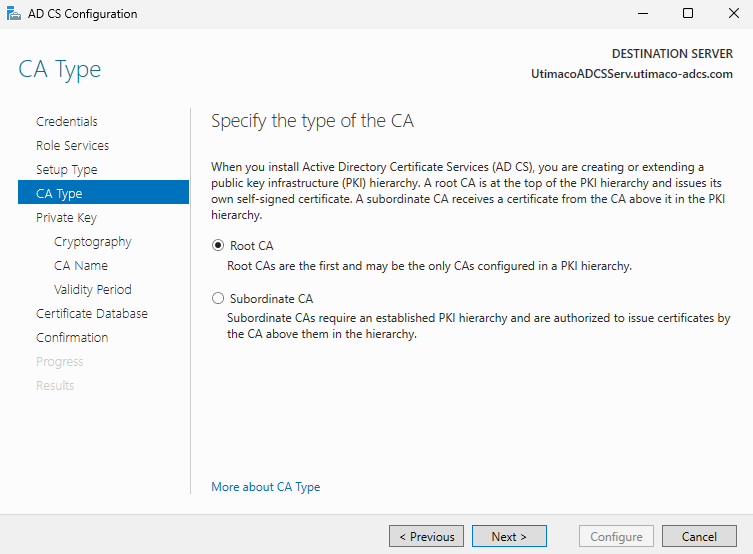
"CA Type" Window
-
On the Private Key window, leave the default selection to Create a new private key selected. Click Next.
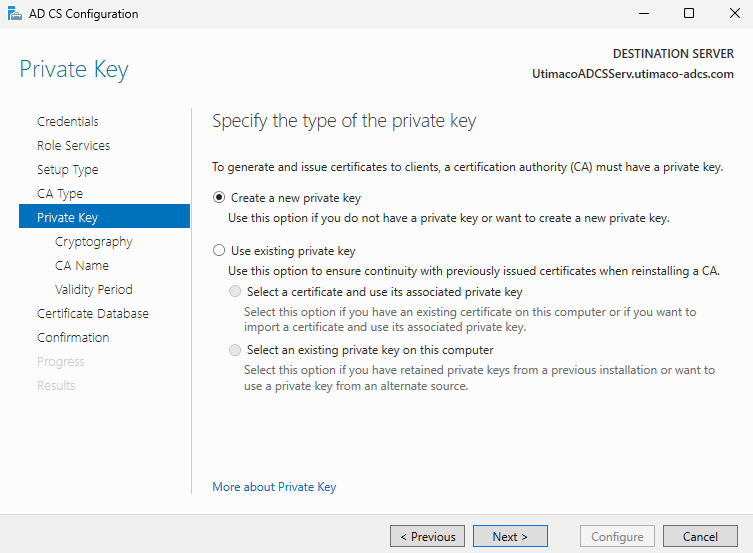
"Private Key" Window
-
On the Cryptography for CA window, select the appropriate Utimaco CryptoServer cryptographic provider along with the key type, key length, and suitable hash algorithm:
-
RSA #Utimaco CryptoServer Key Storage Provider
-
ECDSA_P256 #Utimaco CryptoServer Key Storage Provider
-
ECDSA_P384 #Utimaco CryptoServer Key Storage Provider
-
ECDSA_P521 #Utimaco CryptoServer Key Storage Provider
-
If keyfile or smartcard protection is used, select the Allow administrator interaction when the private key is accessed by the CA option.
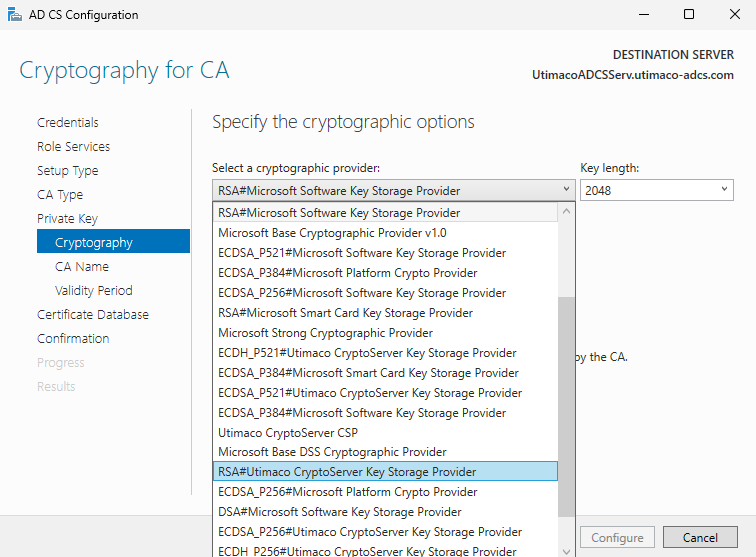
"Cryptography for CA" Window
If the Utimaco CryptoServer Key Storage Provider options are missing, it means there is an error with the Utimaco CNG Provider. Please refer to the CNG provider configuration section if the provider has not been configured, or execute certutil -csplist on a Windows terminal to see the error. If more information on the error is needed, please review the logging file placed by default in C:\ProgramData\Utimaco\CNG\log\cs2cng.log.
-
Click Next.
-
On the CA Name window, give the appropriate CA name. Click Next.

"CA Name" Window
-
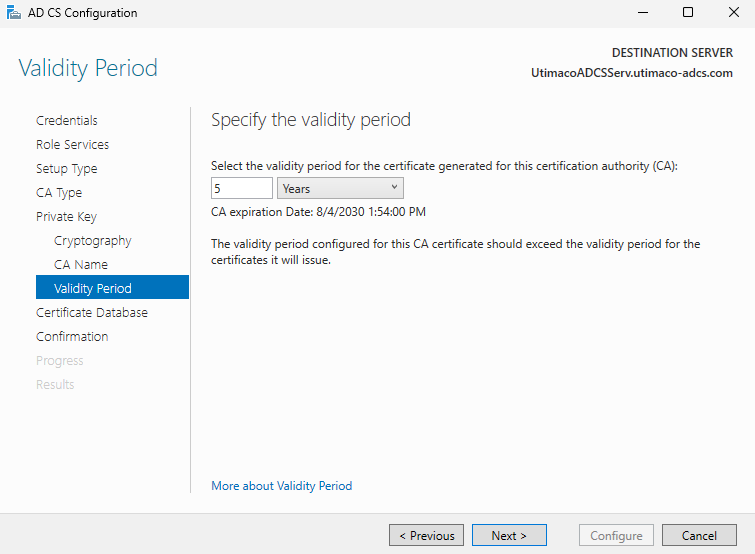
On the Validity Period window, enter the number of years for the certificate to be valid. Click Next.
"Validity Period" Window
-
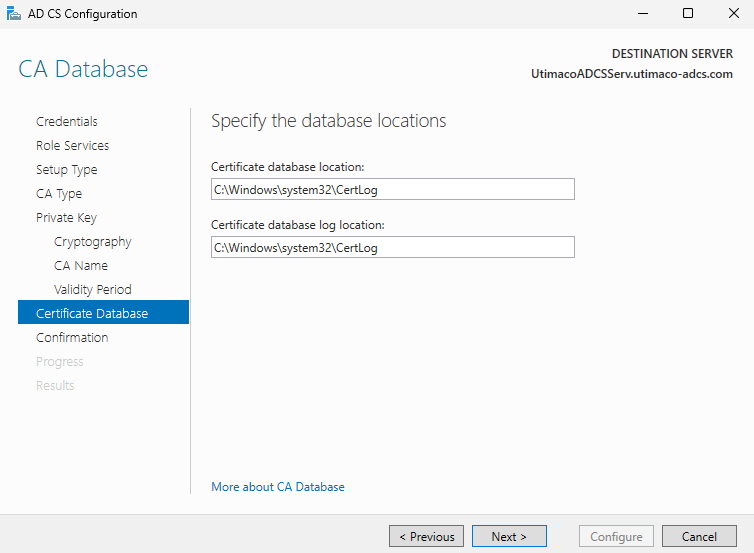
On the CA Database window, leave the default locations for the database and database log files. Click Next.
"CA Database" Window
-
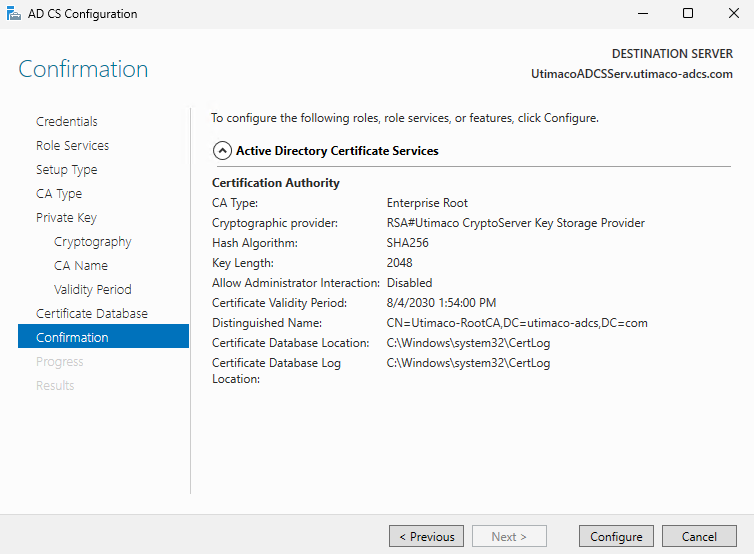
On the Confirmation window, click Configure.
"Confirmation" Window
-
Click Close to exit the AD CS Configuration wizard after viewing the installation results. A private key for the CA will be generated and stored on the HSM.
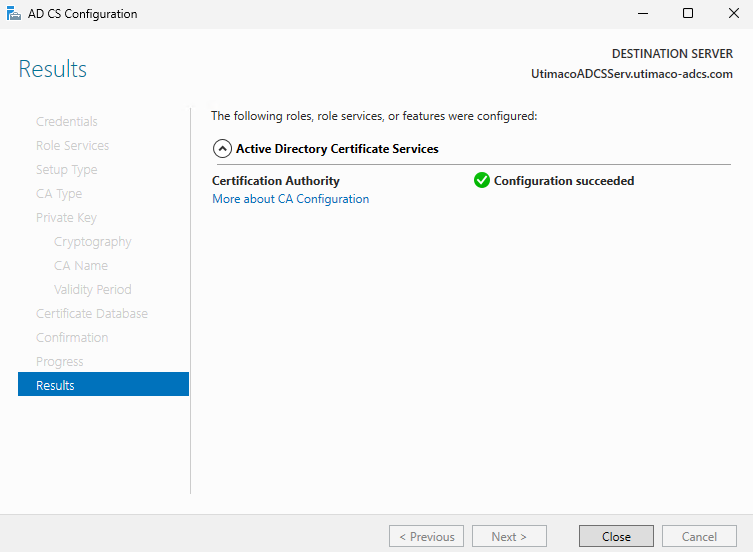
"Results" Window
If you are using smartcard authentication, the prompt will appear on the PIN Pad device to insert the smartcard and enter the PIN. Then, press the OK button on the PIN Pad.
-
Open a command prompt and run the following command to verify that the service is running:
|
›_ Console |
|
-
Open a command prompt and run the following command to verify the CA key.
|
›_ Console |
|
If you are using smartcard authentication, the prompt will appear on the PIN Pad device to insert the smartcard and enter the PIN. Then, press the OK button on the PIN Pad.
The command shows that the CA keys have successfully been verified.