
This section describes the procedure of adding new cloud instance.
To add new cloud instance
-
Login to the Cloud Integration Web Console using any one of the methods described in Accessing the Cloud Integration Web Console.
-
Click on the “+ Add Cloud Instance” icon at the top right corner of the page.

Add New Cloud Instance
-
The Add Cloud Instance pop-up window will appear.
Verify Cloud Instance
-
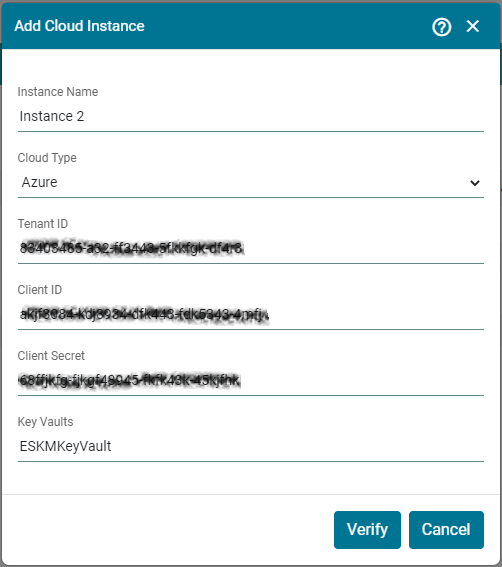
Enter the Instance Name and select Cloud Type. On selection of cloud type, respective configuration fields will be loaded. In case of Microsoft Azure cloud type, enter values for Tenant ID, Client ID, Client Secret and key Vaults. Click Verify.
Azure Cloud Instance
When an instance is verified without an internet connection, the error message "Invalid key vault name or failed to connect with the cloud instance" is displayed.
|
Components |
Description |
|---|---|
|
Instance Name |
Instance Name is a Key Vault identifier created in Microsoft
|
|
Cloud Type |
The cloud provider with which ESKM is integrated. Here select the Cloud Type as Azure. |
|
Tenant ID |
Tenant ID is generated when Application is created in Microsoft Azure Key Vault. Copy the Tenant ID to configure the ESKM with Microsoft Azure Key Vault. |
|
Client ID |
Client ID is generated when Application is created in Microsoft Azure Key Vault. Copy the Client ID to configure the ESKM with Microsoft Azure Key Vault. |
|
Client Secret |
Secret value is generated when Client Secret is created in Microsoft Azure Key Vault. This key cannot be viewed once user exits from the page. Copy the secret value to configure the ESKM with Microsoft Azure Key Vault. |
|
Key Vaults |
Key Vault Name created in Microsoft Azure. |
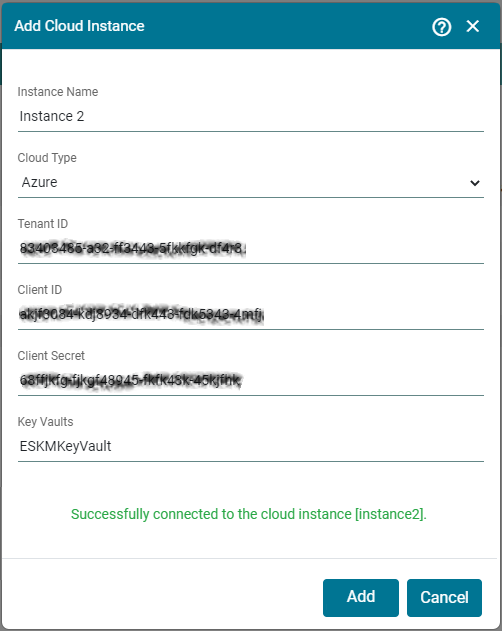
Add Cloud Instance - Parameters
Cloud Instance inst2 [Azure] created successfully.