
-
Log on to the client machine that is not the part of domain.
-
Download the Microsoft SCEP utility from http://secadmins.com/index.php/ndes-scepwindows-test-tool/. Extract the file downloaded.
-
Open https://<NDES-serveraddress>/CertSrv/mscep_admin from any browser.
-
Enter the credentials for NDESAdmin and click OK. You will see the MSCEP Admin page with the challenge password for device certificate enrollment.
-
Open the command prompt and go to the directory where you extracted the MS SCEP utility.
-
Run the following command to generate a certificate request providing a Common Name and the Challenge Password when prompted by openssl.
|
›_ Console |
|---|
|
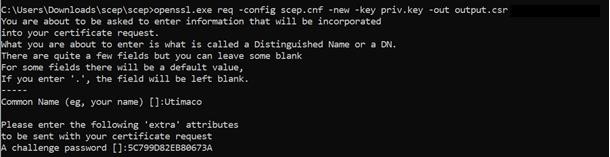
Output Window
-
Retrieve the CA and RA certificates from your SECP/NDES server using the command.
|
›_ Console |
|---|
|
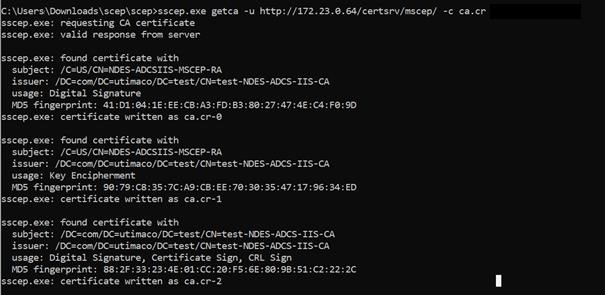
Output Window
If you are using Smartcard Authentication, the prompt will go on the PIN Pad device to insert Smartcard and enter the pin. Then press OK button on the PIN Pad.
-
Enroll a new certificate and make sure to specify the correct RA (-c flag) & CA (-e flag) certificates using the command below.
|
›_ Console |
|---|
|

Output Window
Provide password as and when it is asking, if you are using Smartcard Authentication, the prompt will go on the PIN Pad device to insert Smartcard and enter the pin. Then press OK button on the PIN Pad.
-
Open the output.crt file to verify that the certificate is signed by your CA.
This completes the integration of Microsoft NDES with Utimaco HSM.