
-
Open the IIS manager, expand the server and Sites on the Connections pane and select Default Web Site.
-
Select Bindings on the Actions pane.
-
Select Add on the Site Bindings dialog.
-
Select https in Type: on the Add Site Binding dialog. Choose the certificate previously created in SSL certificate. Then select OK and Close.

Add Site Binding Window
Provide password as and when it is asking, if you are using Smartcard Authentication, the prompt will go on the PIN Pad device to insert Smartcard and enter the pin. Then press OK button on the PIN Pad.
-
Open any browser and go to the following address: https://<NDES-serveraddress>/ CertSrv/mscep_admin. Log in as <domain-name>\NDESService.
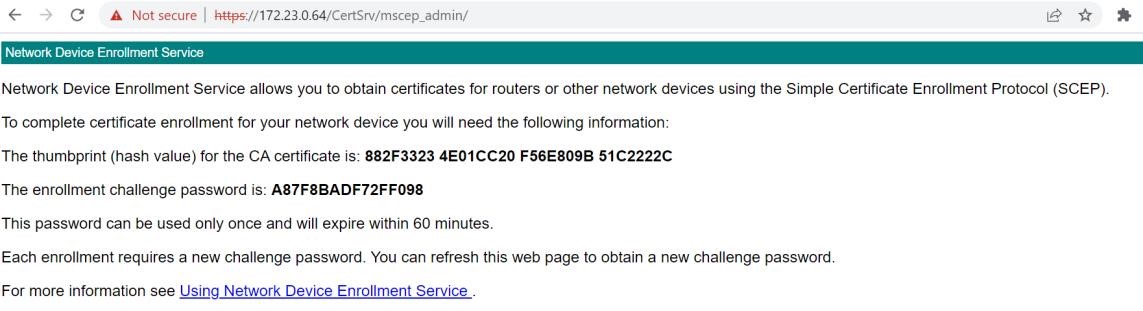
Accessing NDES Admin Page
-
The page will load over HTTPS. Notice the hash value of the CA certificate and the challenge password. Refreshing the browser generates a new enrollment challenge password.
Unique password will be generated only 5 times by default. You can increase the maximum number of allowed unique passwords generated by the NDES service based on the requirement.