

The following section outlines the procedures required to configure ESKM.
For detailed configuration steps, refer to the “ESKM_Installation and Replacement_Guide_8.54.0”.
After successfully installing and configuring ESKM, log in to the ESKM appliance as described in the final step of this section.
The following steps explain the installation of ESKM in Proxmox.
Import QCOW2 Disk into local-lvm
-
Before the import, observe that no disk is available in the VM’s hardware configs as we have created the VM without disk in the previous step.
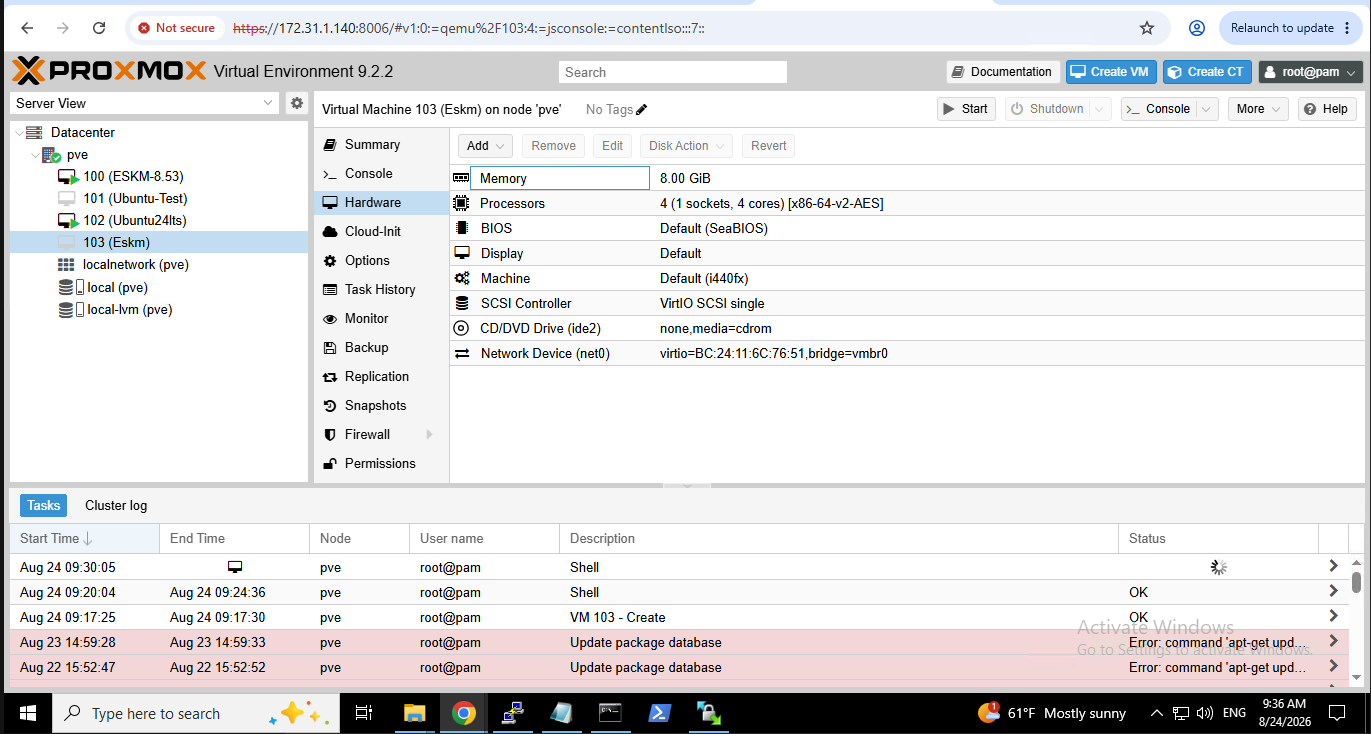
No disk available in the Hardware configurations
-
Import appliance disk.
-
/qcow2_xtrakt/vESKM_8.53.qcow2is the path that we have used to import the disk for this integration.
qm importdisk 100 /qcow2_xtrakt/vESKM_8.53.qcow2 local-lvm
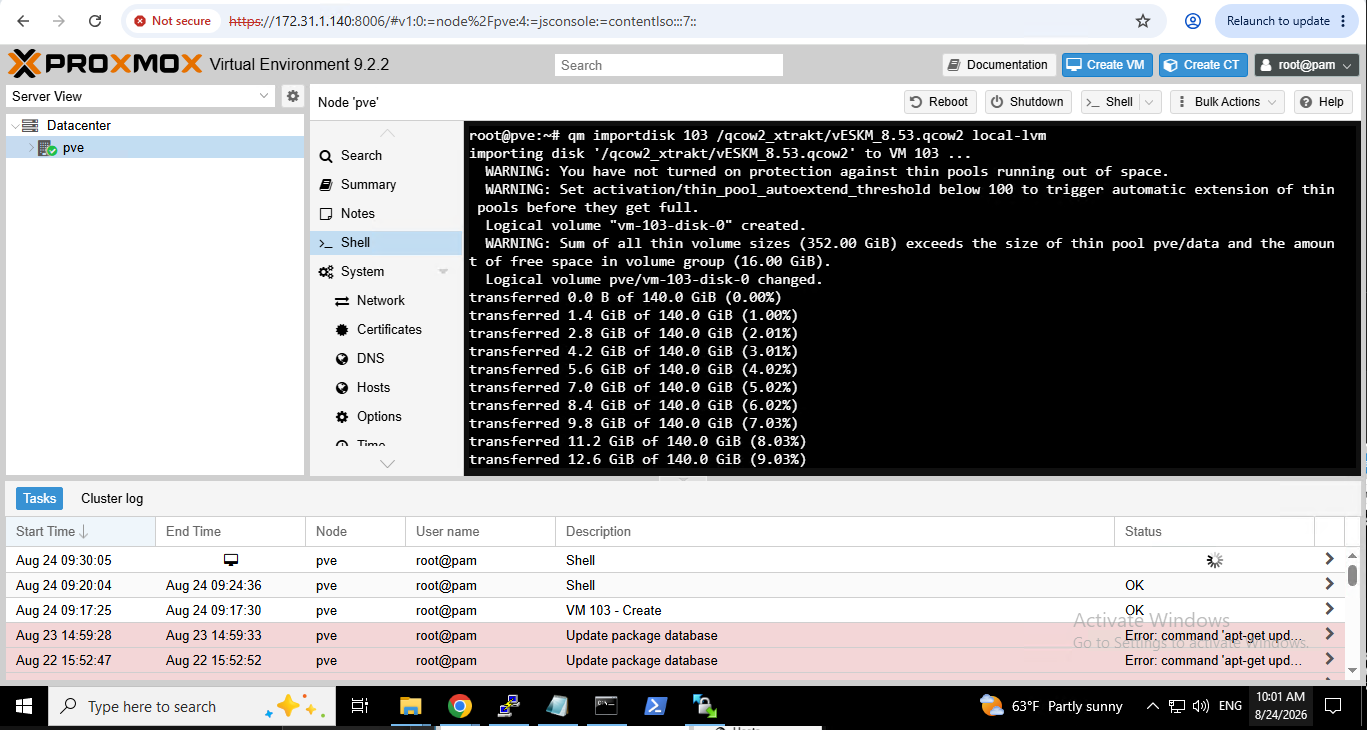
Importing qcow2 image
-
Wait for the import to complete to 100%.
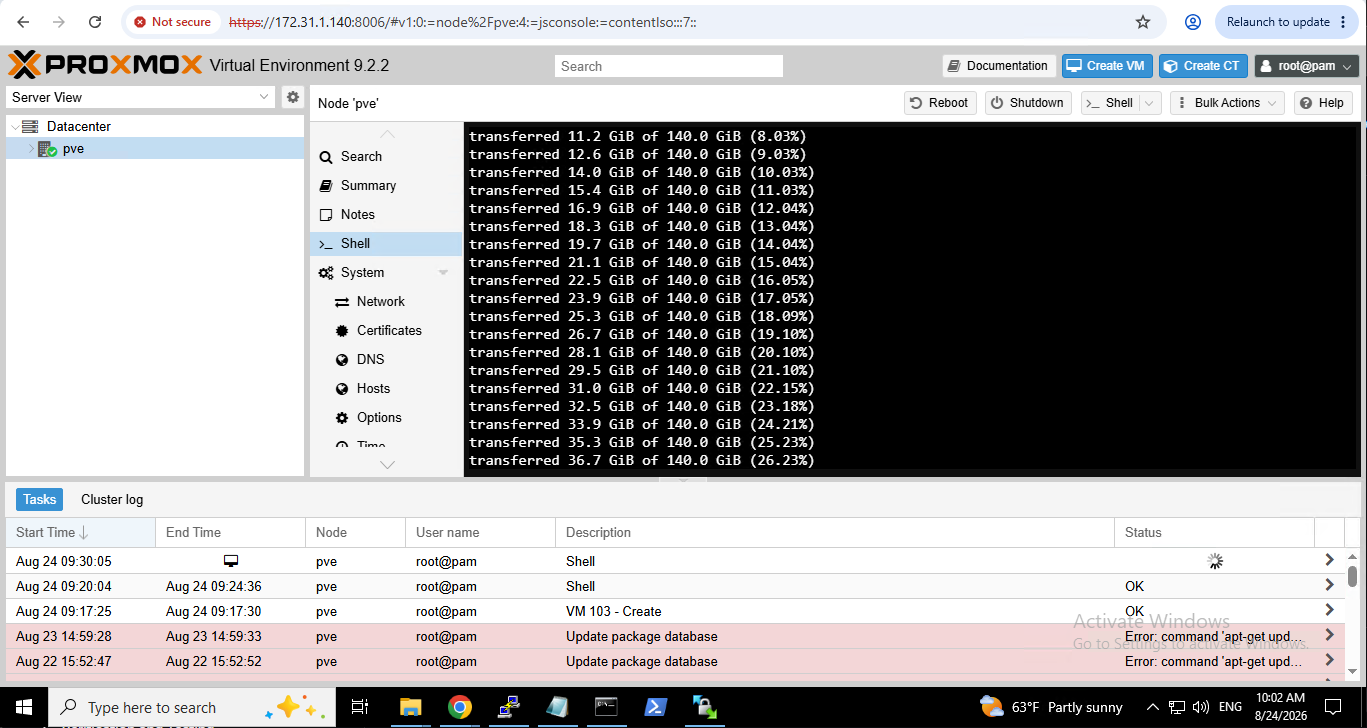
Import in progress
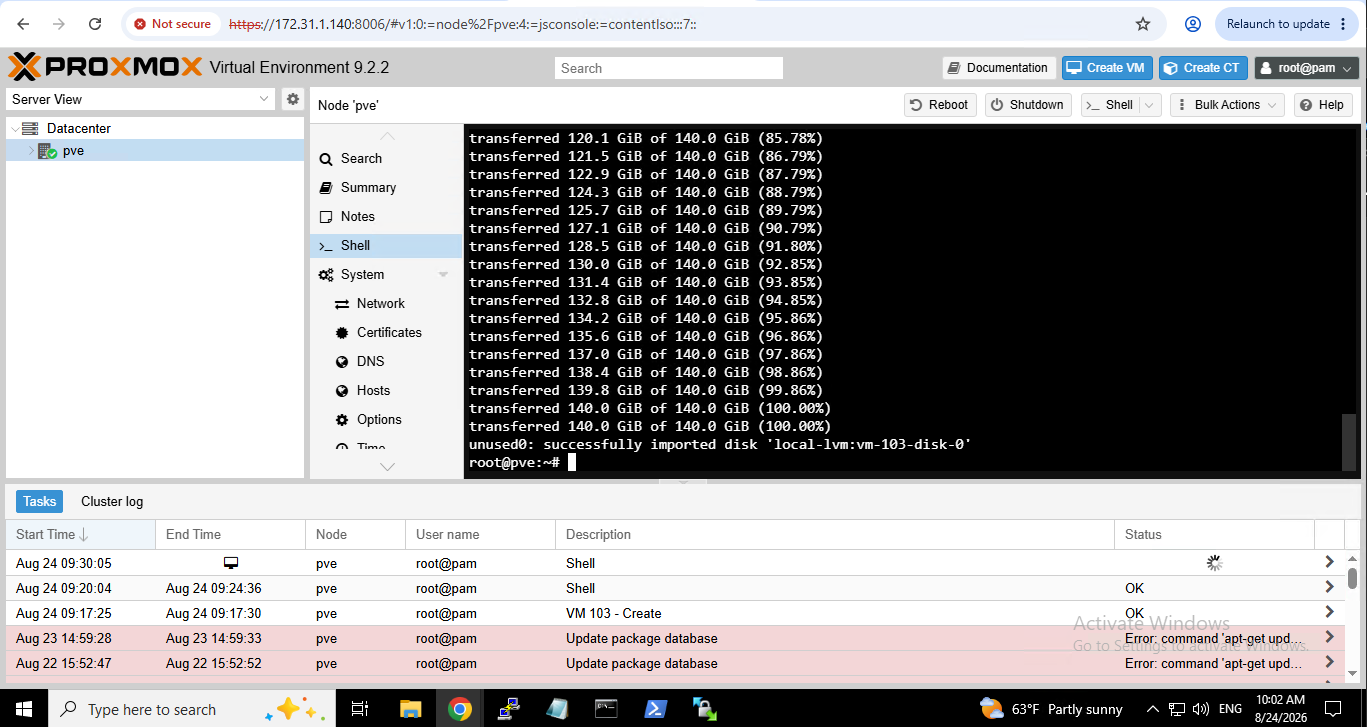
Qcow2 import completed
-
Verify that an unused disk is detected.
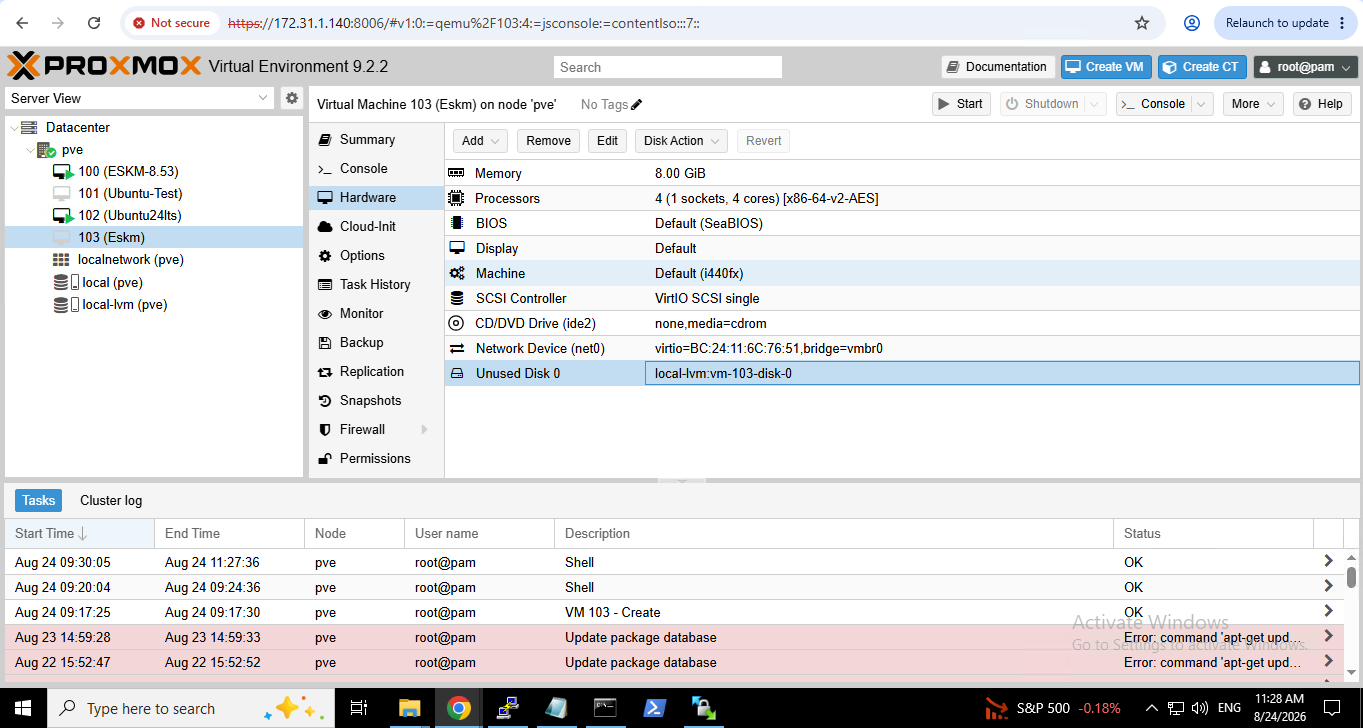
Unused disk appears after successful import
Attach Imported Disk
-
Navigate to:
VM 103
→ Hardware
→ Unused Disk -
Add Disk:
Bus/Device: SATA0
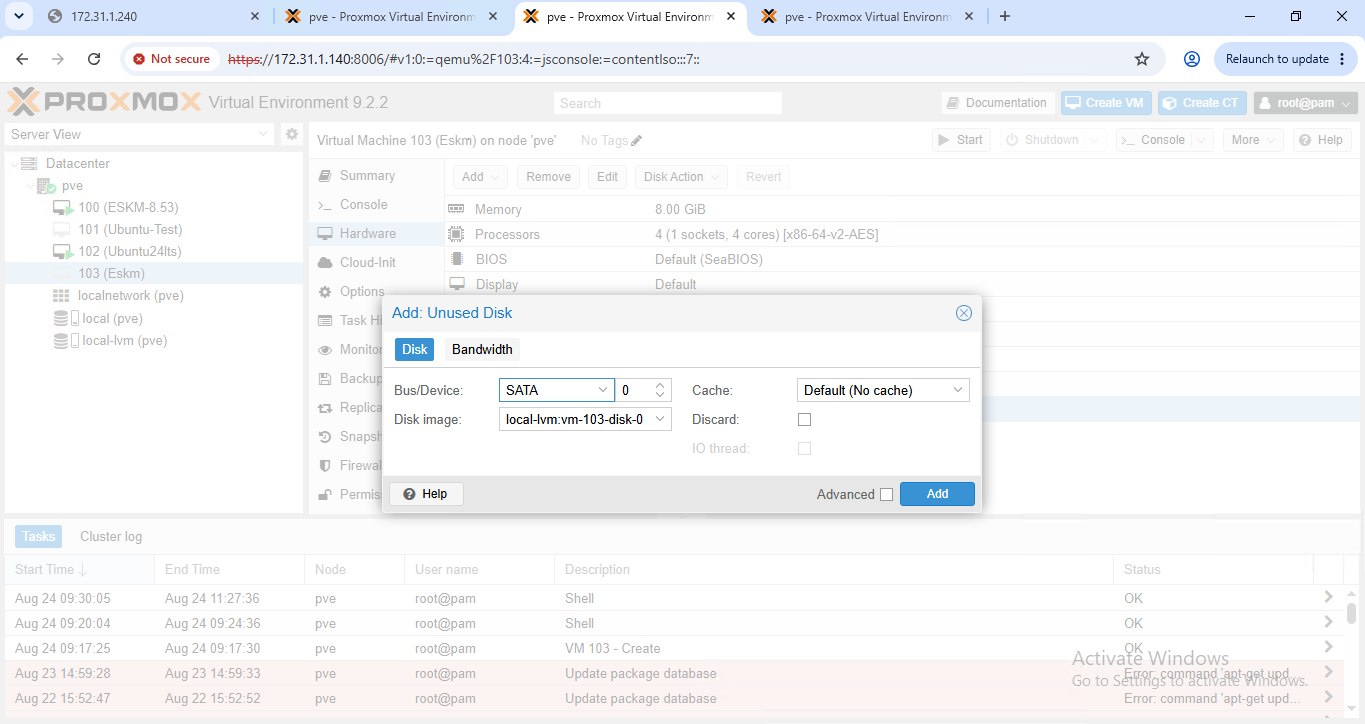
Attaching the disk as SATA
NOTE: Do not attach the imported disk as SCSI0.
Configure Boot Order
-
Set the boot order to:
sata0
ide2
net0
-
Ensure SATA0 is first.
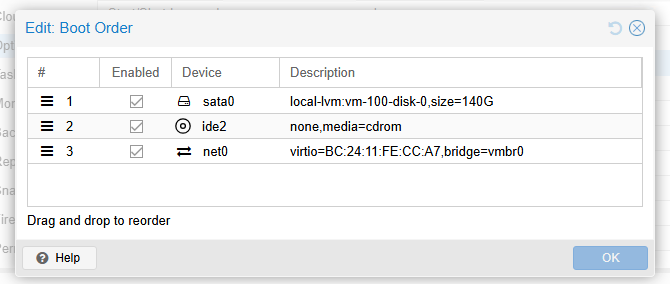
Setting up the boot order
Start ESKM Appliance
-
Power on the VM.
-
Open the Console.
-
Wait for the ESKM initialization wizard and complete the ESKM configuration.
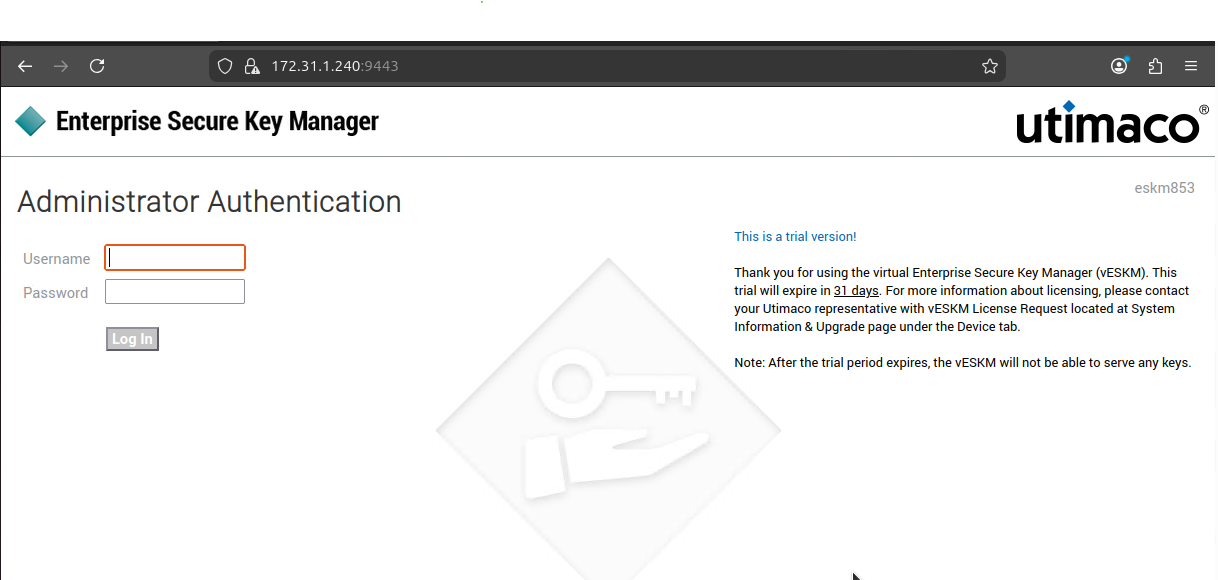
ESKM login page
-
If an older QCOW2 image was used, then upgrade ESKM to the latest version using the upgrade package provided by Utimaco. User can download the latest update file from the Utimaco Support Portal. To upgrade the package, login to the ESKM and navigate to the Maintenance → System Information & Upgrade section. Click on the Upgrade/Install button and select the upgrade file.
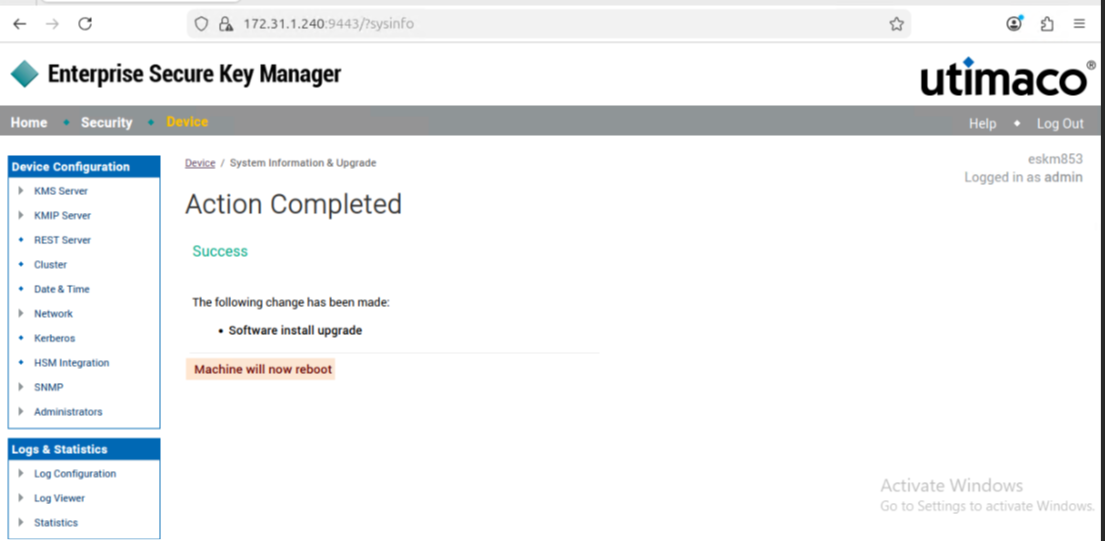
Upgrade completed
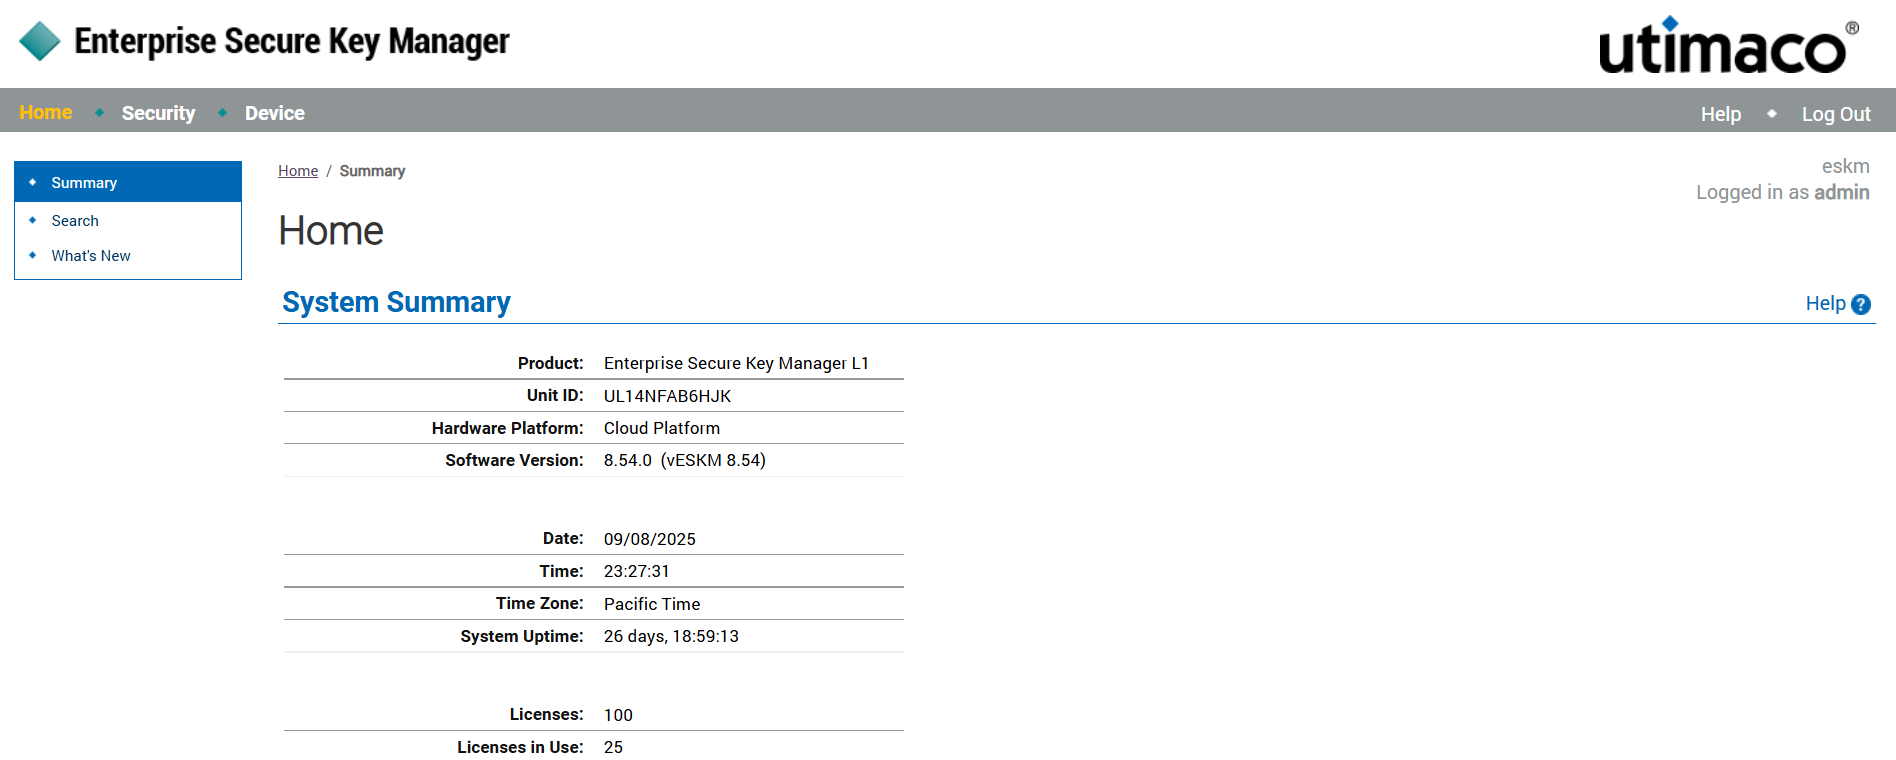
ESKM home page after upgrade