
We will be configuring the VTPP to use the PKCS11 HSM mechanism. From the Venafi Configuration Console select the Connectors option.
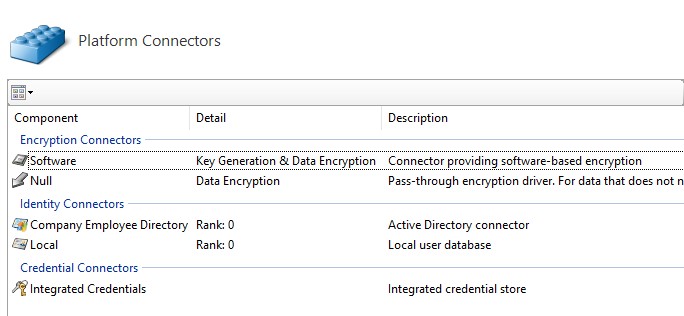
Figure 1: Platform Connectors
Locate the Platform Connectors menu. You will be Creating an HSM Connector. Select Create new HSM (Cryptoki) connector.
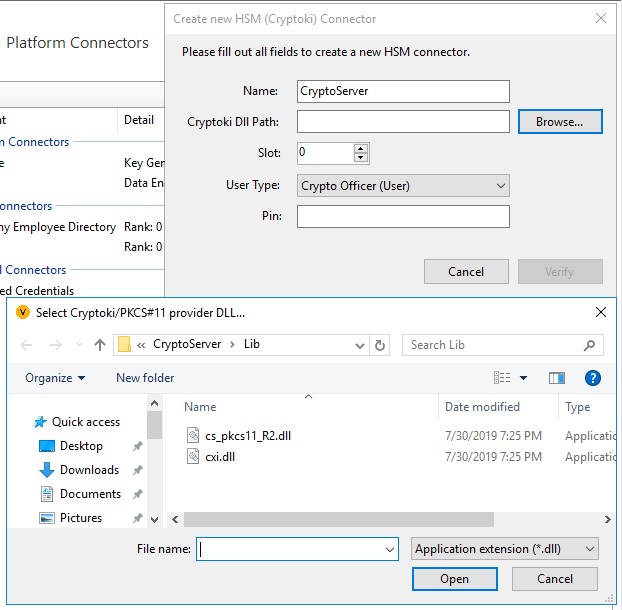
Figure 2: Create HSM Connector
Select a name for the new HSM connector. I have chosen CryptoServer. Next we will browse and find the Utimaco PKCS#11 library.
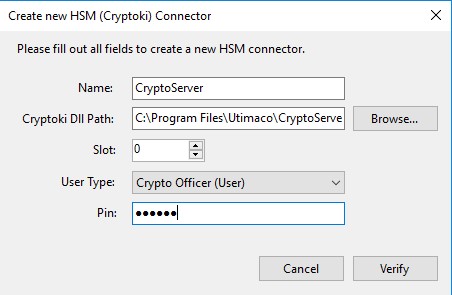
Figure 3: Set Cryptoki Path & Pin
The normal path for the library is located at C:\ProgramFiles\Utimaco\CryptoServer\Lib\cs_pkcs11_R2.dll.Set the PIN to be what you configured SLOT_0000 User. In our case that would be ”123456” Now press Verify button. This will verify the connection to the HSM.
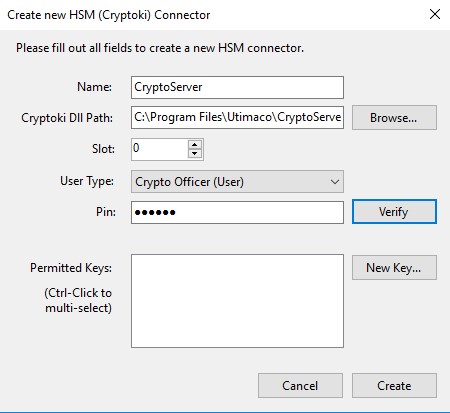
Figure 4: Verify Connection
You should see some activity and the window will reopen with an option to creat keys. If you see this window then it is time to create a New Key. Press the New Key button.
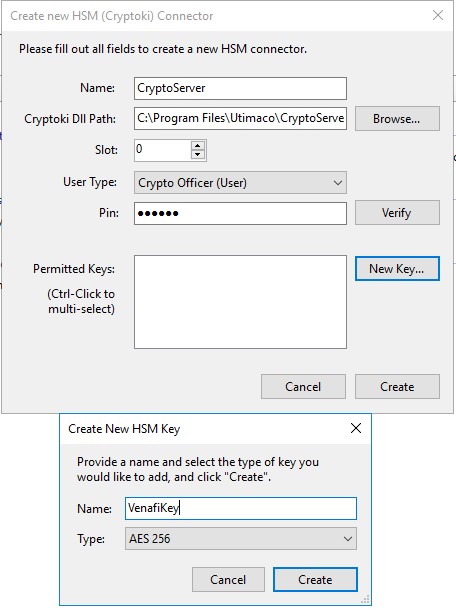
Figure 5: Create New Venafi Key
We will now tell the HSM to create a new key ”VenafiKey” of the type AES 256. Press the Create button now.
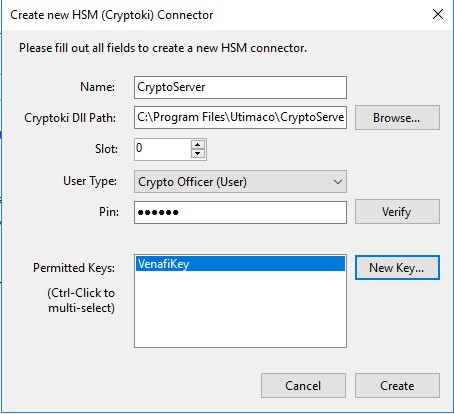
Figure 6: Key Created
You should now see a new key ”VenafiKey” visible in the Permitted Keys window. We now have our first working key. Press the Create button. It should proceed to create our new HSM connector.
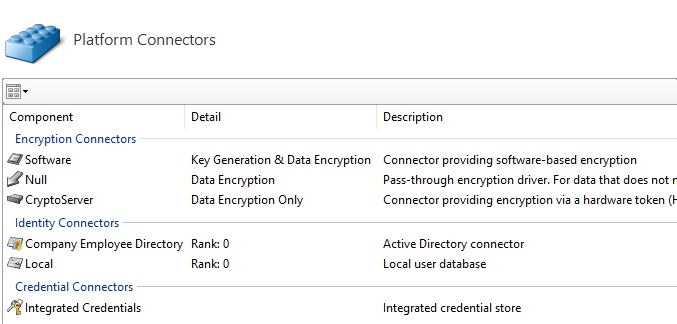
Figure 7: CryptoServer Connector Up
We can see here that we have CryptoServer Encryption Connector currently being used only for Data Encryption. You can make changes to these option by returning to the top level screen and selecting from the Actions panel on the top right of your screen.