

To enroll in external key manager mode, perform the following steps:
-
Go to HPE StoreOnce CLI.
-
Enter the command:
Keymanager # mode external <username> <password> address <ip address of the EKM> type <ESKM brand> <ESKMCA>. -
Click on enter and a message will be displayed as “Enrollment into EKM Mode successful.”
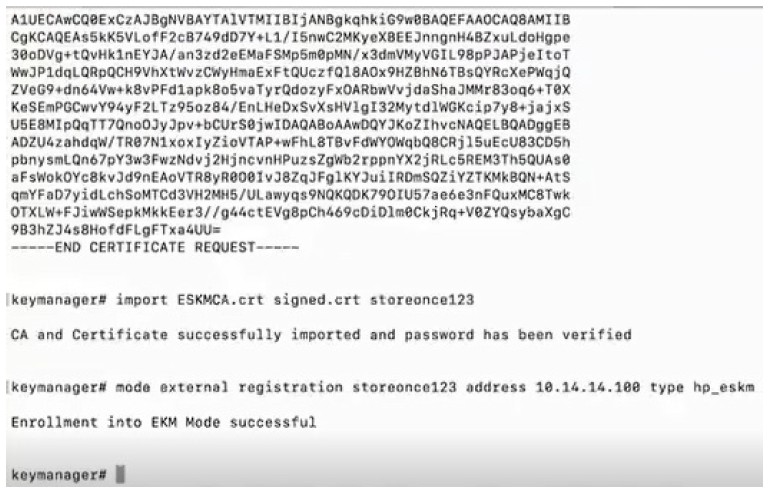
Enrollment into EKM Mode successful
-
The KMIP account is now created in the ESKM.
-
Go to ESKM and navigate to Device>Logs & Statistics>Log Viewer>Activity.
-
Under the “Activity Log”, click on Display Log.
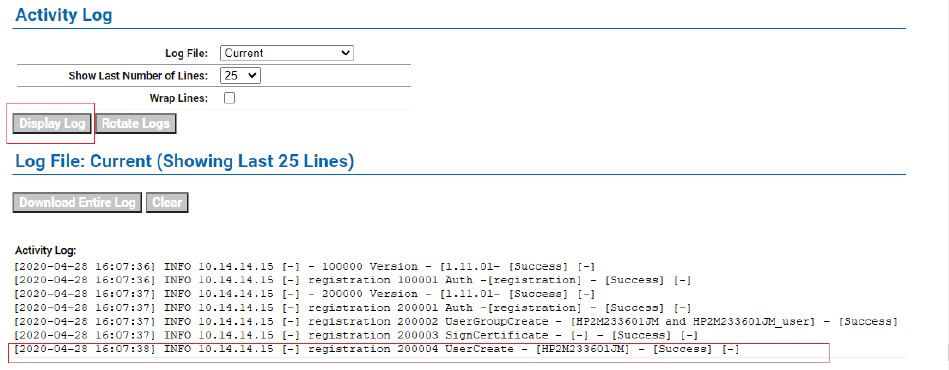
Activity Log
-
The user is now created.
-
Now again, navigate to Device>Logs & Statistics>Log Viewer>KMIP.
-
Under the “KMIP Log”, click on Display Log.
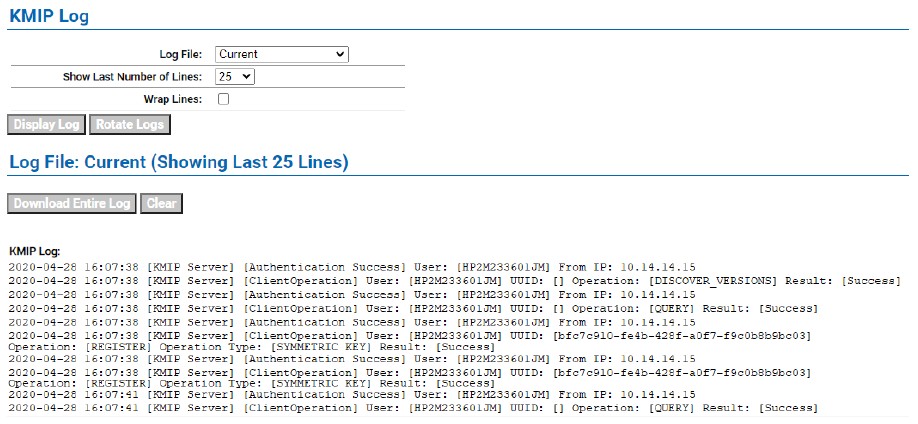
KMIP Log
-
To view the created group, navigate to Security>Users & Groups>Local Groups.
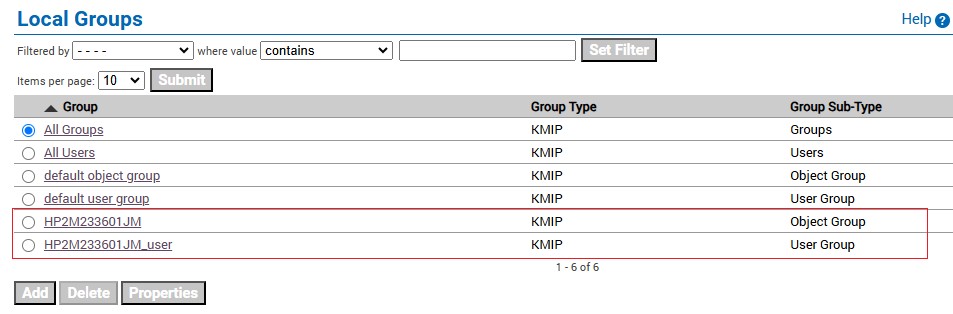
Local Groups
-
To view the created user, navigate to Security>Users & Groups>Local Users. It has “KMIP-Enabled” selected and “User Administration Permission” and “Change Password Permission” unselected.

Local Users
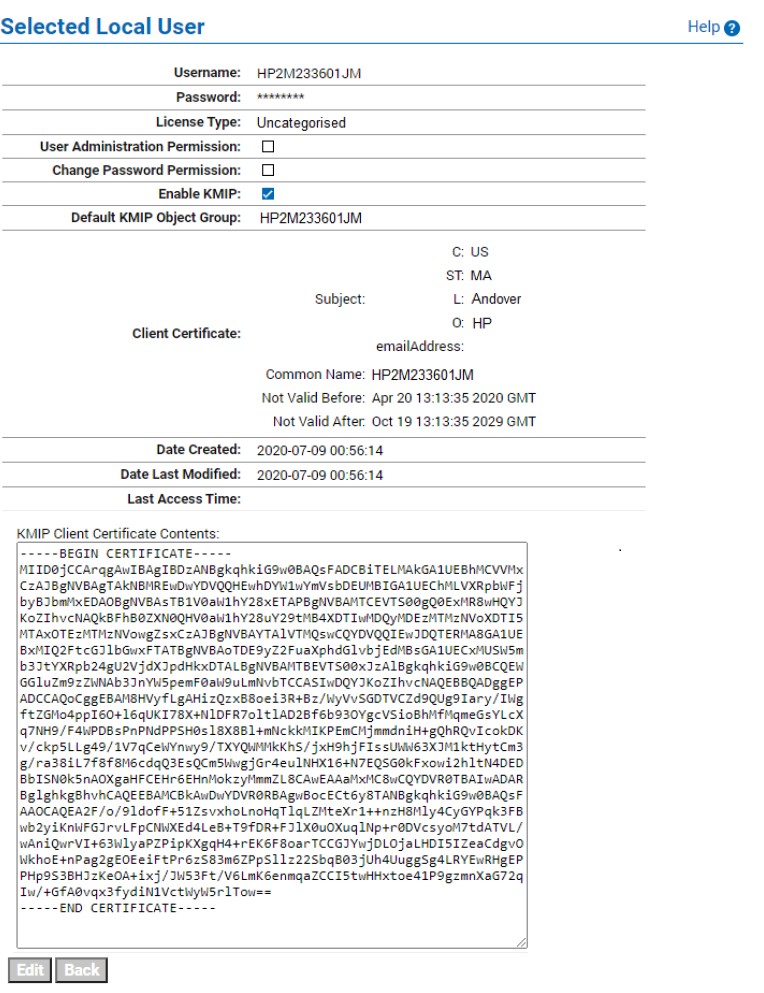
Selected local user
-
Now it is safe to delete the “registration” user. Navigate to Security>Users & Groups>Local Users and select “registration” and click on delete.

Delete Local User
-
To confirm, navigate to Security>Certificates & CAs>LocalCAs and click on the “CA Name”.
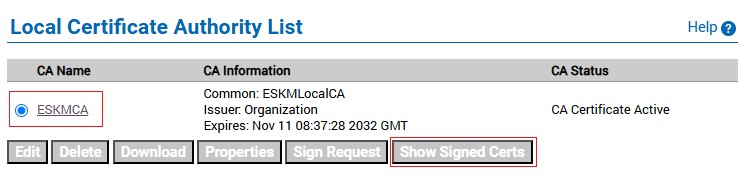
Local Certificate Authority List
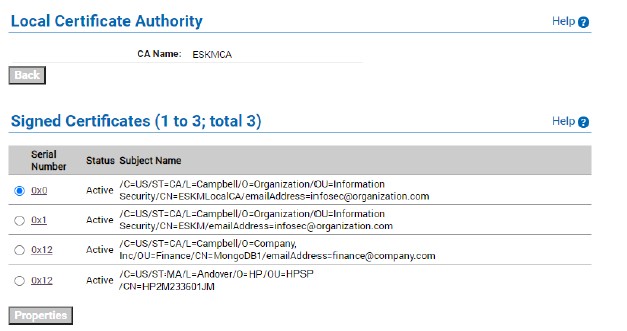
Local Signed Certs