

To integrate HPE StoreOnce with ESKM, perform the following steps:
-
Login to the HPE StoreOnce Management Console.

StoreOnce Console - Log In
-
Navigate to StoreOnce>System Dashboard and check the availability of the encryption license.
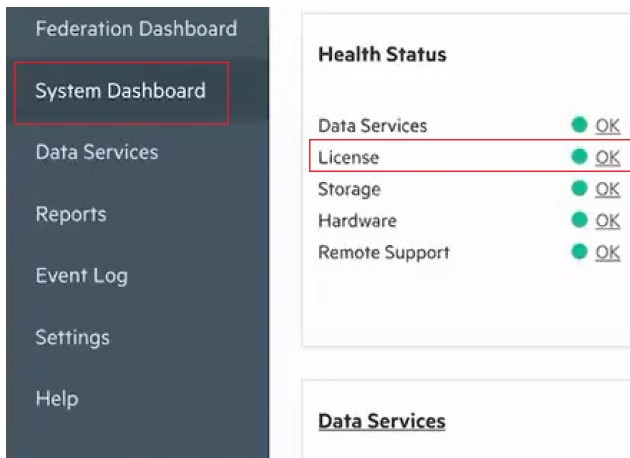
System Dashboard
To start with the integration, navigate to StoreOnce>Settings>Key Manager.
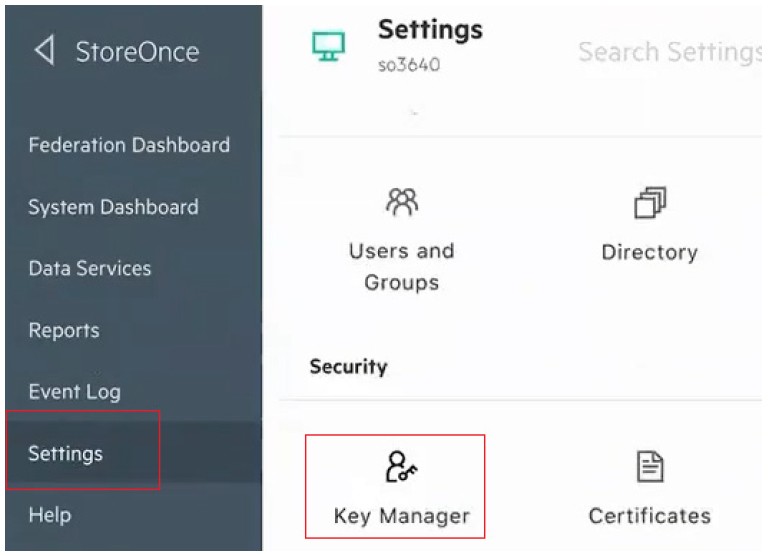
Key Manager
-
Click on Generate CSR and click on “Provide External Key Manager Credentials”.
The “External Key Manager Credentials” are to be created on the ESKM.
Login to the ESKM and create a local user with username as “registration”, choose a password and confirm it, select the license type as storage, select the user administration permission and change password permission, do not select KMIP, and click create.
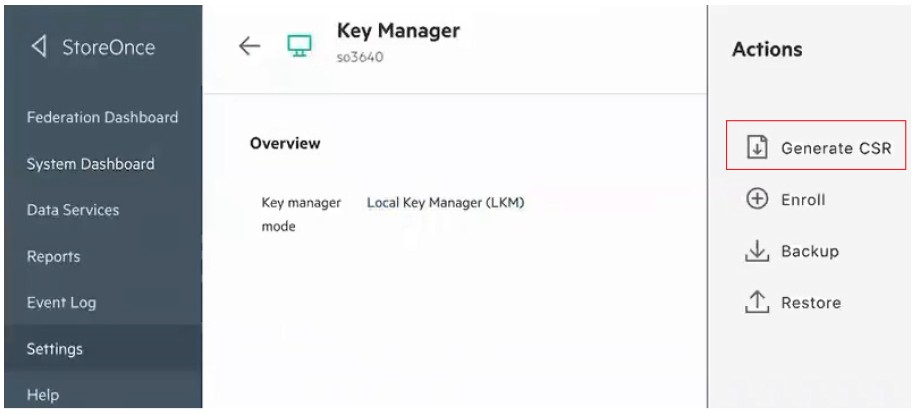
Generate CSR
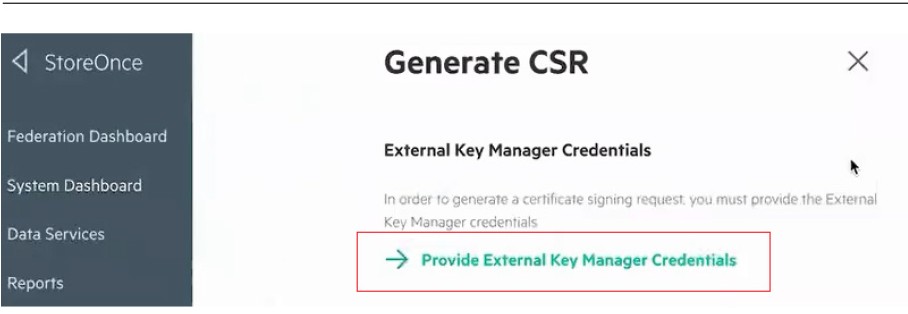
Generate CSR
-
Provide the same username and password that was created on the ESKM and click OK.
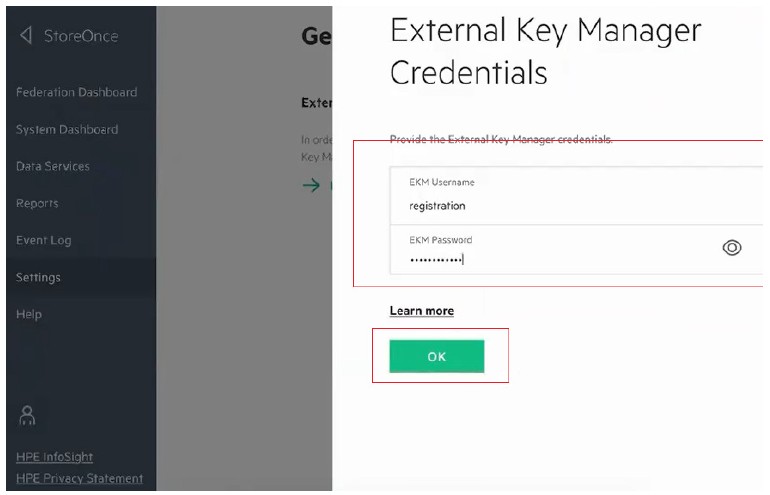
External key manager credentials
-
Click on Generate and the CSR will be displayed. Click on Select and Copy to copy the certificate and go to ESKM.
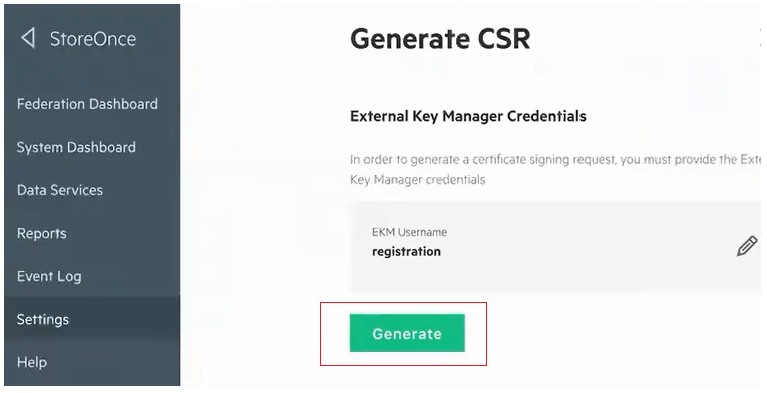
Generate CSR
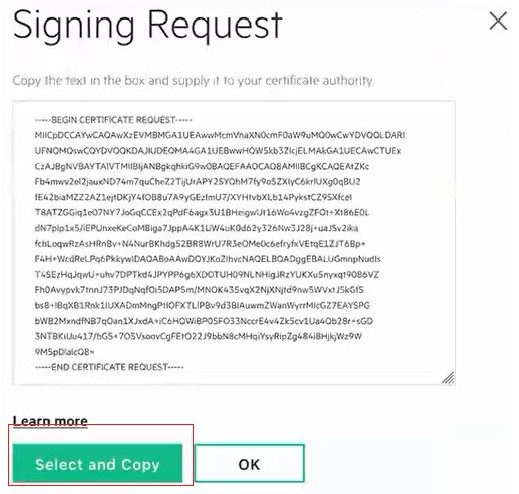
Sign Request
-
Navigate to Security>Certificates & CAs>Local CAs and click on Sign Request. Select the certificate purpose as “Client” and paste the certificate in “Certificate Request” pane and click on Sign Request.
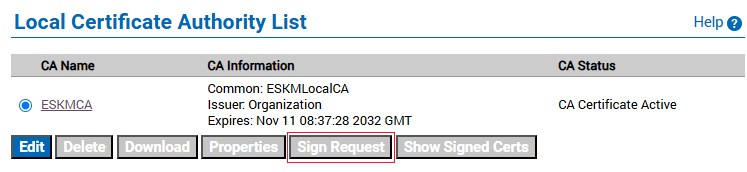
Local Certificate Authority List
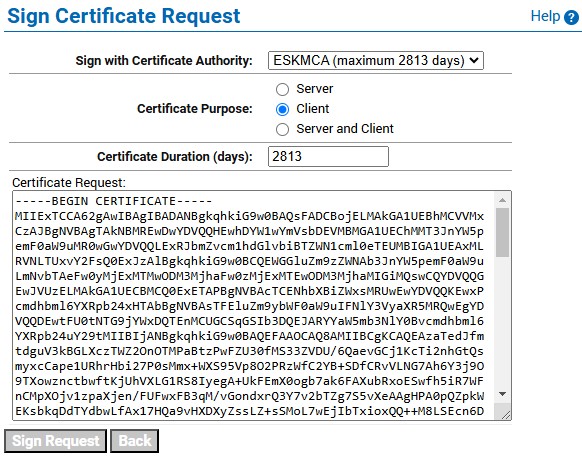
Sign Request
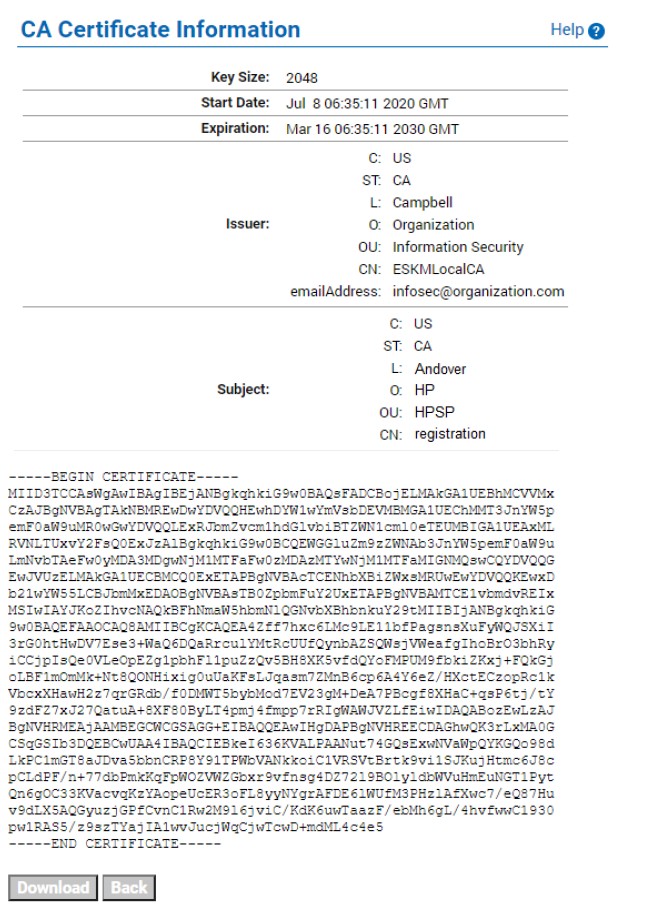
Certificate Information
-
Go to HPE StoreOnce Management Console, navigate StoreOnce>Settings>Key Manager>Actions and click on Enroll.
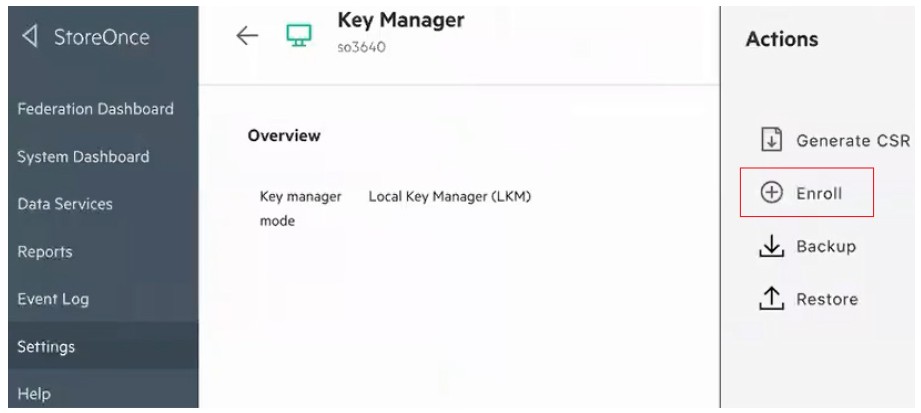
Key Manager - Enroll
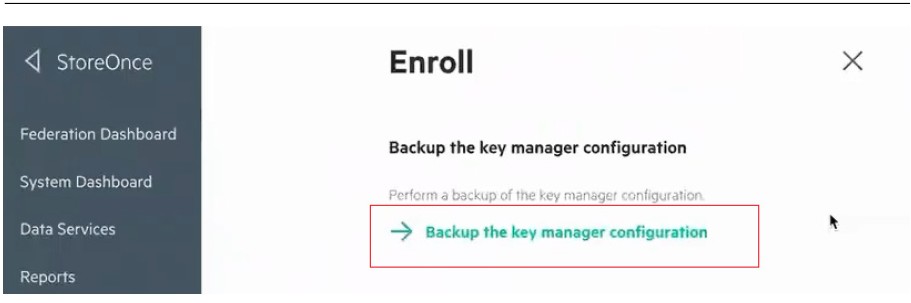
Backup Configuration
-
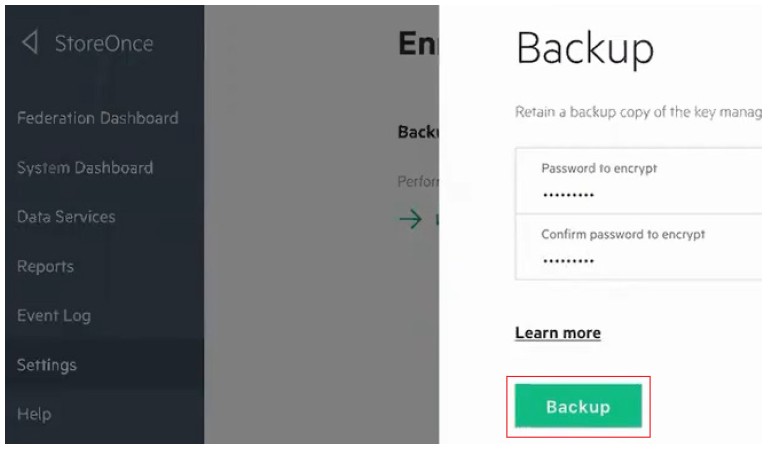
To backup the local configuration, create a password and confirm it and click Backup.
The backup of local configuration is important if the local key management configuration mode has to be switched back or unenroll from the key manager.
Backup
-
Download the backup file and save it onto the local machine.
-
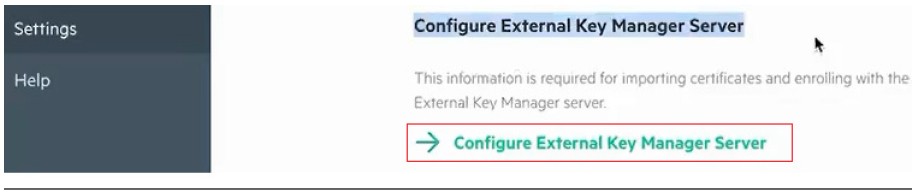
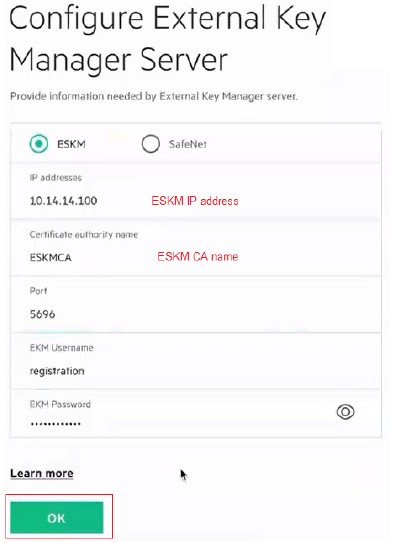
To configure the external key manager server, click on Configure External Key Manger Server. A pop-up window will be displayed. Select the “ESKM” as option and enter the IP address, CA name, Port, EKM username, EKM password, and click OK. The ESKM is now registered.
Configure External Key Manager Server
Configure External Key Manager server