
-
Join a machine to the Domain and Log in as a user with Administrative privileges
-
Select Start and select Server Manager to open Server Manager. Select Manage, then select Add Roles & Features
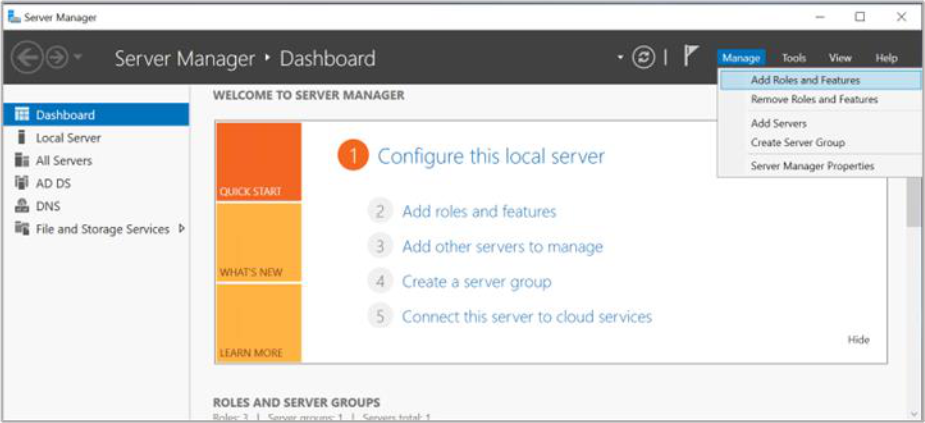
Figure 67: Server Manager window
-
The Before you begin window opens. Select Next
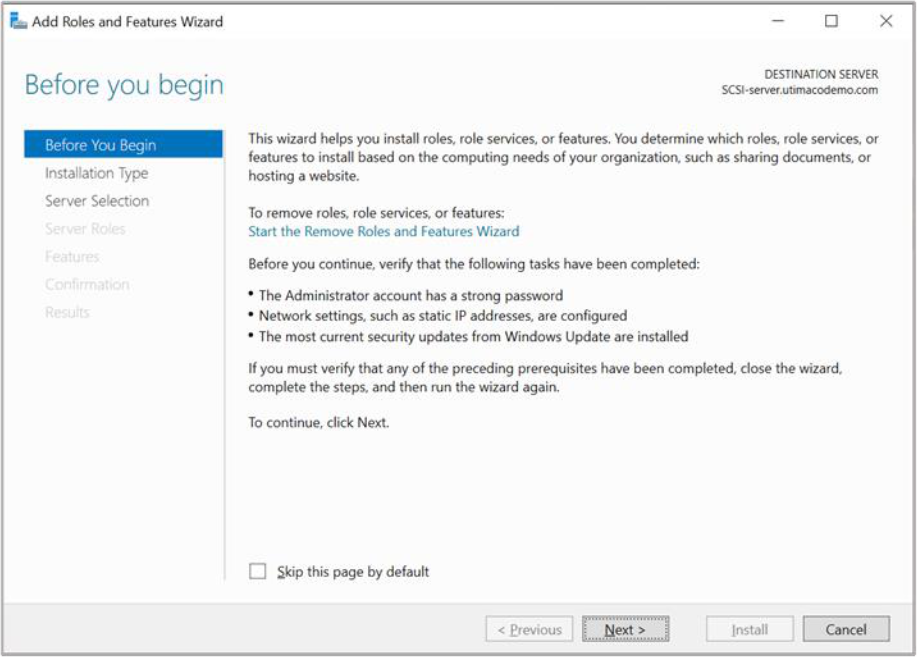
Figure 68: Before You Begin window
-
On the Select installation type window, make sure the default Role or Feature Based Installation is selected. Click Next
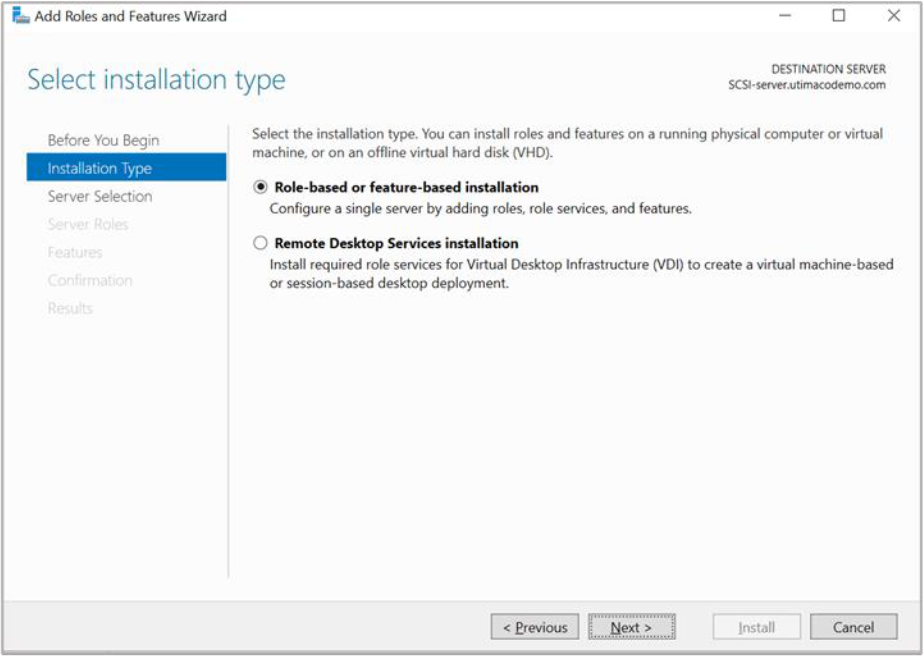
Figure 69: Select Installation Type window
-
On Server selection, select a server from the server pool. Click Next
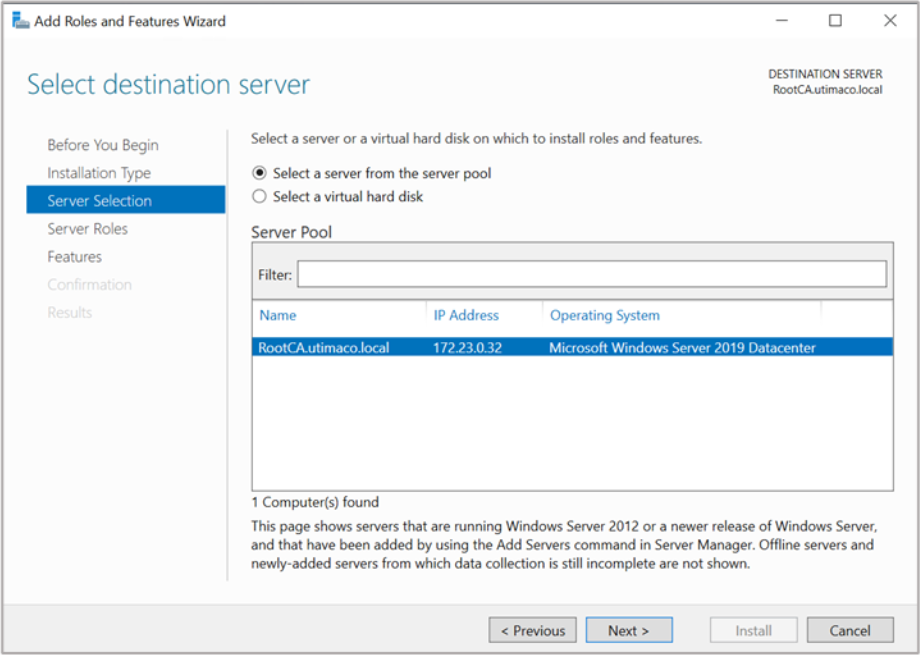
Figure 70: Select Destination Server window
-
On the Select server roles window, select the Active Directory Certificate Services role
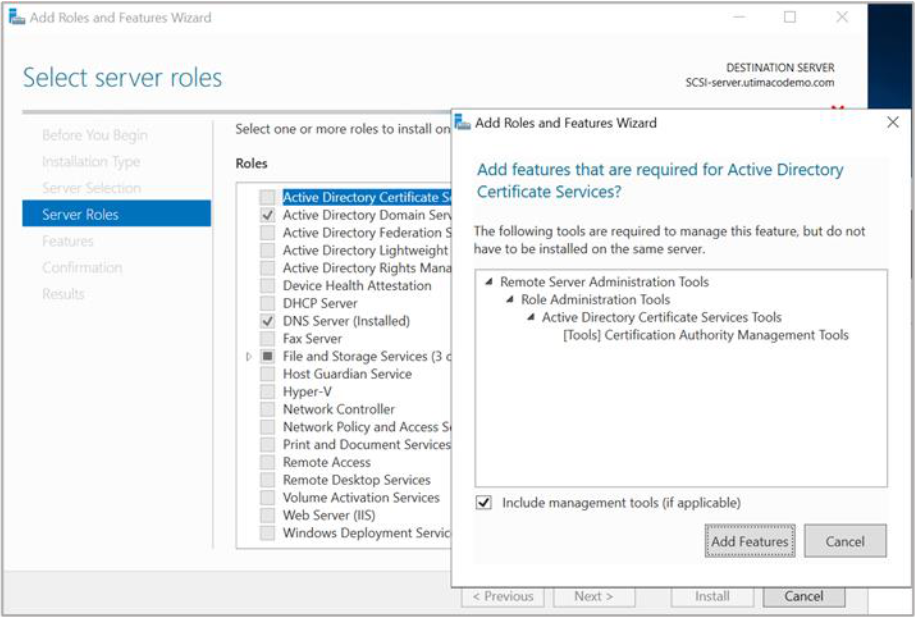
Figure 71: Select Destination Server window
-
When prompted to install Remote Server Administration Tools, select Add Features. Click Next
-
On the Select features window, click Next
-
On the Active Directory Certificate Services window, click Next
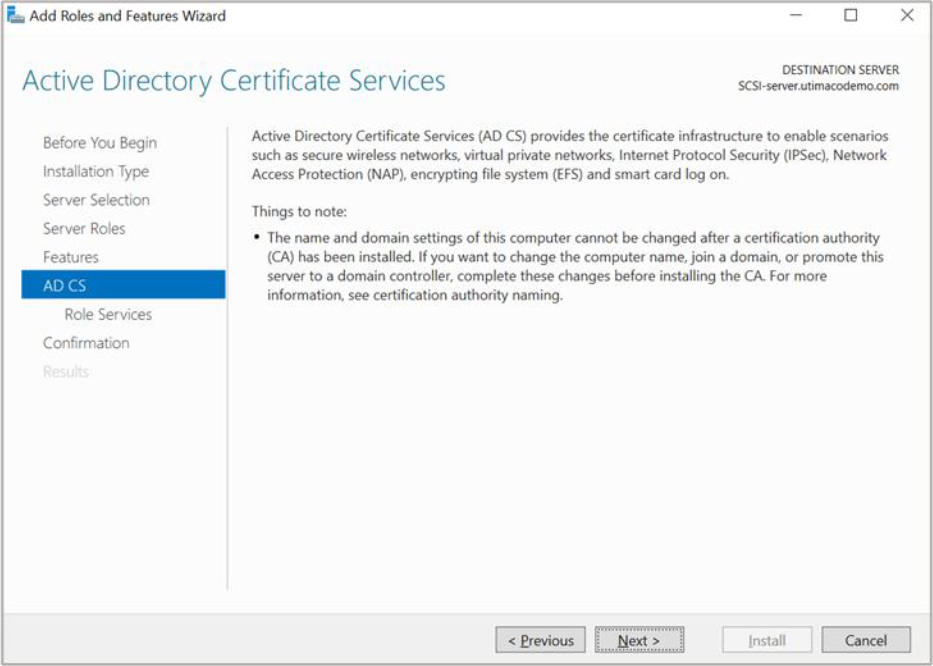
Figure 72: Active Directory Certificate Services window
-
On the Select role services window, the Certification Authority role is selected by default. Click Next
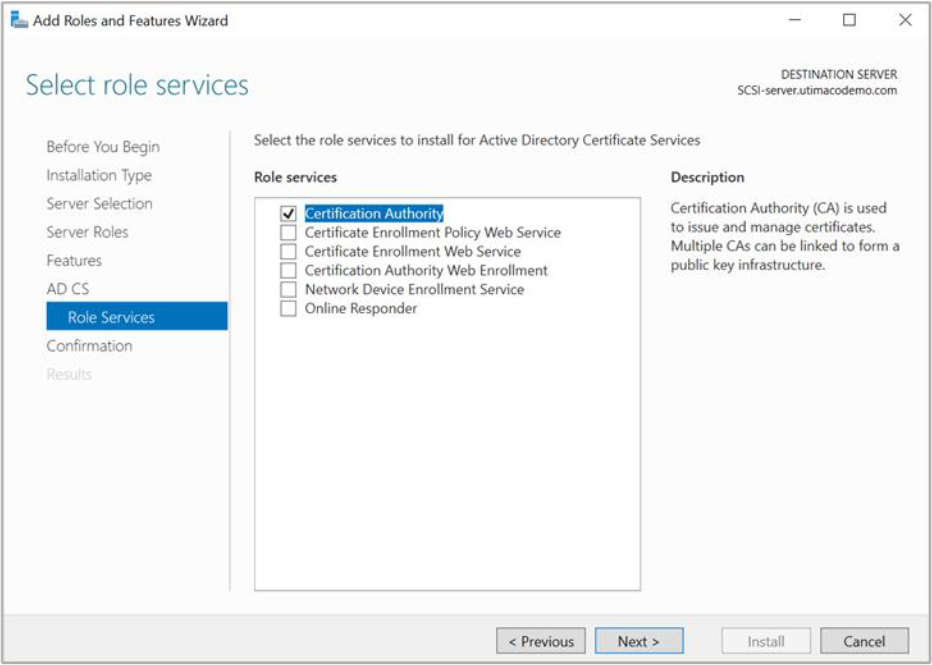
Figure 73: Select Role Services window
-
On the Confirm installation selections window, verify the information then click Install
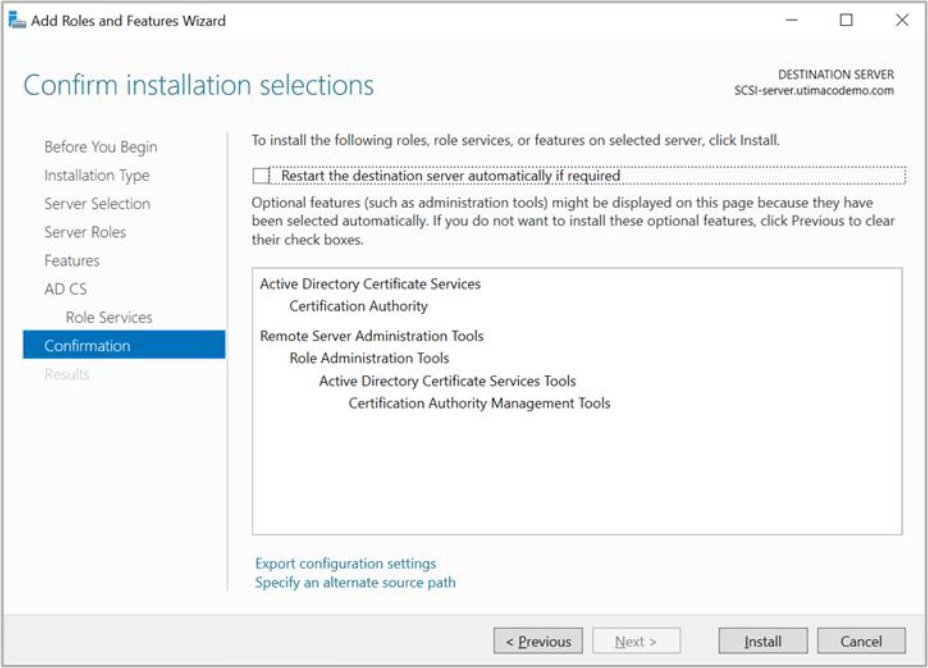
Figure 74: Confirm Installation Selections window
-
When the installation is complete, select the Configure Active Directory Certificate Services on the destination server link
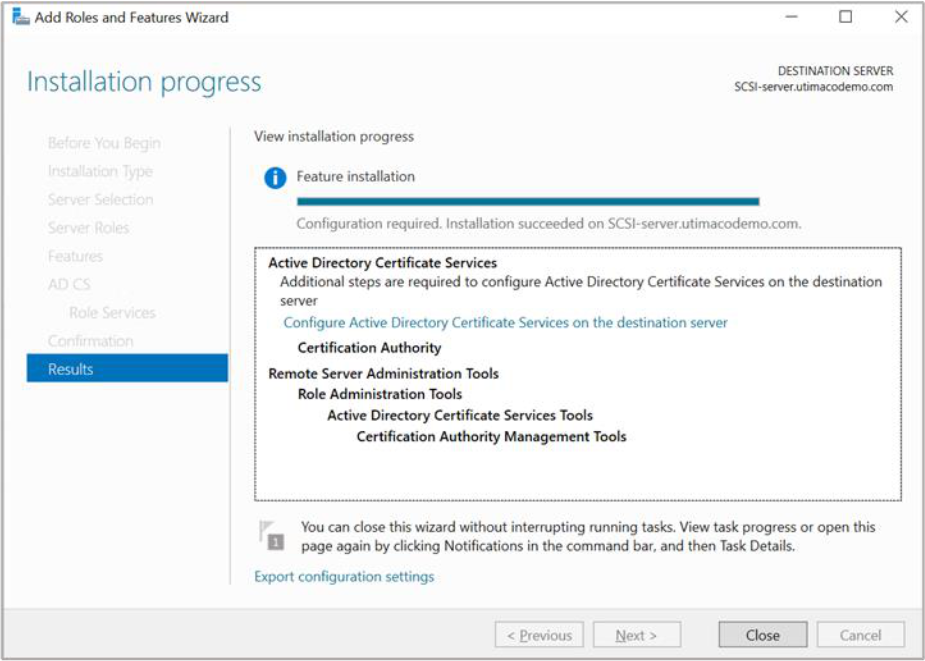
Figure 75: Installation Progress window
-
On the Credentials window, make sure that Administrator’s credentials are displayed in the Credentials box. If not, select Change and specify the appropriate credentials. Click Next
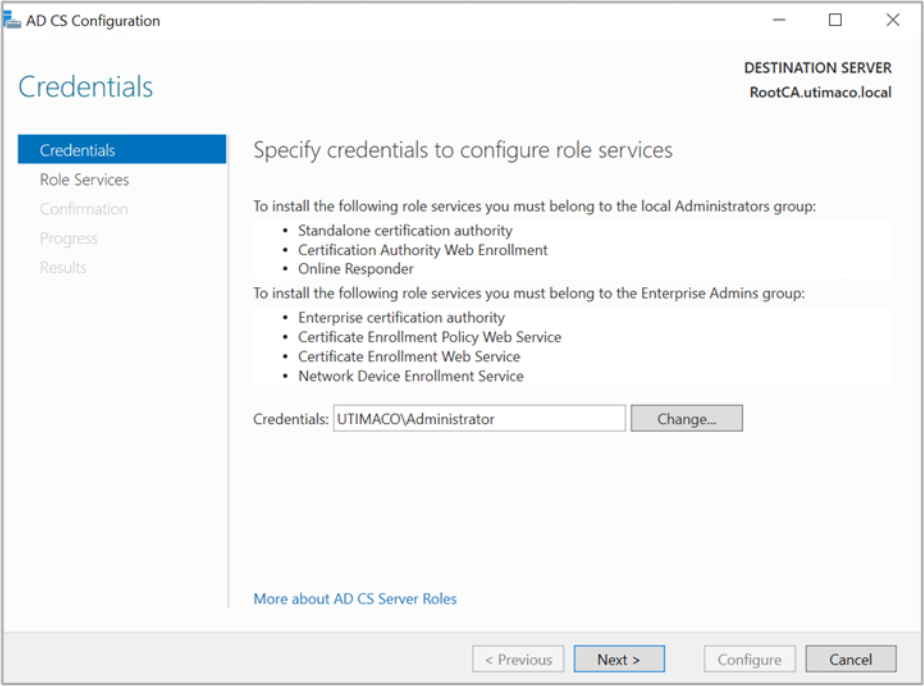
Figure 76: Credentials window
-
On the Role Services window, select Certification Authority. This is the only available
selection when the certification authority role is installed on the server, click Next
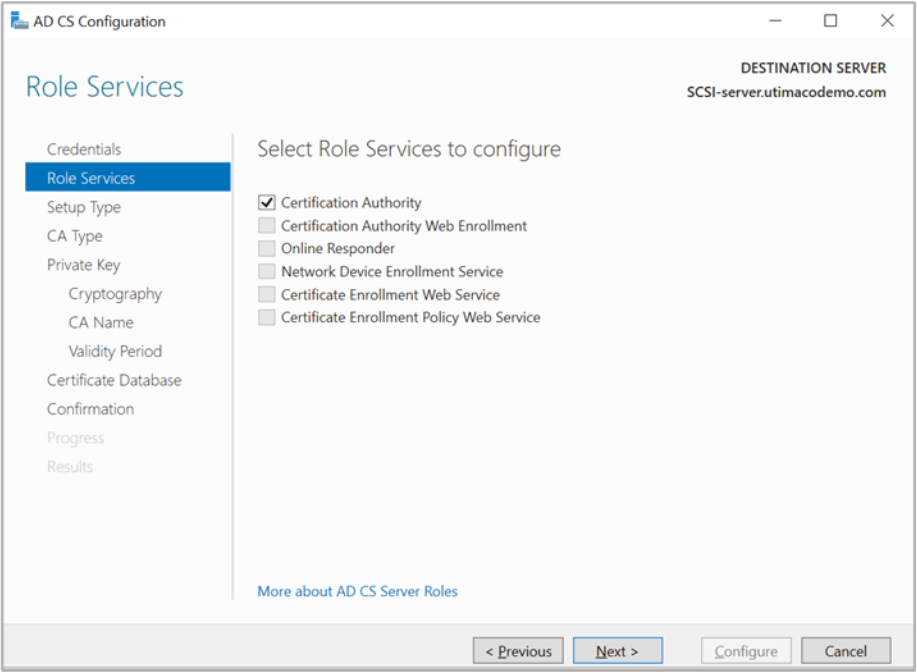
Figure 77: Credentials window
-
On the Setup Type window, select the appropriate CA setup type for your requirements. Click Next
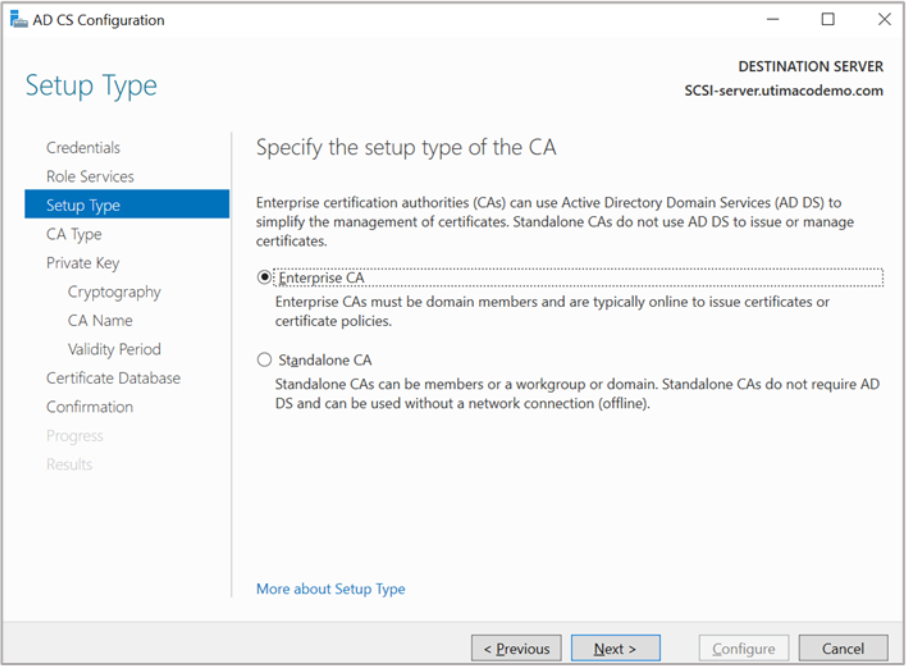
Figure 78: Setup Type window
-
On the CA Type window, Root CA is selected by default. Click Next
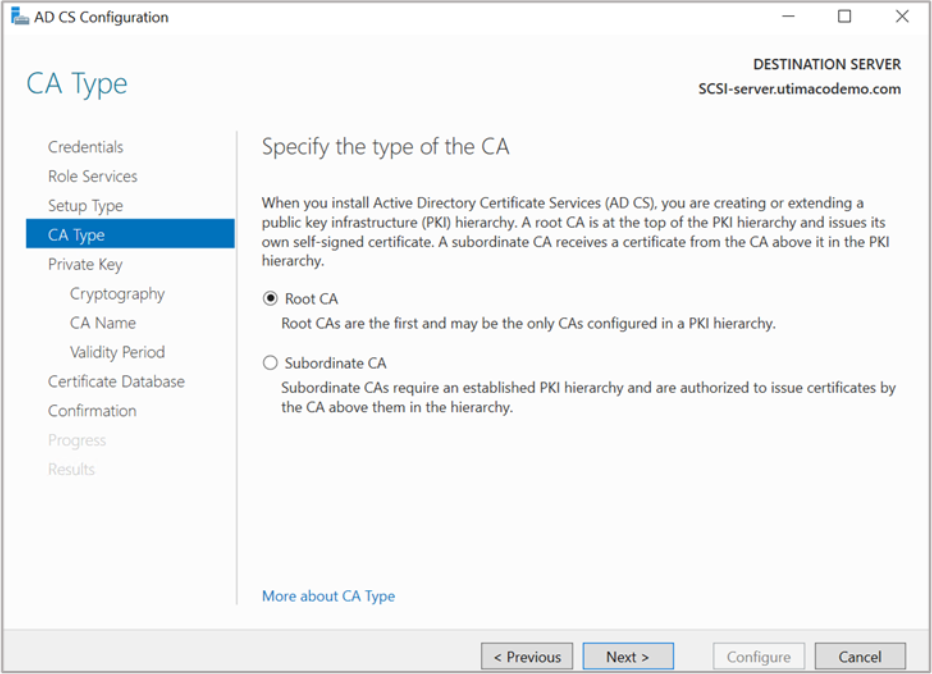
Figure 79: CA Type window
-
On the Private Key window, leave the default selection to Create a new private key selected. Click Next
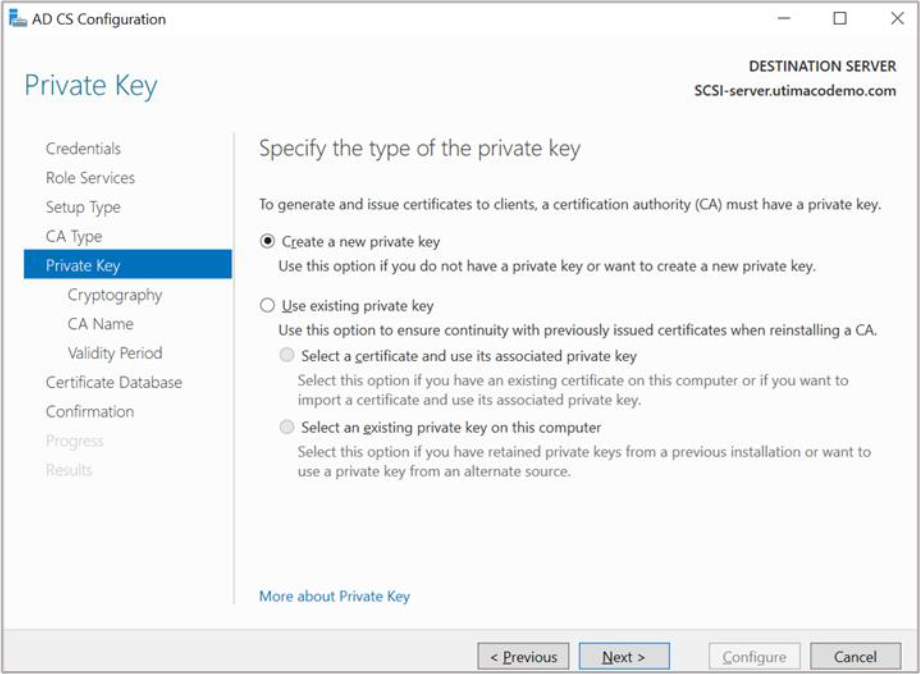
Figure 80: Private Key window
-
On the Cryptography for CA window, select the appropriate Microsoft cryptographic provider along with the key type, key length, and suitable hash algorithm and click Next
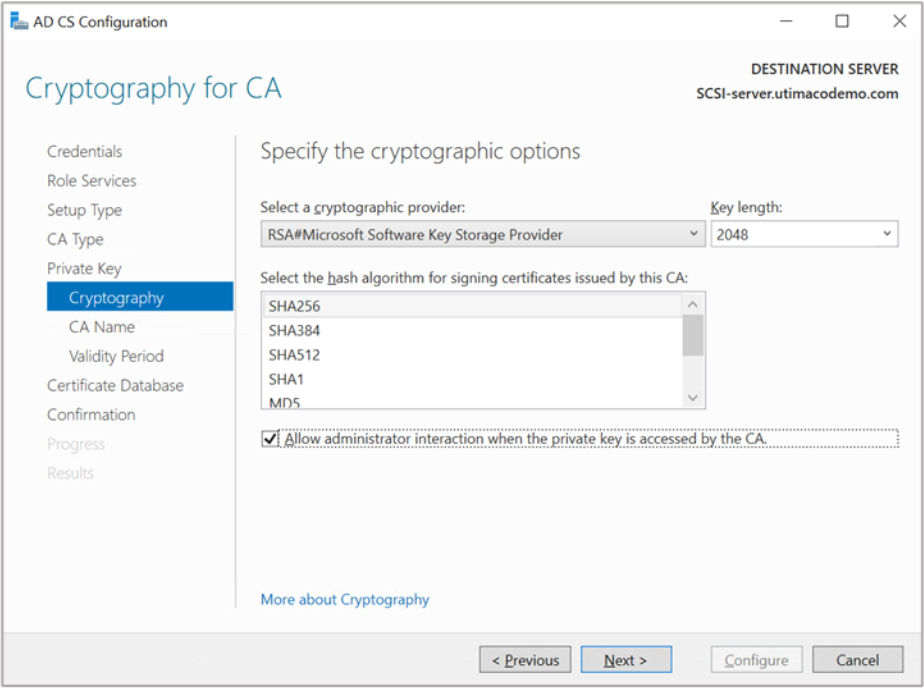
Figure 81: Cryptography for CA window
-
On the CA Name window, give the appropriate CA name. Click Next
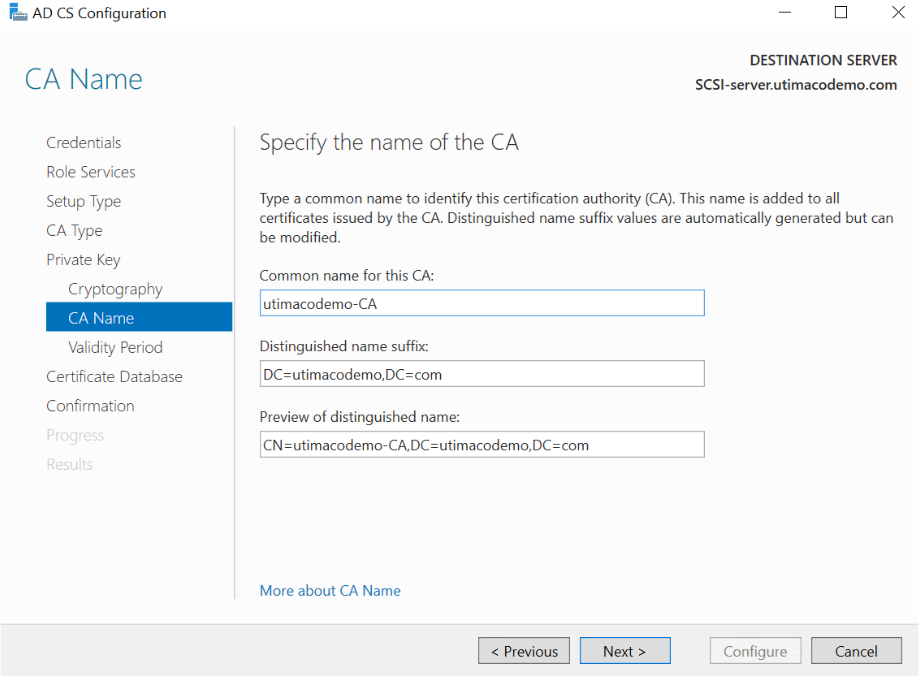
Figure 82: CA Name window
-
On the Validity Period window, enter the number of years for the certificate to be valid. Click Next
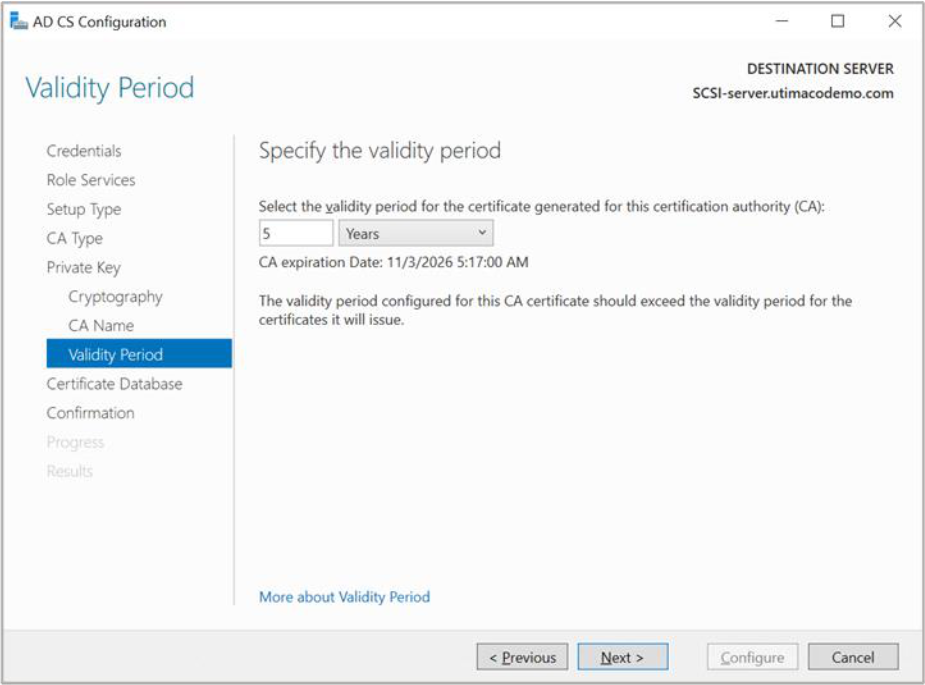
Figure 83: Validity Period window
-
On the CA Database window, leave the default locations for the database and database log files. Click Next
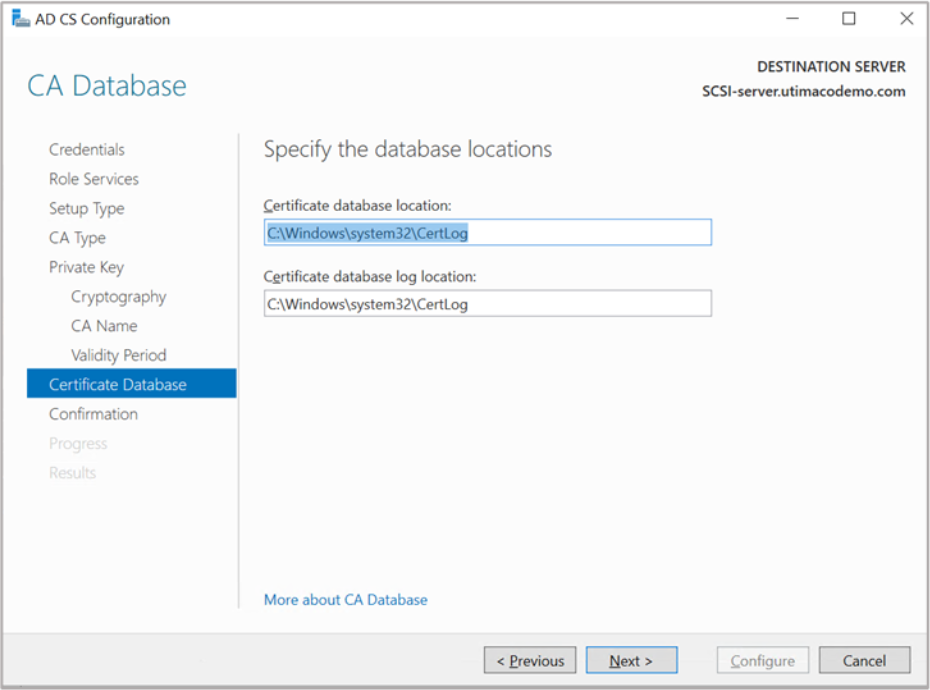
Figure 84: CA Database window
-
On the Confirmation window, click Configure
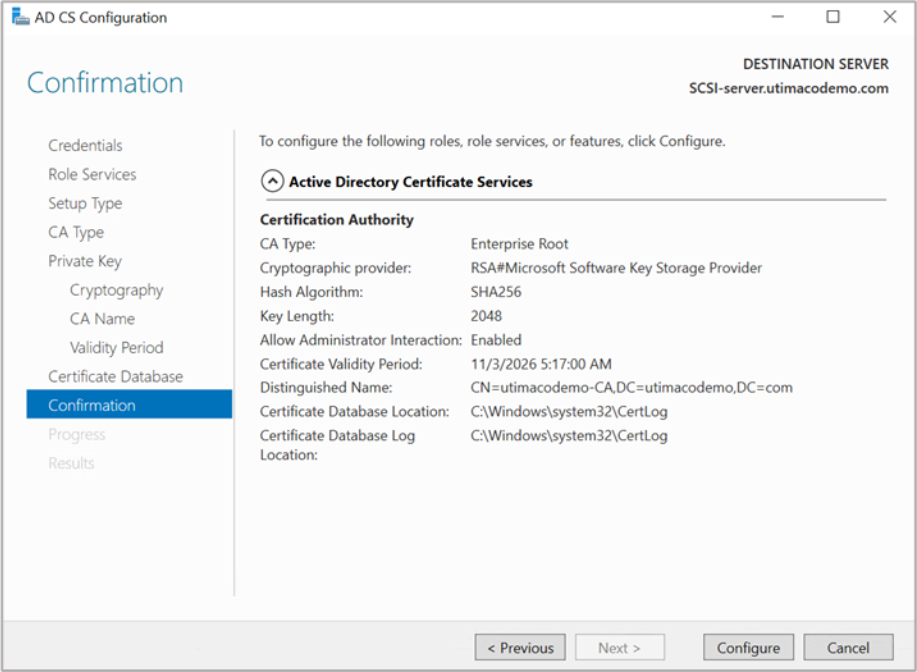
Figure 85: Confirmation window
-
Click Close to exit the AD CS Configuration wizard after viewing the installation results. A private key for the CA will be generated and stored on the HSM
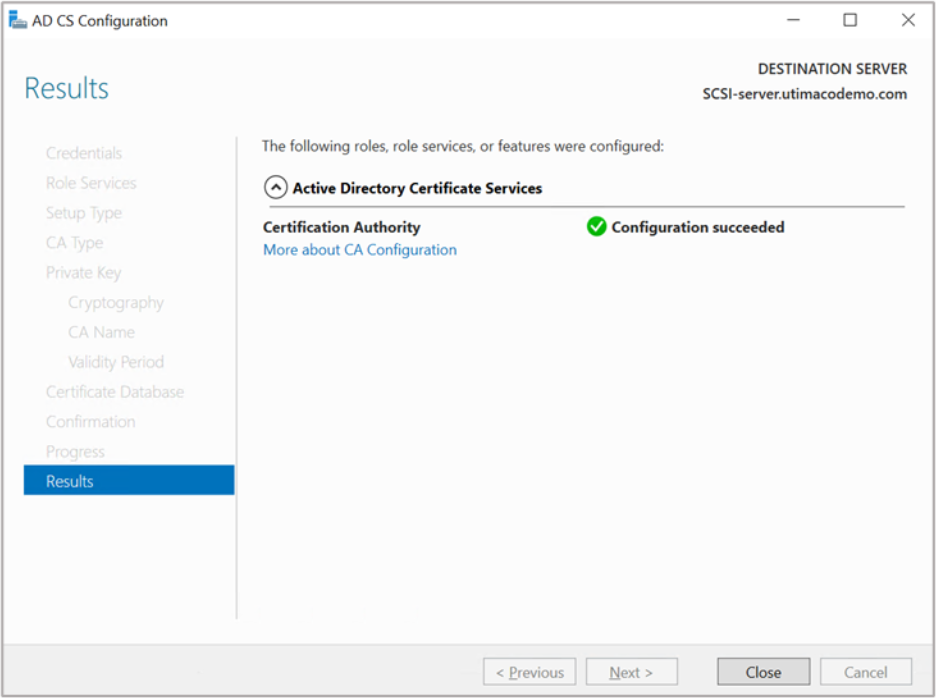
Figure 86: Results window
-
Open a command prompt and run the following command to verify that service is running:
|
›_ Console |
|---|
|
-
Open a command prompt and run the following command to verify the CA key:
|
›_ Console |
|---|
|
If you are using Smartcard Authentication, the prompt will go on the PIN Pad device to insert Smartcard and enter the pin. Then press OK button on the PIN Pad.