
Configuring NGINX to use Utimaco HSM

To configure Nginx to use Utimaco Keys for SSL follow these steps.

1. Open the /usr/local/nginx/nginx.conf file and make the following changes.

›_ Console

ssl_engine pkcs11; 

     server {     listen 443 ssl;     
     ..................     
     ssl_certificate      <certifcate_directory>RSA.cert;     
     ssl_certificate_key  engine:pkcs11:slot_<no.>-id_<CKA_ID>;      

    ................... 
        } 

} 

Below is the sample working configuration file for NGINX for SSL.

›_ Console

[root@Nginx nginx]# cat /usr/local/nginx/nginx.conf 

 user  root; worker_processes  1; ssl_engine pkcs11; error_log  logs/error.log info; 

 events {     worker_connections  1024; 

}  http {     include       mime.types;     default_type  application/octet-stream;     sendfile        on;     keepalive_timeout  65;     server {         listen       80;         server_name  localhost;         location / {             root   html;             index  index.html index.htm; 

        }         error_page   500 502 503 504  /50x.html;         location = /50x.html {             root   html; 

        } 

    } 


    # HTTPS server 

     server {     listen 443 ssl; 

     server_name  localhost;     ssl_certificate      /root/nginx/RSA.cert;     ssl_certificate_key  engine:pkcs11:slot_4-id_45;     access_log  /tmp/sslparams.log;     location / {     root   html; 
         index  index.html index.htm; 

        } 

    } 

} 

Here:

  • /root/nginx/RSA.cert is the signed certificate.

  • engine:pkcs11:slot_4-id_45 is for slot no. 4 on the HSM and 45 is the CKA_ID of the private key on Utimaco HSM.

  1. Restart NGINX service.

›_ Console

# ./nginx -s reload 

Provide slot PIN when prompted.

  1. Open https://<nginx_server_ip> in any browser and verify that you can see nginx welcome page.
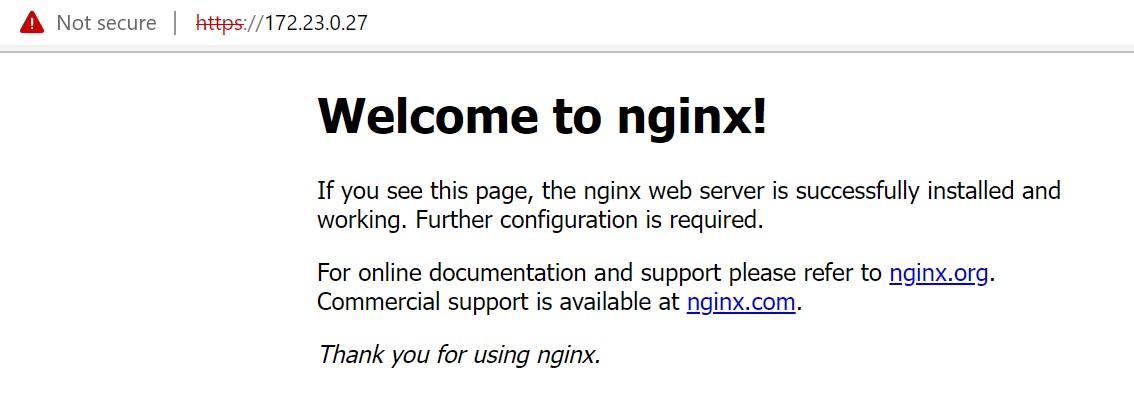
image-3285484022-1.jpg

Nginx Welcome Page with Https