

This section provides the step-by-step procedure for integrating ESKM with Nutanix.
-
Log in to Nutanix Prism Element as an Administrator.
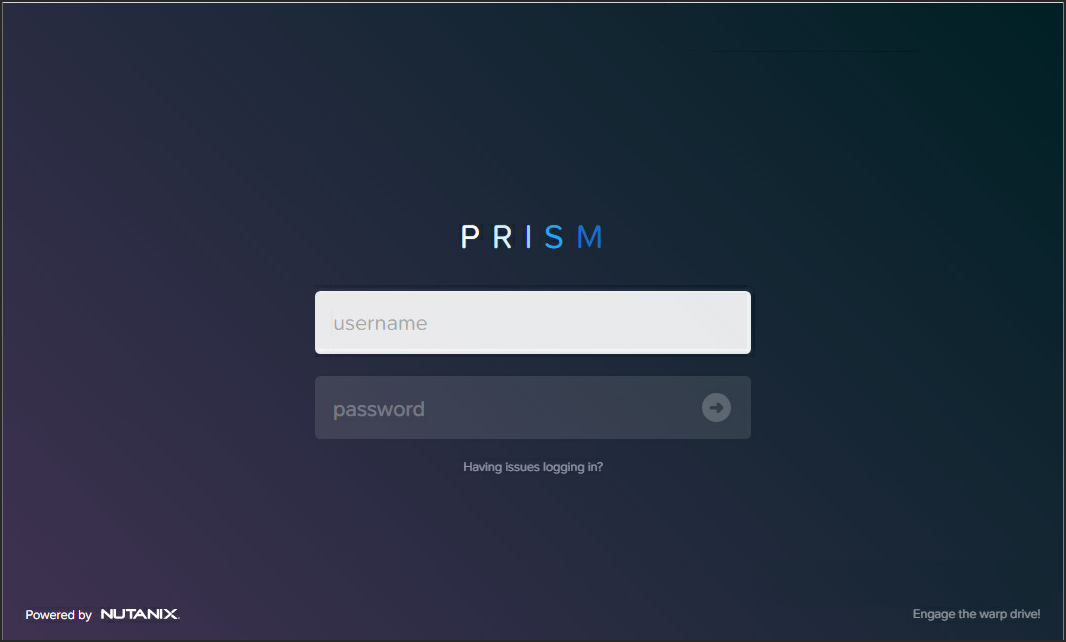
Login page
-
Select Data-at-Rest Encryption in the Settings page. The Data-at-Rest Encryption page appears.
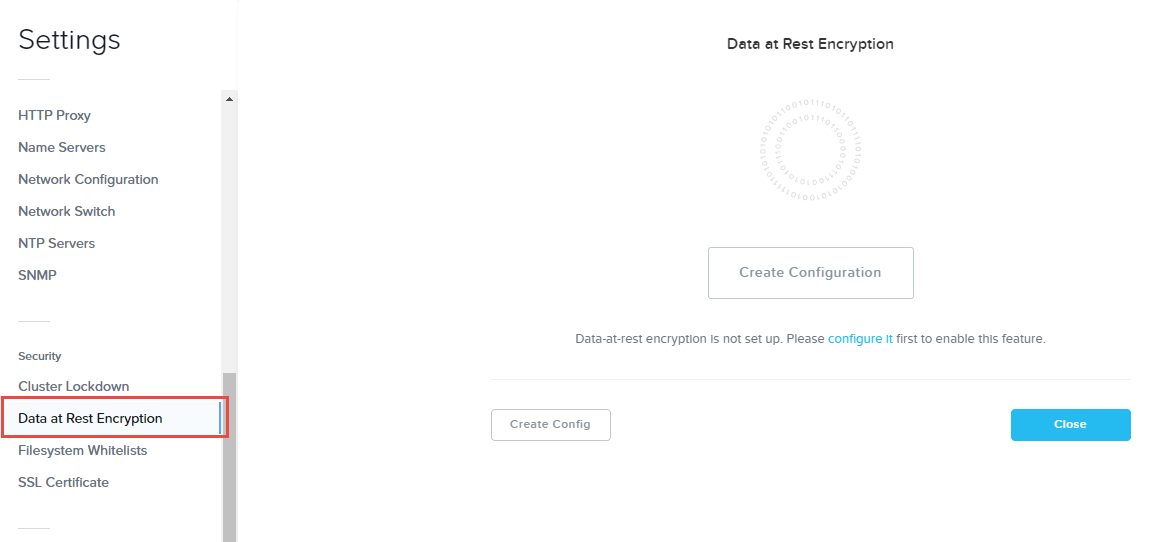
Data-at-Rest encryption
-
On the Data-at-Rest Encryption page, click Create Configuration.
-
Click the Continue Configuration button, configure it link, or Edit Configuration button. All of these options display the Data-at-Rest Encryption configuration page.
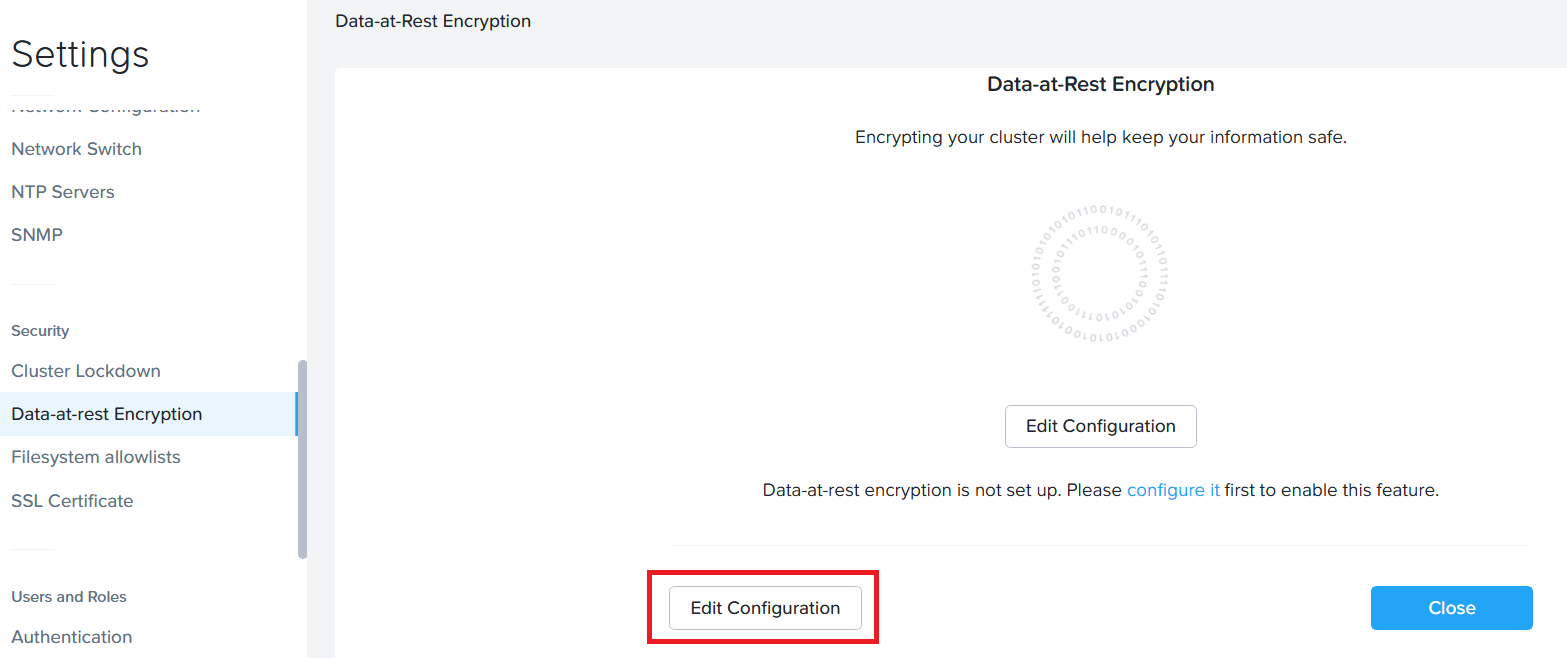
Edit configuration
-
Select the Key Management Server as An external KMS.
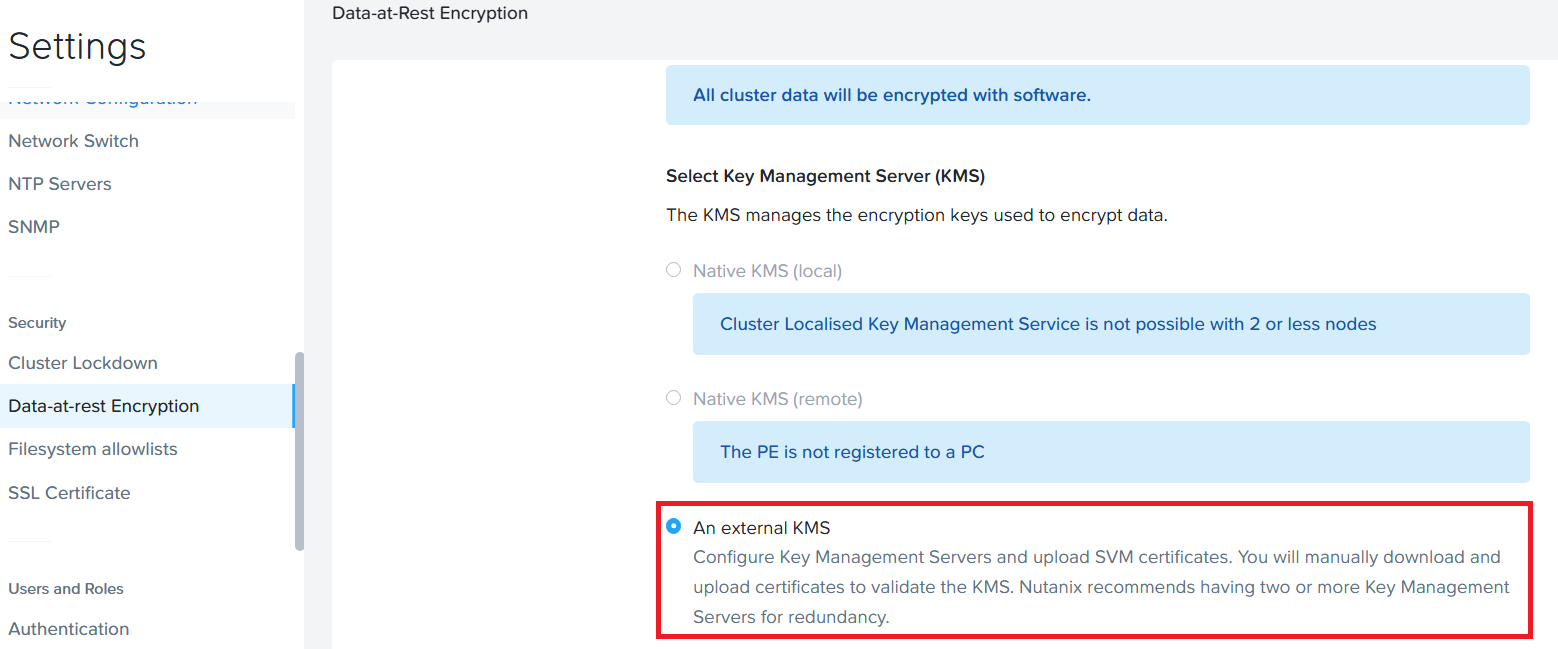
External KMS
-
In the Certificate Signing Request Information section, do the following:
-
Enter appropriate credentials for your organization in the Email, Organization, Organizational Unit, Country Code, City, and State fields, and then click the Save CSR Info button.
-
The entered information is saved and used when creating a certificate signing request (CSR). To specify more than one Organizational Unit name, enter a comma-separated list.
-
Click the Download CSRs button, and in the Certificate Signing Requests screen, click the Download CSRs for all nodes to download a file with CSRs for all the nodes, or click a Download link to download a file with the CSR for that node.
-
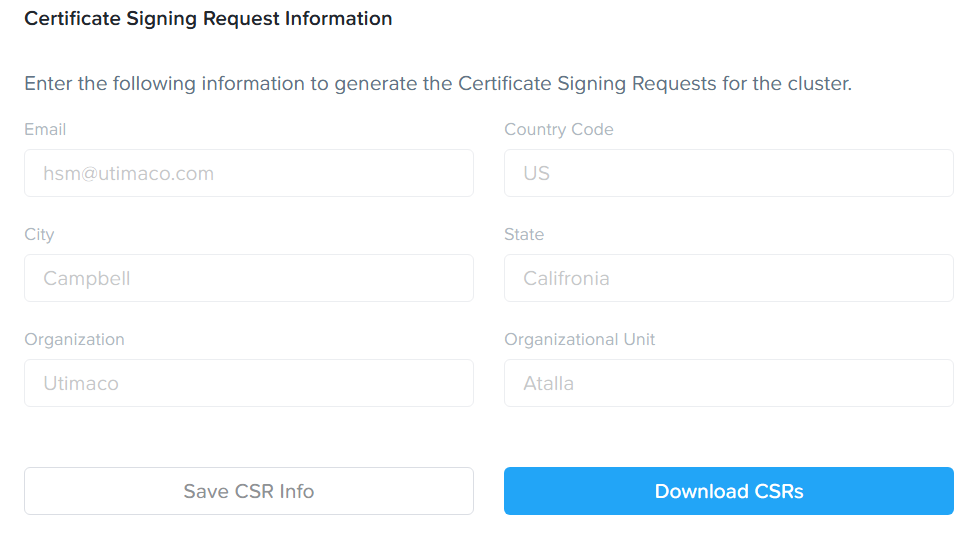
Certificate signing information
You can update this information until an SSL certificate for a node is uploaded to the cluster, at which point the information cannot be changed (the fields become read-only) without first deleting the uploaded certificates.
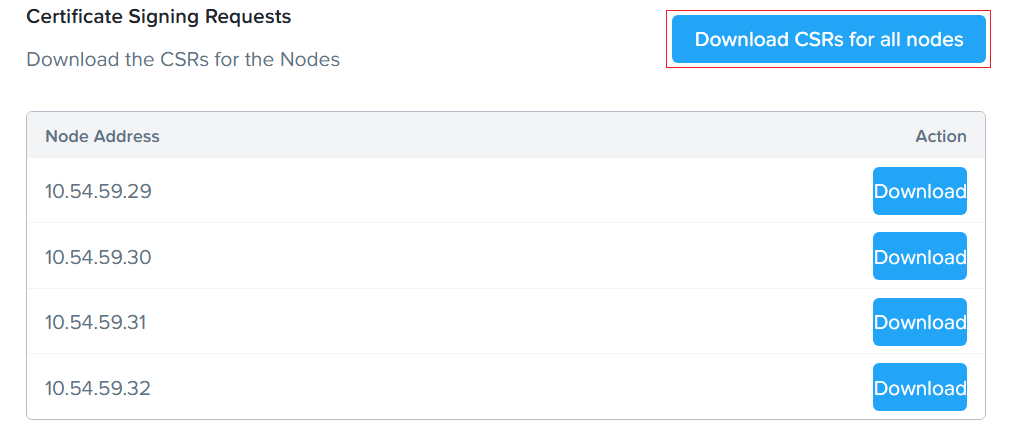
Download CSRs for all nodes
After completing step 5, follow the steps below in the ESKM Management Console.
-
Create Client Certificates. For detailed information, refer to Create Client Certificates.
-
Create an ESKM local user. For detailed information, refer to Create a Local User.
-
Repeat the same step for all the CSRs.
-
In the Key Management Server section, click the Add New Key Management Server button.
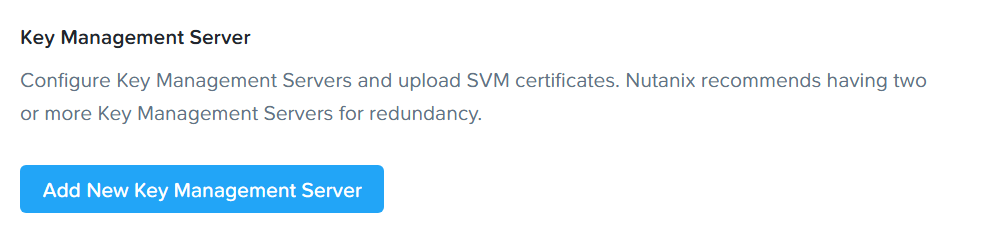
Add new key management server
-
In the Add a New Key Management Server screen, enter the ESKM’s Name, IP address, and Port Number in the appropriate fields.
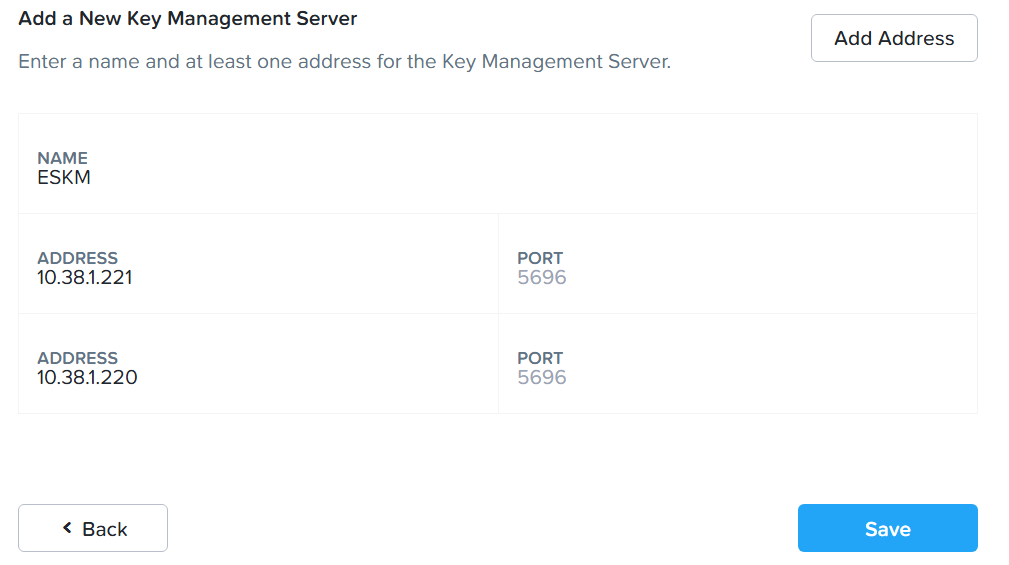
Add address
The port is where the key management server is configured to listen for the KMIP protocol. The default port number is 5696.
-
If you have configured multiple key management servers in cluster mode, click the Add Address button to provide the addresses for each ESKM device in the cluster.
-
Click Save.
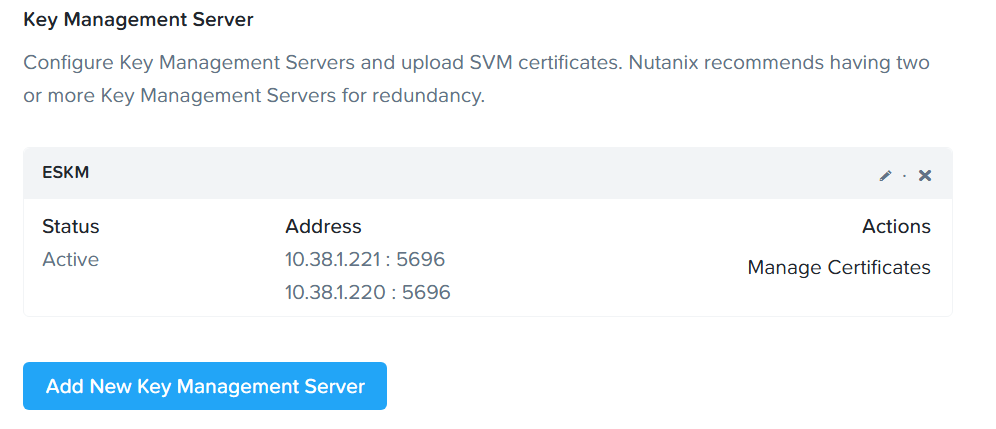
Manage certificates
-
In the KMS CA Certificates, click Add New Certificate Authority.
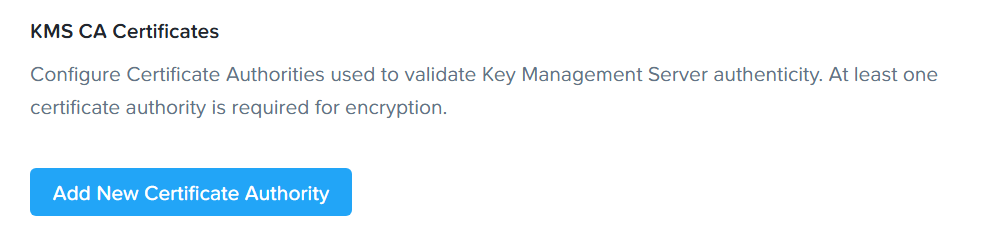
Add new certificate authority
-
In the Add a New Certificate Authority section, click Upload CA Certificate button to upload the CA Certificate. Upload the ESKMCA, which is used to sign the KMIP server and the client certificate.
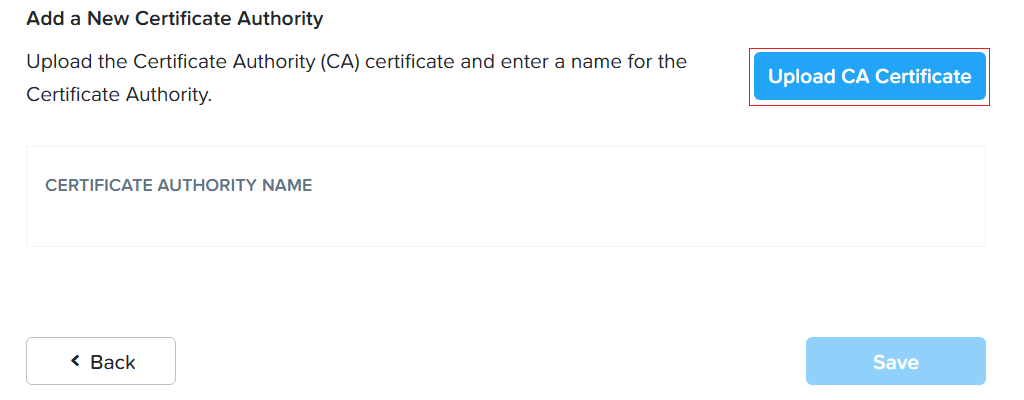
Upload CA certificates
-
Enter Certificate Authority Name.
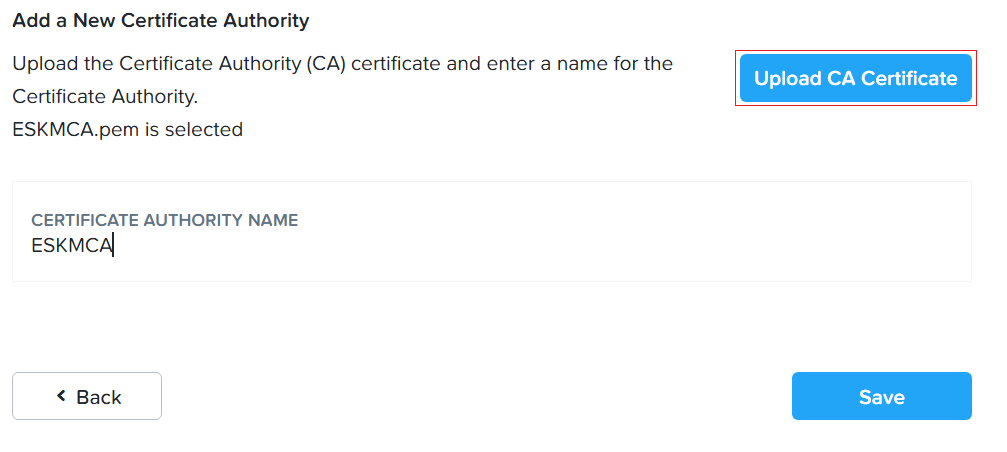
Certificate authority name
-
Click Save.
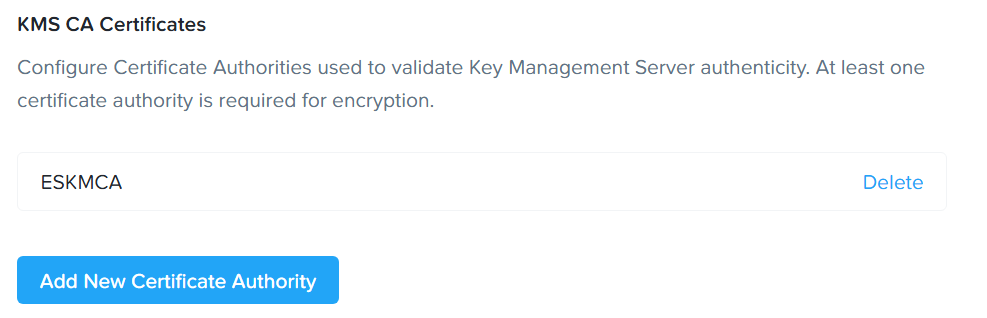
Certificate authority name
-
Go to the Key Management Server section. Click the Manage Certificates button.
-
In the Manage Signed Certificates screen, click Upload Files to upload all the signed certificates in one step.
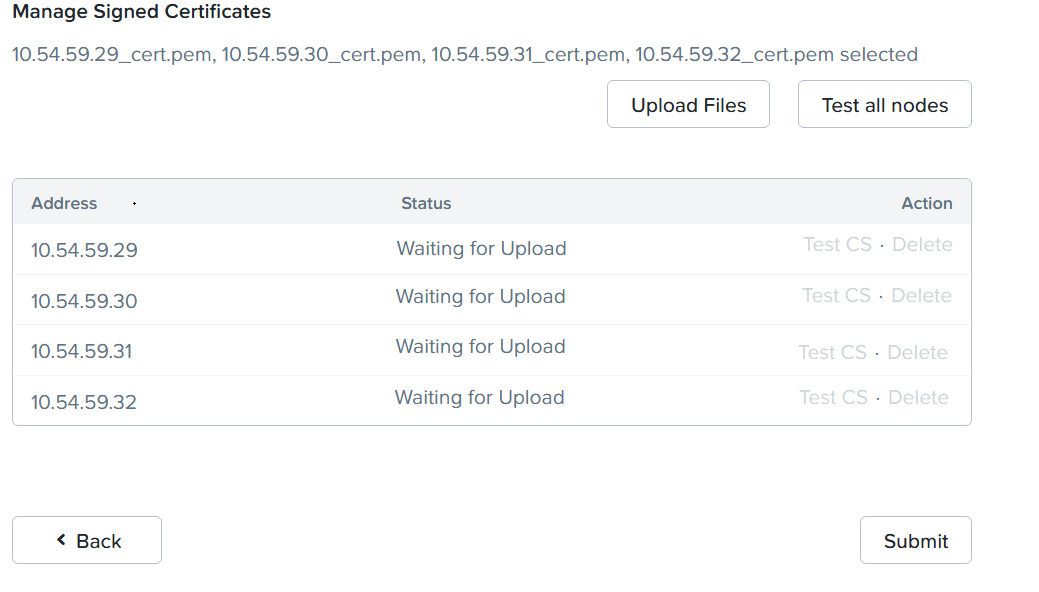
Managed signed certificates
-
Click Test all nodes button to test the certificates for all nodes in one step. A status of Verified indicates the test was successful for that node.
If the status shows Unverified, that means there is a connectivity or certificate issue with the Key Management Server. Make sure all nodes show Verified before you enable encryption.
-
Click Submit. The following window displays.
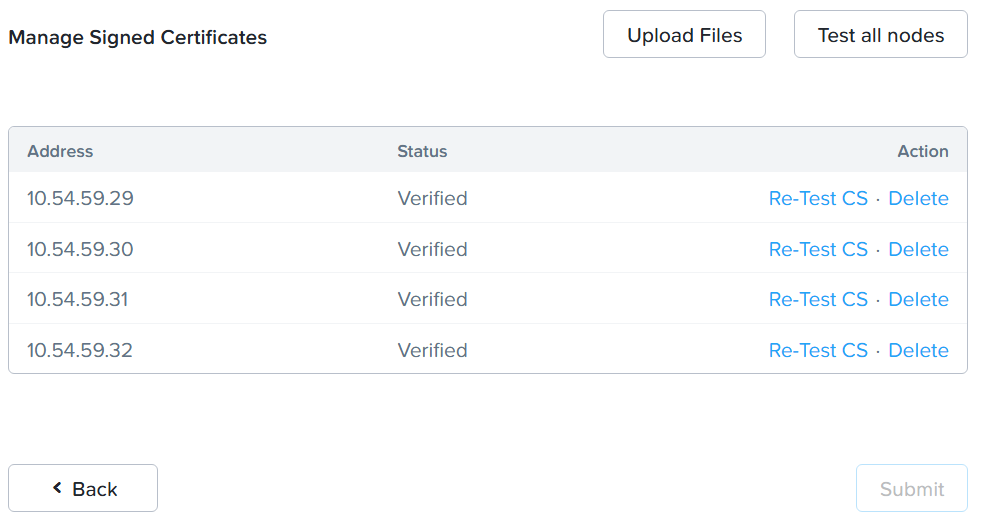
Uploaded signed certificates
-
When the configuration is complete, click the Enable Encryption button.
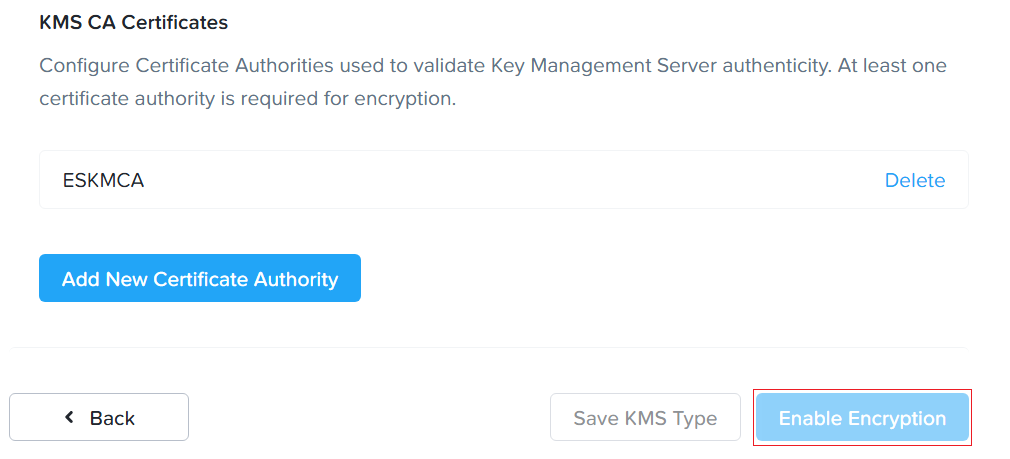
Enable encryption
-
The Enable Encryption window is displayed.
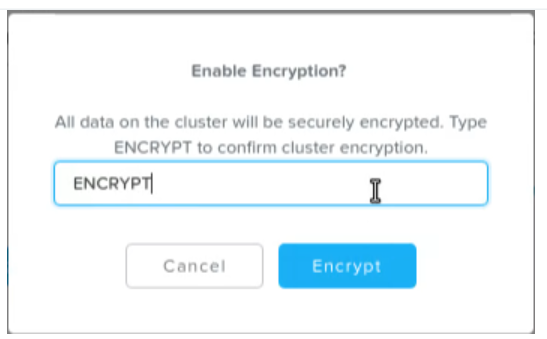
Data-at-Rest encryption screen
To help ensure your data's security, you cannot disable software-only data-at-rest encryption once it is enabled. Nutanix recommends regularly backing up your data, encryption keys, and key management server.
-
Type ENCRYPT and click the Encrypt button. The data-at-rest encryption is enabled. To view the status of the encrypted cluster or container, go to Data-at-Rest Encryption in the Settings menu.
When you enable encryption, a low-priority background task runs to encrypt all the unencrypted data. This task is designed to take advantage of any available CPU space to encrypt the unencrypted data within a reasonable time. If the system is occupied with other workloads, the background task consumes less CPU space. Depending on the amount of data in the cluster, the background task can take 24 to 36 hours to complete.
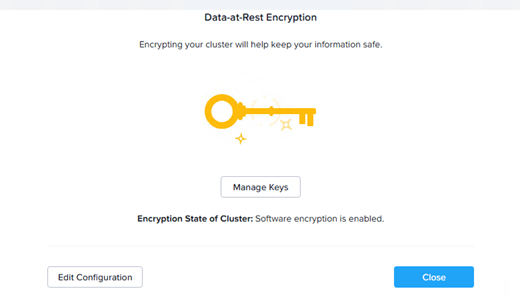
Data-at-Rest encryption screen - encrypting cluster
Once the task to encrypt a cluster begins, you cannot cancel the operation. Even if you stop and restart the cluster, the system resumes the operation.
For changing the Key Encryption Keys, see Changing Key Encryption Keys.