

-
Run the below command to generate the keys using the
ods-hsmutilutility onto Utimaco HSM.
|
›_ Console |
|---|
|

Generate RSA key output
-
Using
p11tool2utility, verify the keys are created on the HSM using the below command.
|
›_ Console |
|---|
|
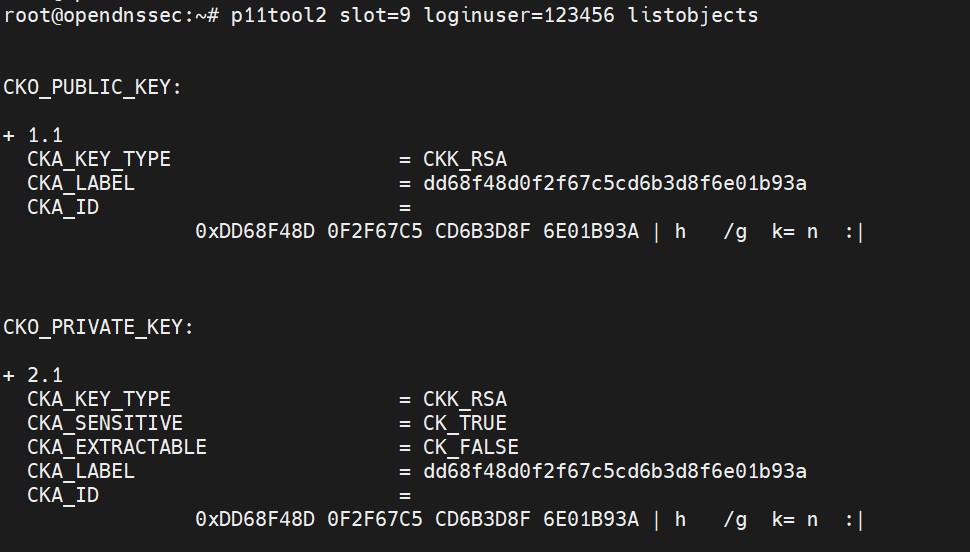
ListObjects output
-
List the contents of OpenDNSSEC Repository and verify the keys created is listed below with the command below.
|
›_ Console |
|---|
|
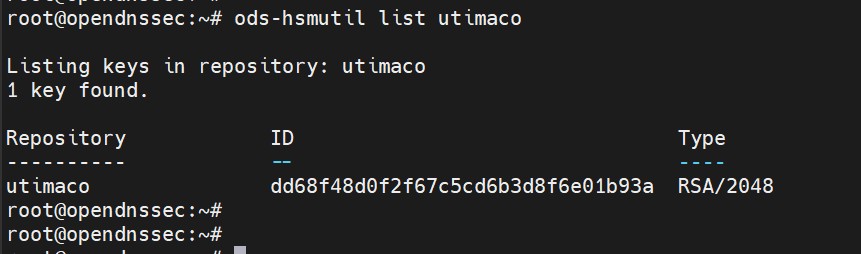
List DNSSEC keys output
-
Test the HSM by generating a DNSKEY Resource Record using the previously created RSA key.
|
›_ Console |
|---|
|

Generate resource record DNSKEY output
-
(Optional) If the user wants to delete the key from the local repository, use the command below.
|
›_ Console |
|---|
|

Delete DNSSEC key output
Deleting the key from local repository using the above command will also delete the key from HSM. To verify run p11tool2 command as described in the step 2 above.
-
(Optional) Now, as the communication between the Utimaco HSM and OpenDNSSEC is established and verified, you can run a few built-in tests as shown below.
|
›_ Console |
|---|
|
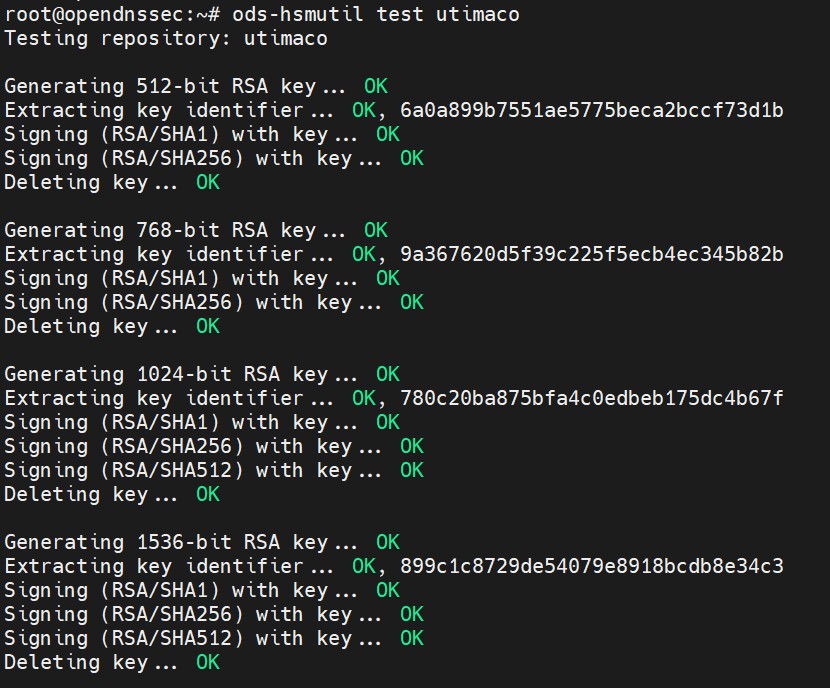
DNSSEC built-in test output
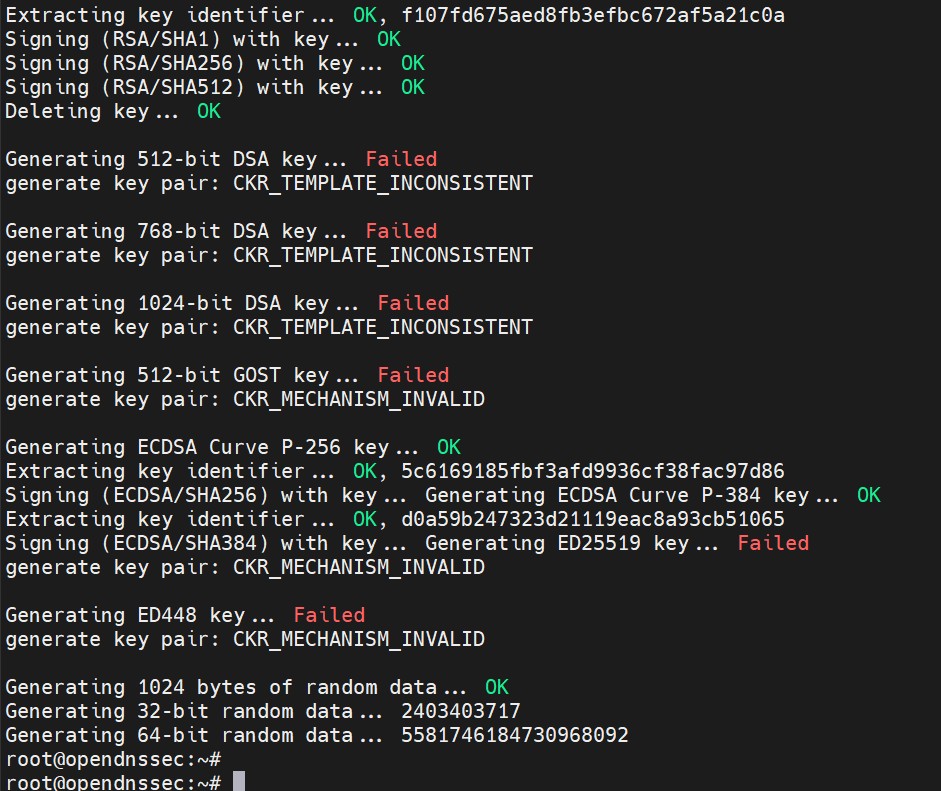
DNSSEC built-in test output
DSA, GOST, ED25519 and ED448tests are expected to be failed, as they are not supported by the HSM.