
With Veeam Backup & Replication, unstructured data from various sources can be backed up to tape and restored. Following types of data can be protected:
-
Any Microsoft Windows or Linux files.
-
Volumes of storage devices with NDMP protocol.
-
Data of SMB (CIFS) or NFS file shares.
-
Amazon S3, S3 Compatible, Microsoft Azure Blob object storage data.
Add the sources of unstructured data, that has to be protected with the file-to-tape and object-to-tape jobs, to the backup infrastructure.
Now add a Windows- or Linux-managed server as a file server to the inventory of the virtual infrastructure. To do so, follow the steps below.
-
Launch the Veeam Backup & Replication application.
-
In the Veeam Backup & Replication console, select the Backup Jobs option from the navigation menu and select the required backup job option, such as File Share.
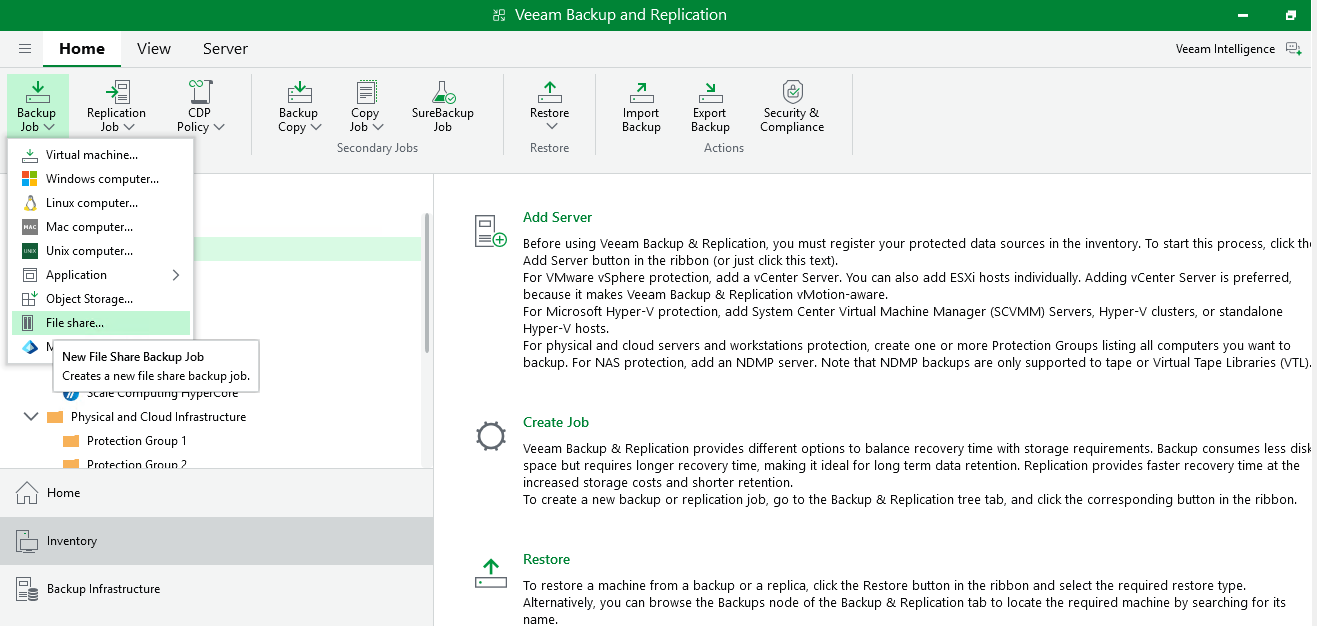
Click on File Share
-
Select the File server as the unstructured data source, and on the next page, enter the Name for the backup job.
You can choose File server, File share, or NAS filer as the unstructured data source. The setup steps for all options are similar.
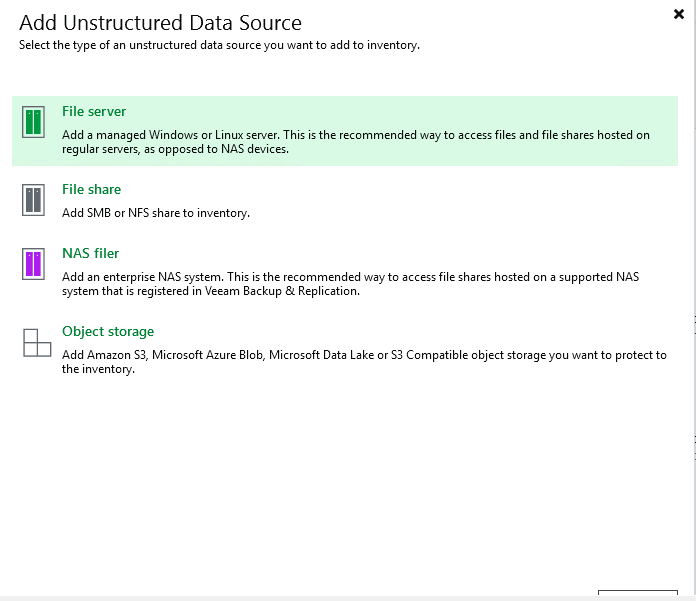
Unstructured Data Source Added
-
Add a managed server as a File server and click Next.
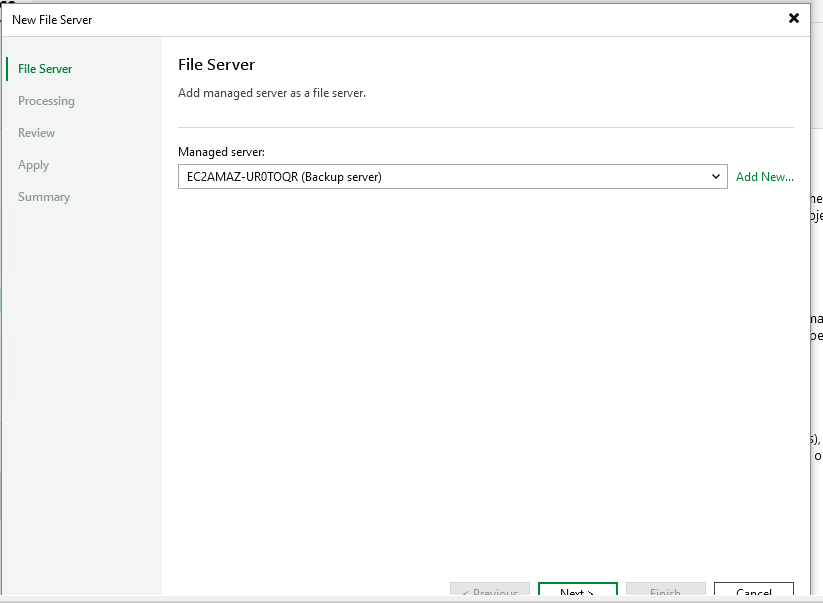
Add a Managed Server as a File Server
-
Define a cache repository to store the metadata for faster backup performance, and click Apply.
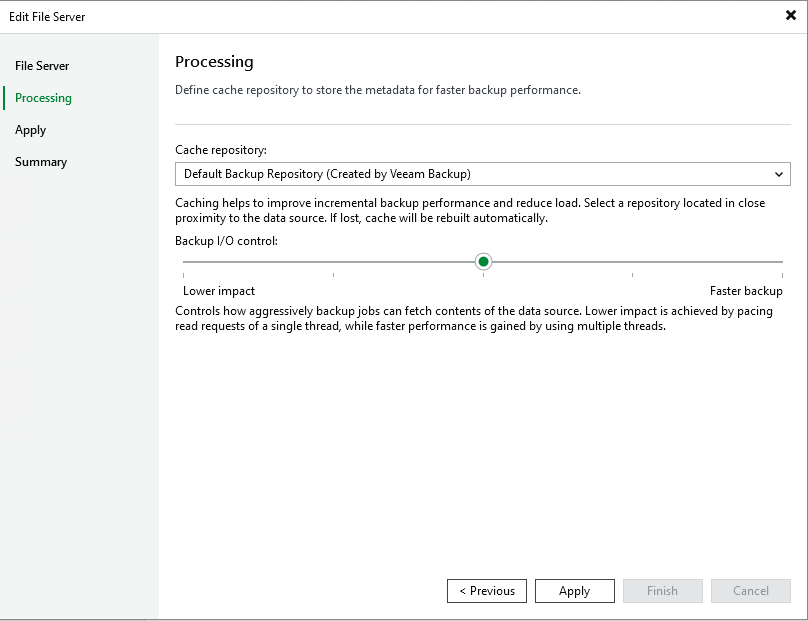
Cache Repository
-
Review the settings and click Apply.
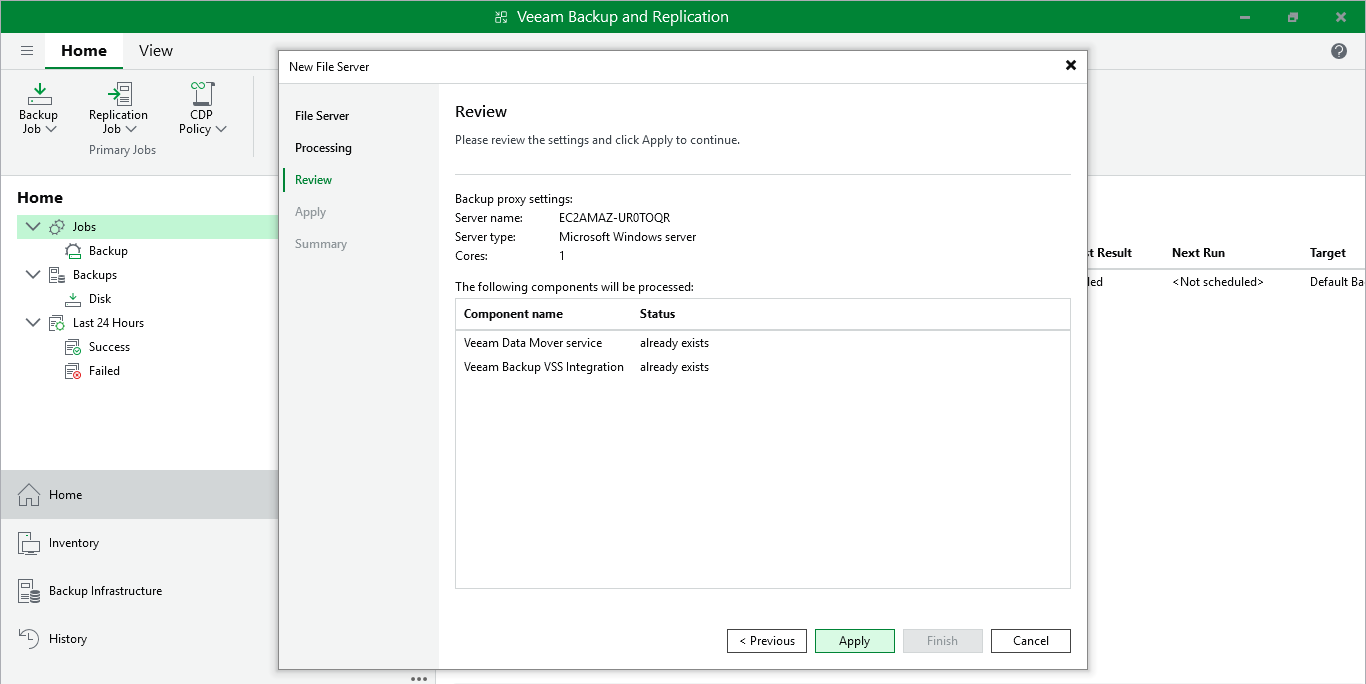
Review Page
-
The file server was added successfully. Click Finish.
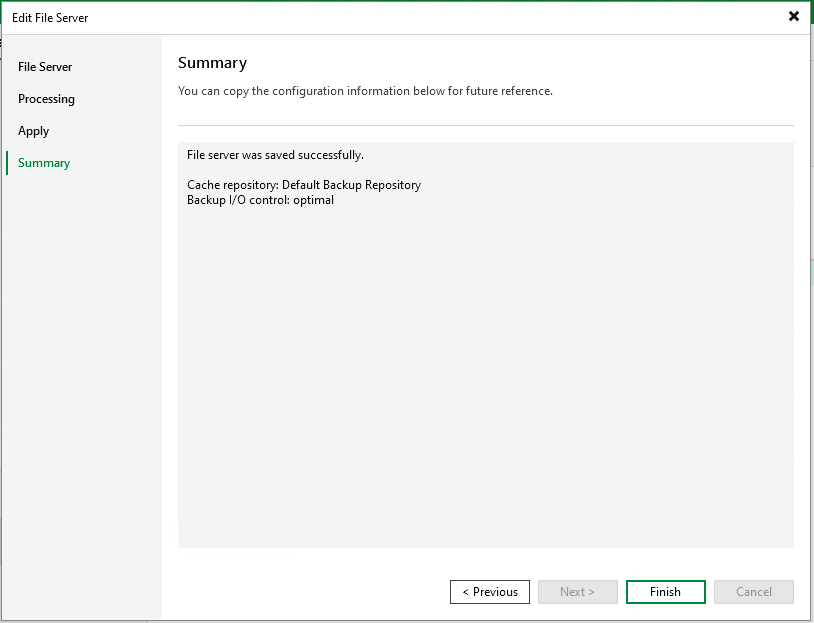
Summary Window
-
Enter the Name and Description of the backup job and click Next.
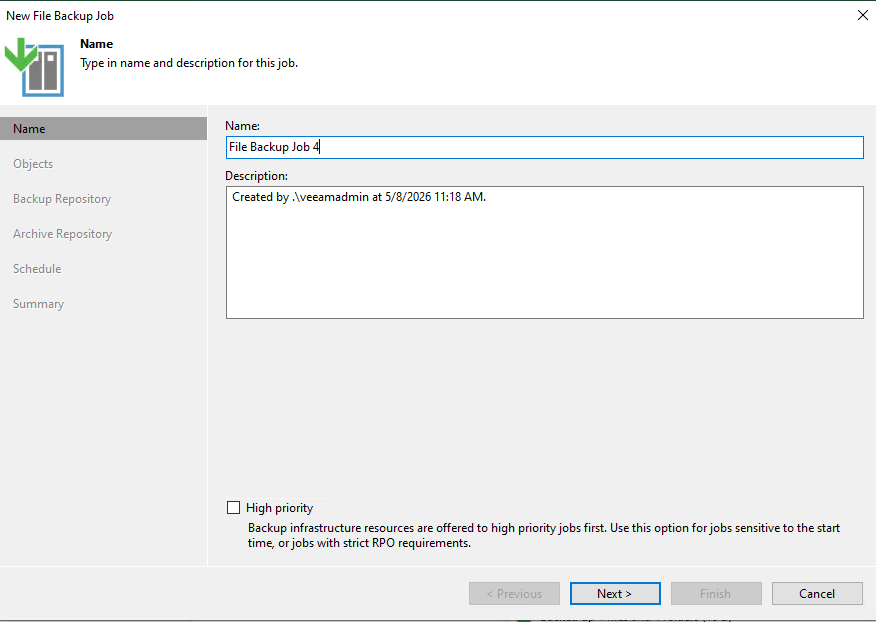
Enter the Name for the Backup Job
-
Specify objects, files, and folders to be backed up and click Next.

Add Object
-
In the Backup repository section, click on Advanced. Under the Storage tab, select the Enable backup file encryption checkbox. Then, select the registered ESKM Endpoint from the drop-down menu for encrypting the backup files. Click OK to proceed.
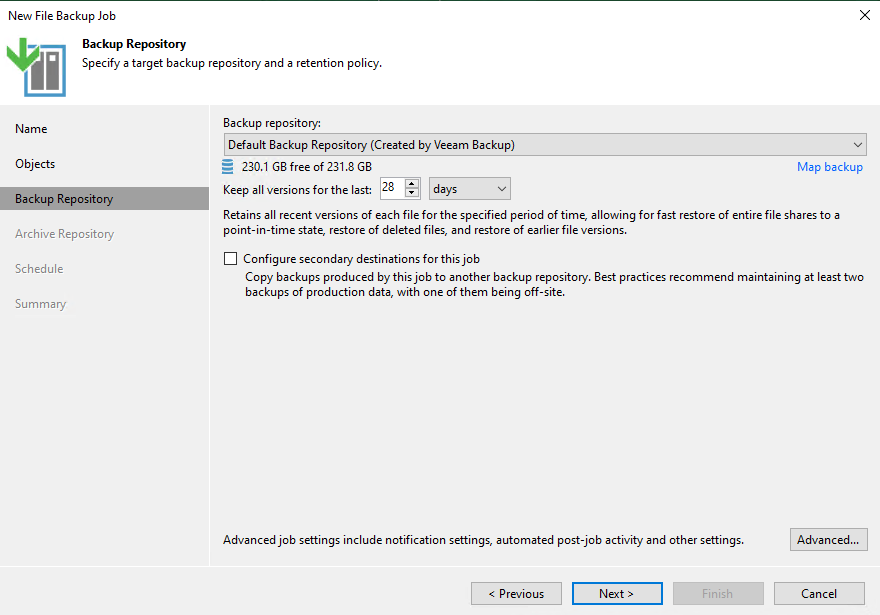
Backup Repository
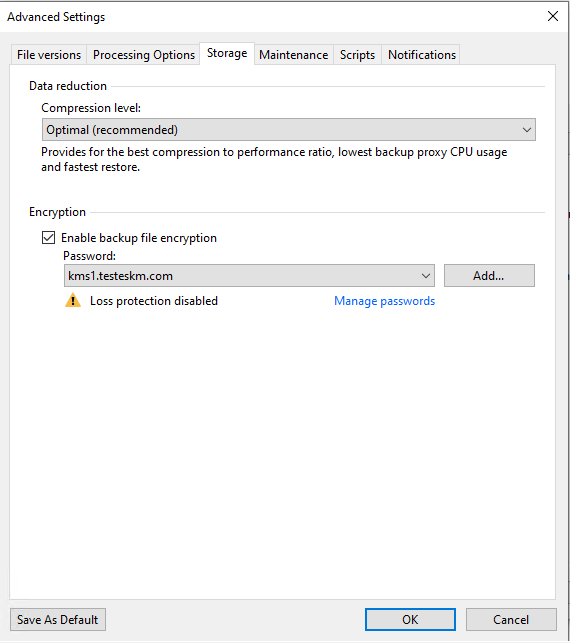
Storage Tab
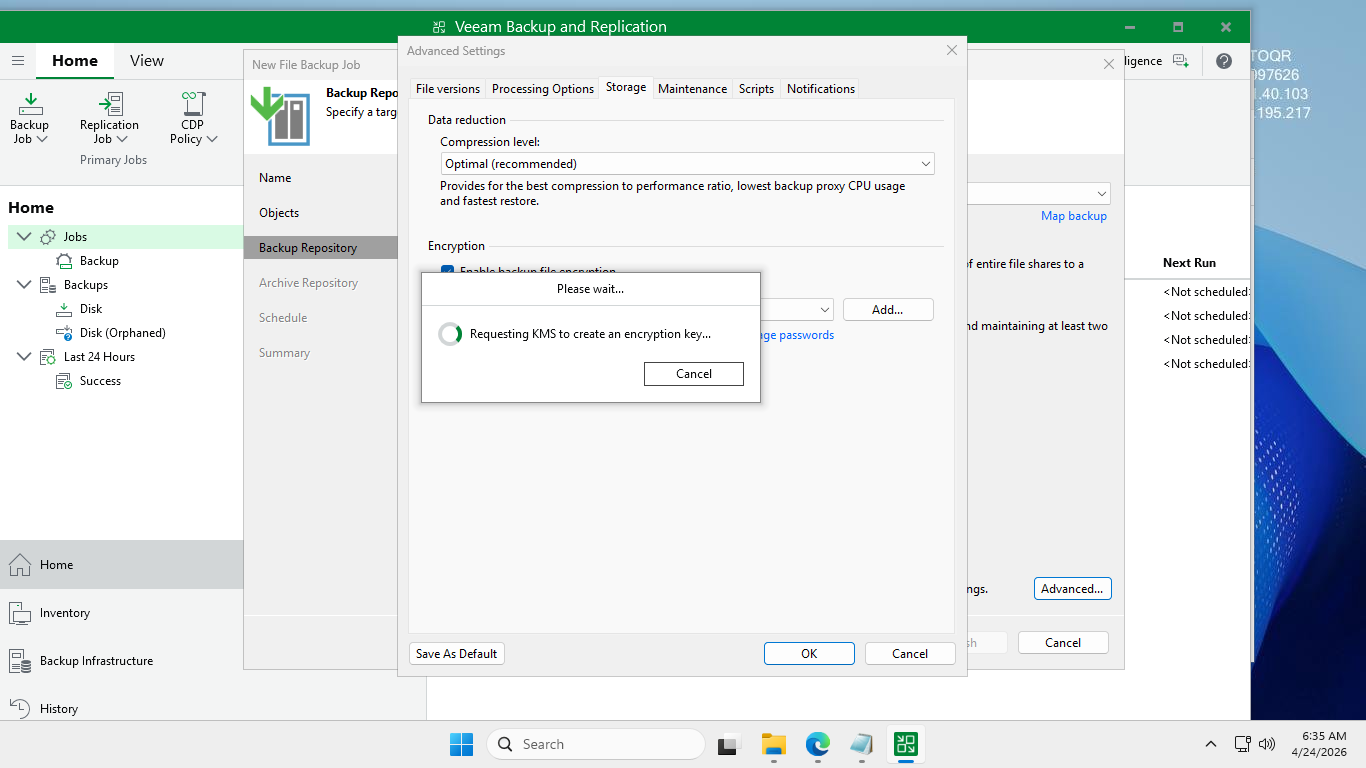
Requesting KMS to Create an Encryption Key
-
After applying the encryption settings, the Backup Repository page is displayed. Click Next to continue.
-
Keep the default configuration in the Archive Repository. Click Next.
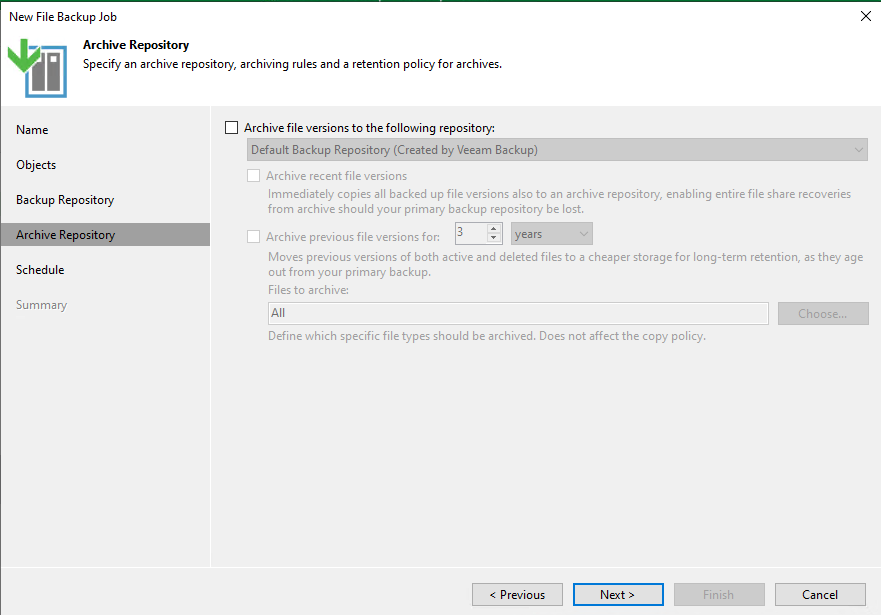
Archive Repository
-
In the Schedule section, select the option that fits your requirements. Click Apply.
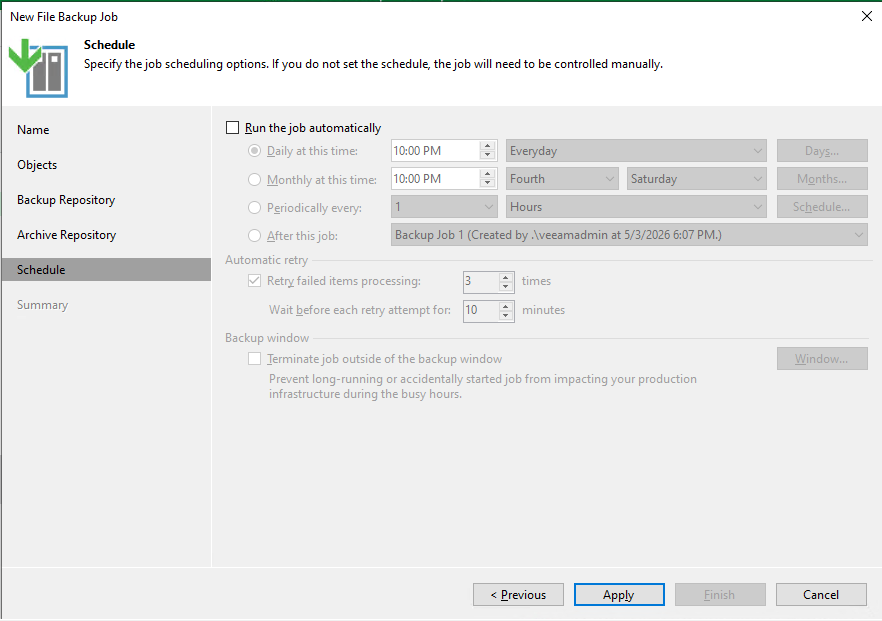
Schedule Tab
-
In the Summary section, review the configured settings to ensure they meet your requirements and confirm the creation of the backup job by clicking Finish.
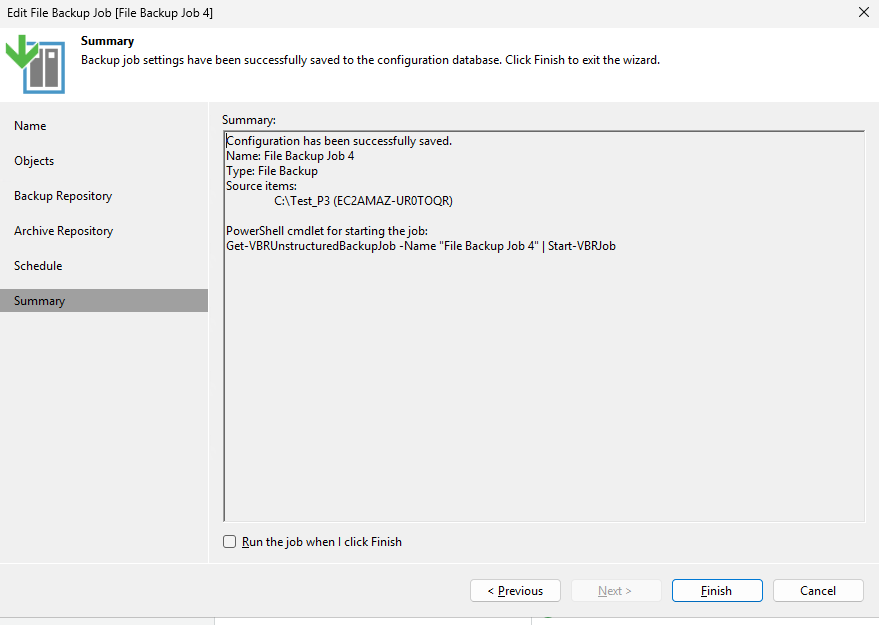
Summary