
To install the CA on the second node, complete the following tasks:
-
Log in as a user with Administrative privileges.
-
Select Start, then select Server Manager to open Server Manager.
-
Select the File and Storage Services. Click Disks.
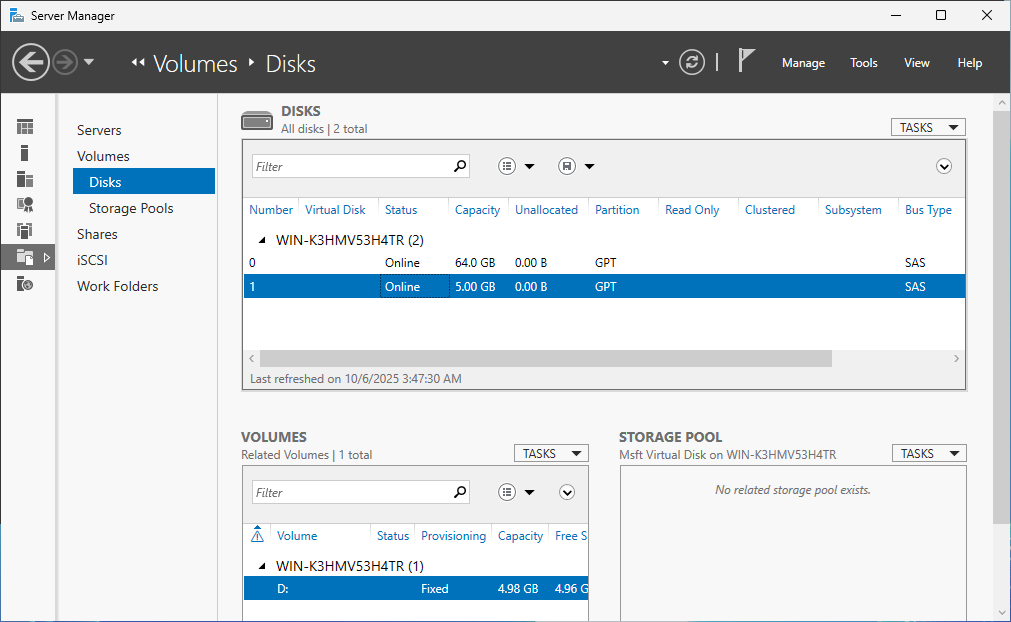
"Server Manager" Window
-
Bring the shared disk online on the second cluster node.
-
Copy the exported CA certificate to the second cluster node.
-
Import the CA certificate that was previously created on the first cluster node.
|
›_ PowerShell |
|
If you are using smartcard authentication, the prompt will appear on the PIN Pad device to insert the smartcard and enter the PIN. Then, press the OK button on the PIN Pad.
-
To create a link between the certificate and the private key, first find the certificate serial number.
|
›_ PowerShell |
|
-
And use the certutil command to repair the link.
|
›_ PowerShell |
|
If you are using smartcard authentication, the prompt will appear on the PIN Pad device to insert the smartcard and enter the PIN. Then, press the OK button on the PIN Pad.
-
Open Server Manager under Configure this Local Server and click Add Roles and Features.
-
The Add Roles and Features Wizard displays.
-
Click Next. Select radio for the Role-based or feature-based installation and click Next.
-
Select the radio button for a server from the server pool, select the second cluster node from the server pool, and click Next.
-
Select the Active Directory Certificate Services check box from the Server Roles.
-
Add features that are required for Active Directory Certificate Services window displays. To add a feature, click the Add Features button.
-
Click Next.
-
Click Next.
-
Select the check box for Certification Authority from the Role services list and click Next.
-
Click Install.
-
Once installation is complete, select the link Configure Active Directory Certificate Services on the destination server. The AD CS Configuration wizard displays.
-
In the Credentials page of the AD CS Configuration wizard, click Next.
-
Select the check box for Certification Authority and click Next.
-
Select Enterprise CA as Setup Type and click Next.
-
Select Root CA as the type of CA and click Next.
-
Select the radio button for Use existing private key and choose the option Select a certificate and use its associated private key, and click Next.
-
Select the CA certificate that was generated on the first cluster node and click Next.
-
Change the default paths for the database and log location to the shared disk and click Next.
-
A dialog box displays stating that an existing database was found. Click Yes to overwrite.
-
In the Confirmation page, click Configure.
-
Verify that the CA service has successfully started by running the following command.
|
›_ PowerShell |
|