
-
Open the Administration Console using the link http://hostname:7001/console. Navigate to Domain Structure > Environment.
-
Click Servers.
-
Click AdminServer as shown in the figure.
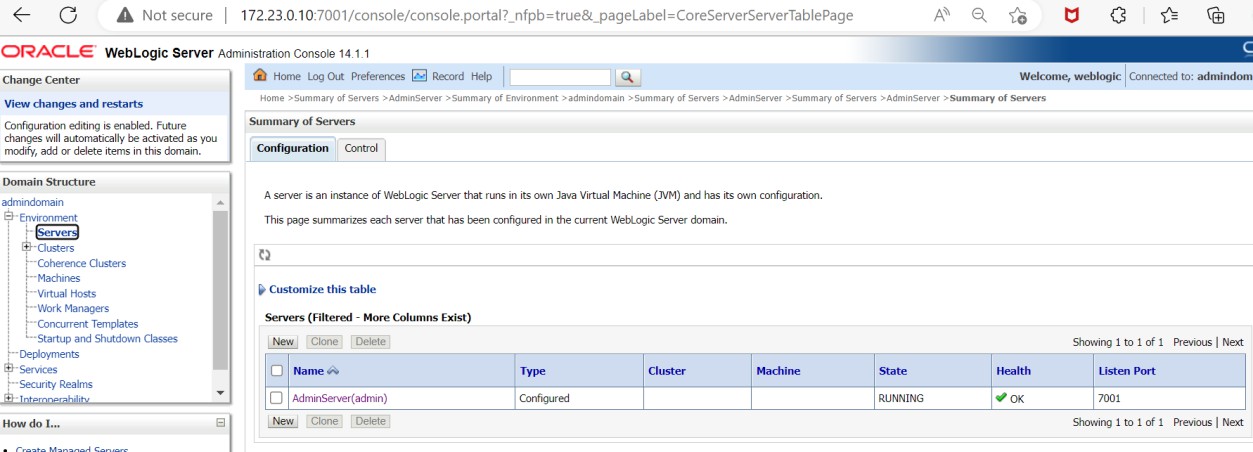
Updating AdminServer
-
Select the SSL Listen Port Enabled checkbox and click Save.
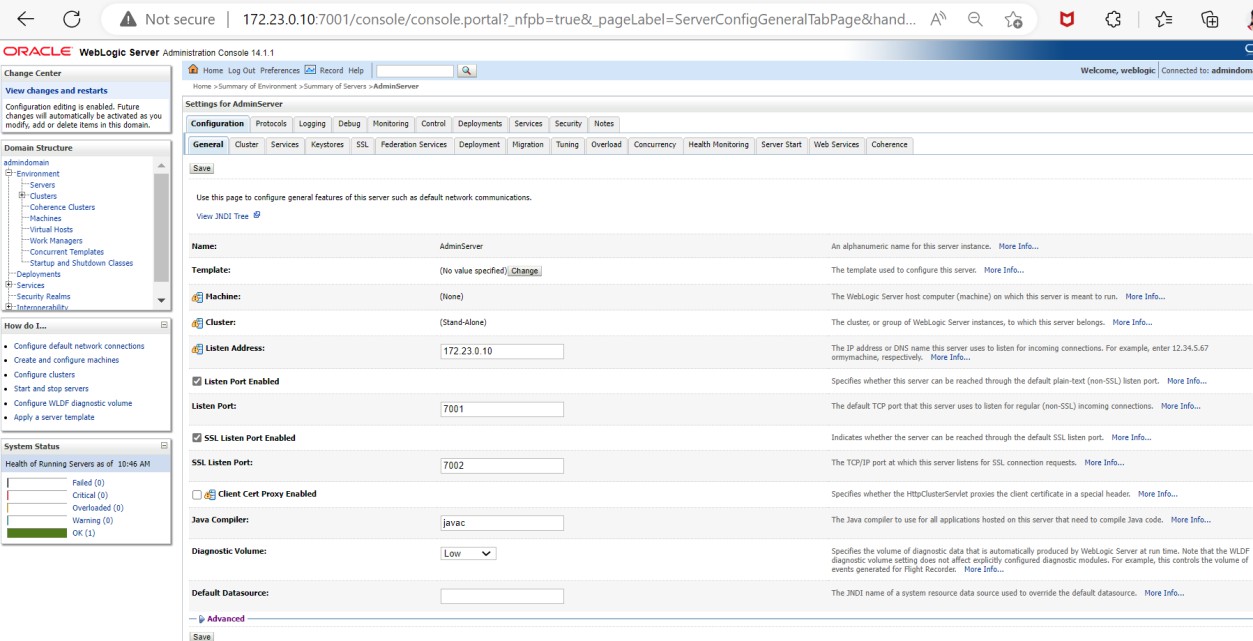
Enabling SSL configuration
-
Open the Keystores tab and then complete the following steps:
-
Click on the Change button.
-
From the drop-down menu, select Custom Identity and Custom Trust and click Save.
-
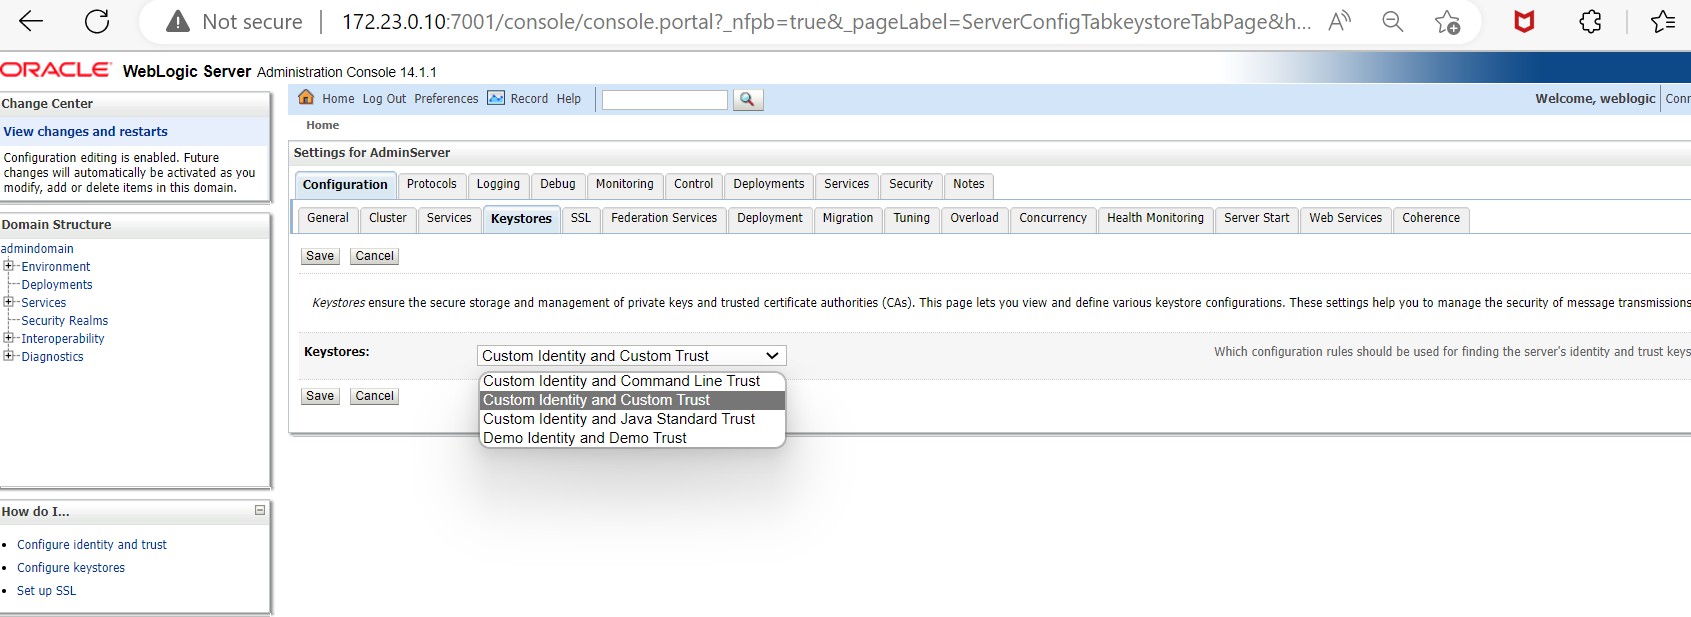
Updating the keystore configuration
c. In the Custom Identity Keystore field, enter CryptoServer.
d. In the Custom Identity Keystore Type field, enter CryptoServer.
e. In the Custom Identity Keystore Passphrase and Confirm Custom Identity Keystore Passphrase fields, enter the password for the HSM.
f. In the Custom Trust Keystore field, enter CryptoServer.
g. In the Custom Trust Keystore Type field, enter CryptoServer.
h. In the Custom Trust Keystore Passphrase and Confirm Custom Trust Keystore Passphrase fields, enter the password for the HSM and click Save, as shown below.
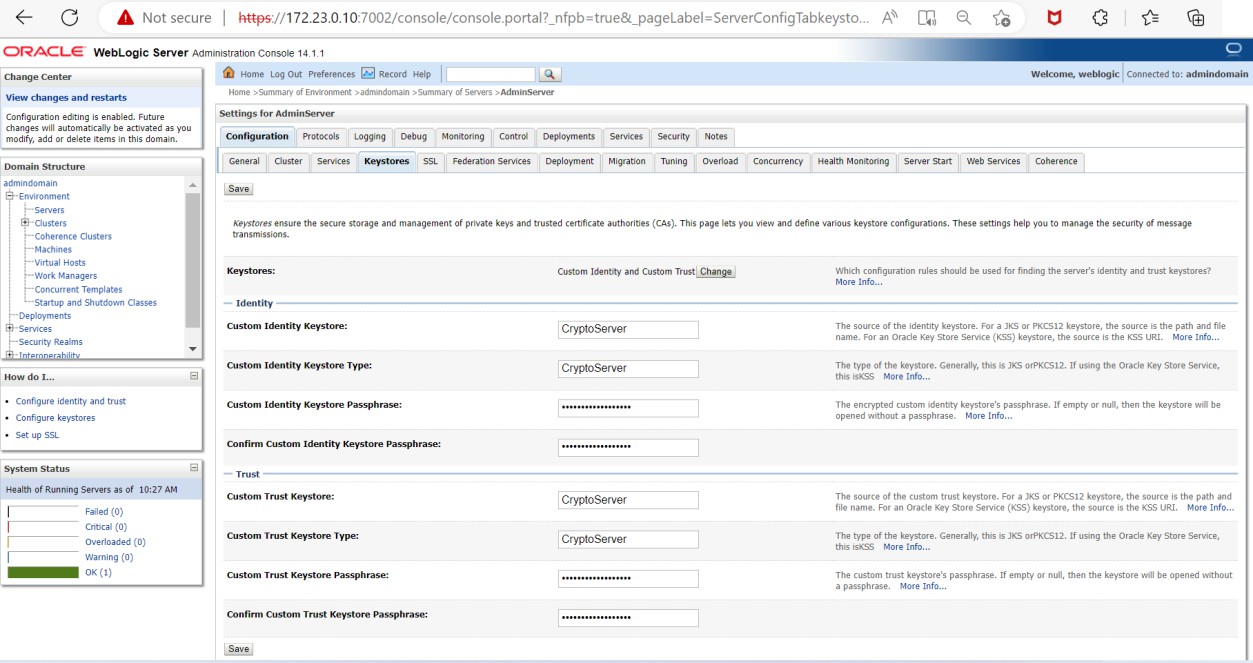
Updating the keystore configuration
-
Open the SSL tab.
-
In the Private Key Alias field, enter the name of the SSL key generated on the HSM (e.g.,
weblogiceckey. -
In the Private Key Passphrase field, leave the field empty and click on Save.
-
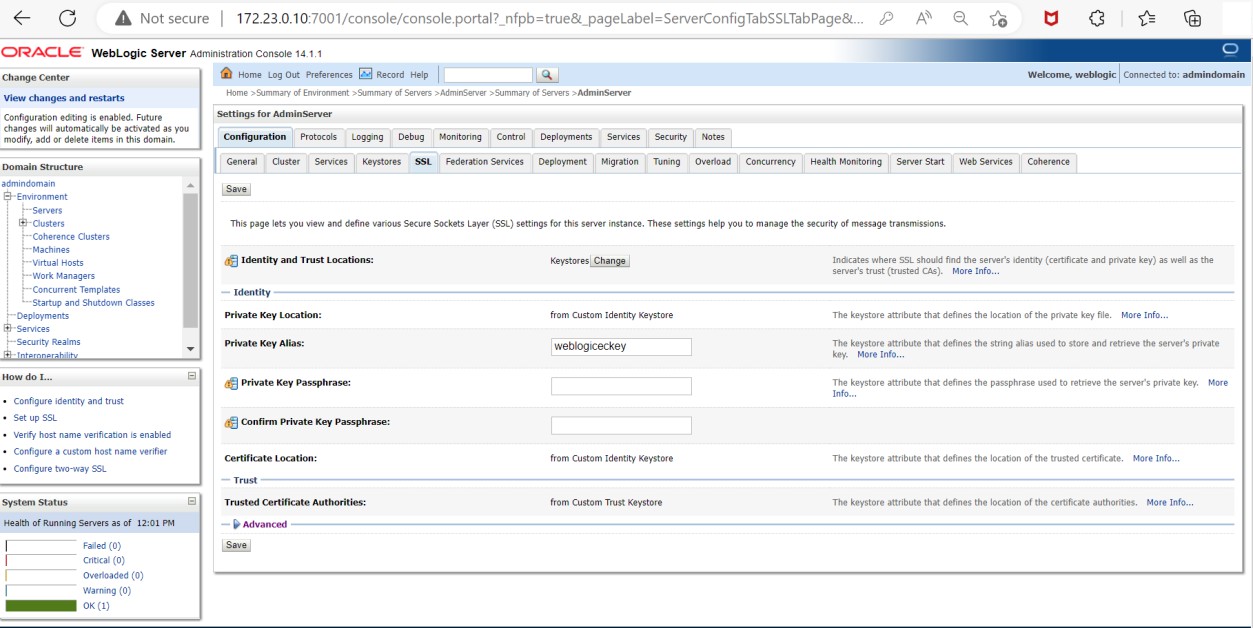
Updating SSL private key
-
Restart the WebLogic server by clicking on Environment > Servers. Click on AdminServer, then click on control tab, and lastly click on restart the SSL.
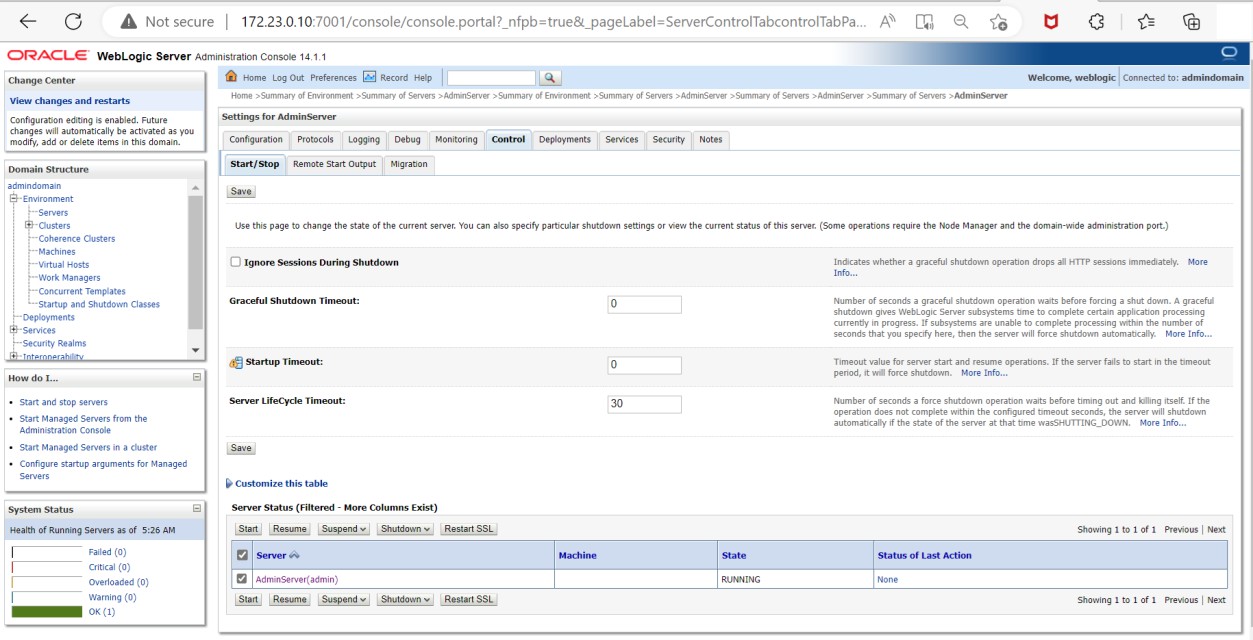
Restarting SSL
-
After restarting the WebLogic server, access the Administration console over https using https://hostname:7002/console.
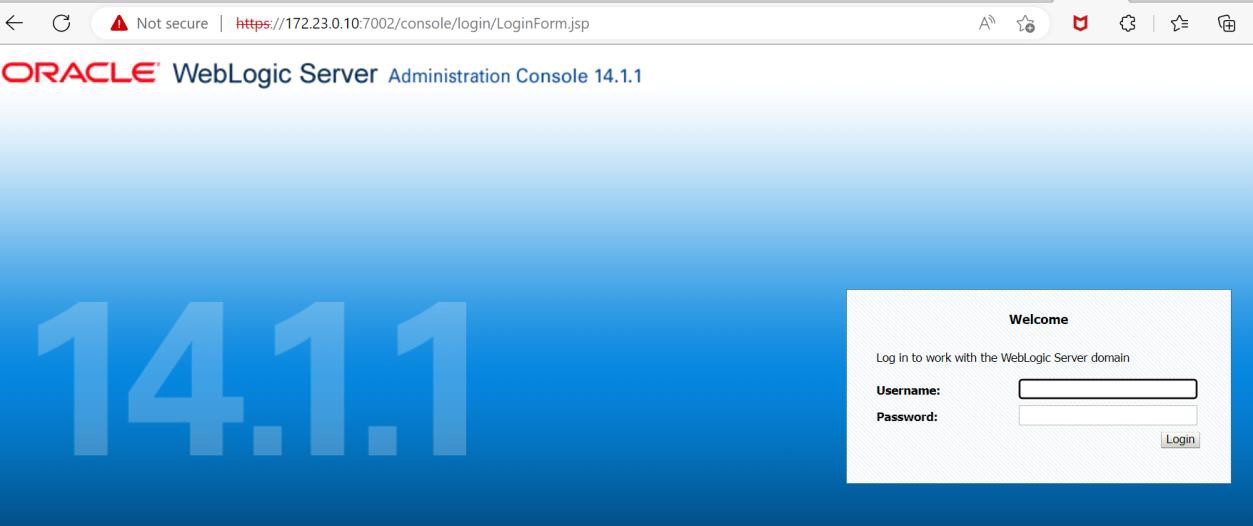
WebLogic service status over https
This completes the integration of Oracle WebLogic Server with Utimaco SecurityServer.