
-
To publish the label, go to Label policies and click Publish label.
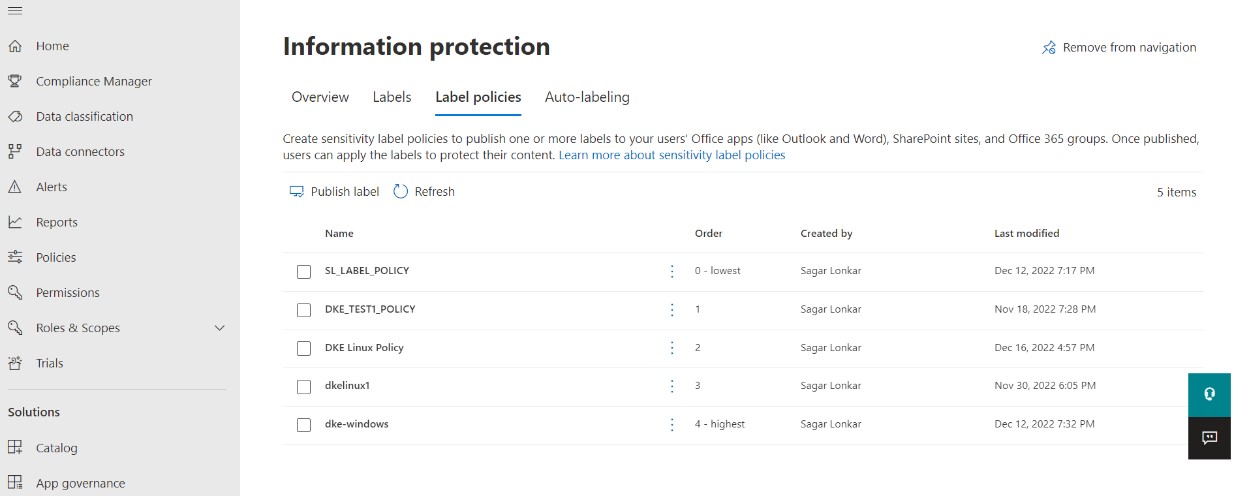
Information Protection
-
Click Choose sensitivity labels to publish and pick the label you’ve created earlier.
Click Add and Next.
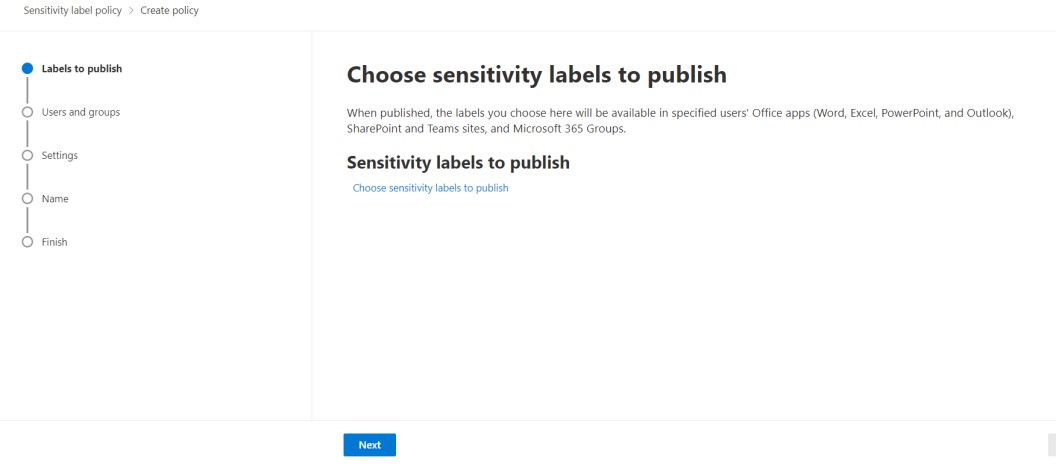
Choose sensitivity labels to publish
-
Choose which groups or users should have the label available. Again, click Done and Next
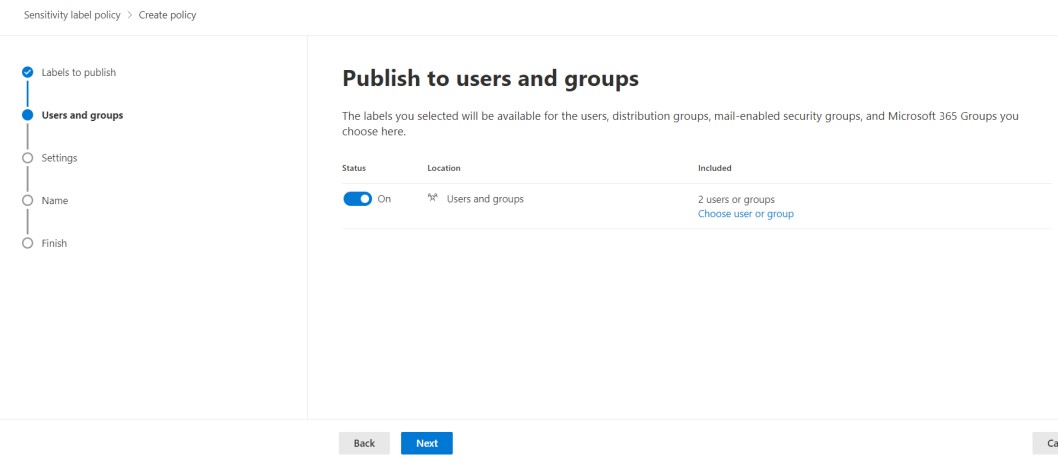
Publish to users and groups
-
Next, you can choose to use various policy settings:
-
Users must provide a justification to remove the label or lower its classification
-
Require users to apply the label to their emails and documents
-
Require users to apply the label to their Power BI content
-
Provide users with a link to a custom help page
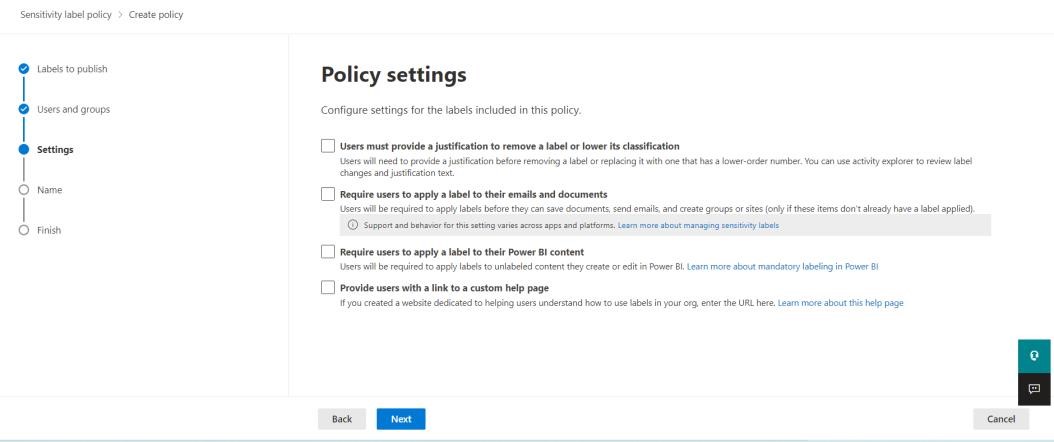
Policy settings
-
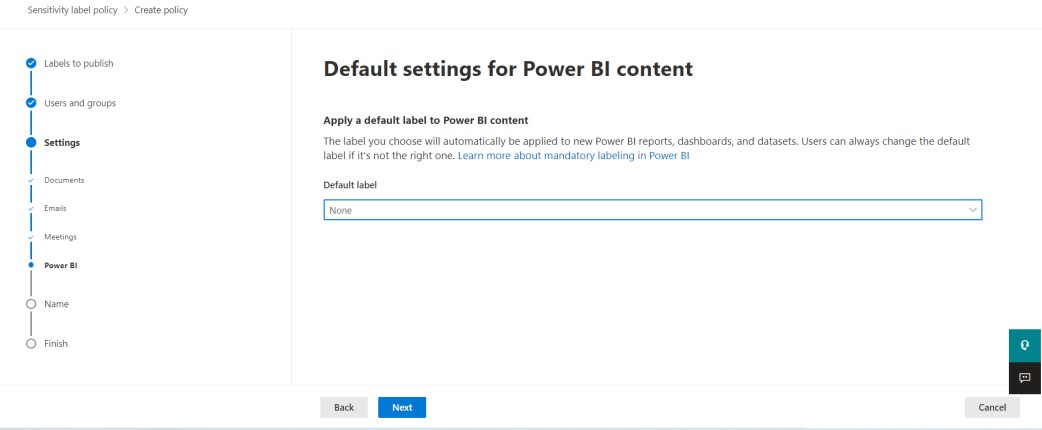
The next step allows you to apply the default label to documents. If you leave the default None option, users will have the choice to apply the label or use the document without enhanced protection. The next steps of the wizard let you configure the default labels for emails and Power BI.
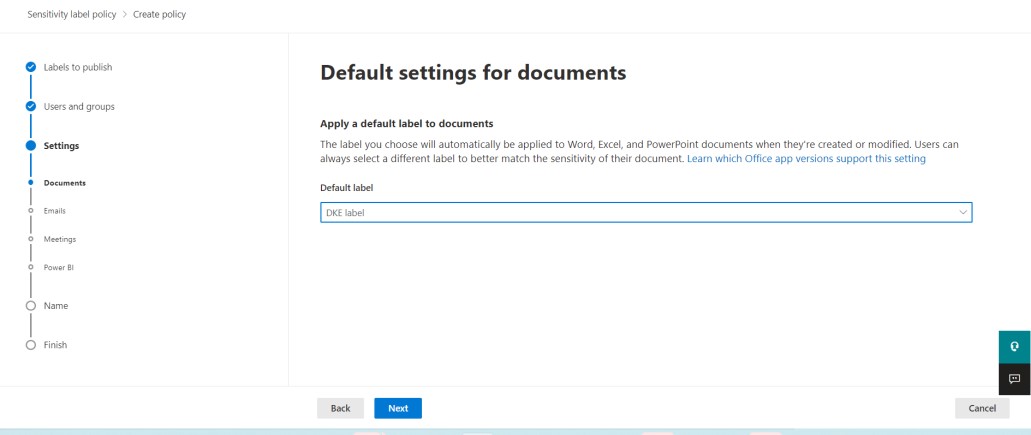
Apply a default label to documents
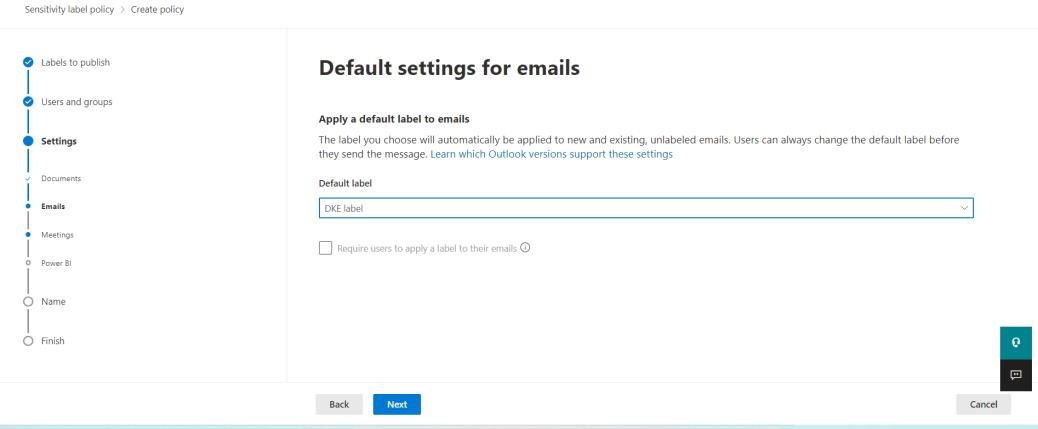
Apply a default label to emails
-
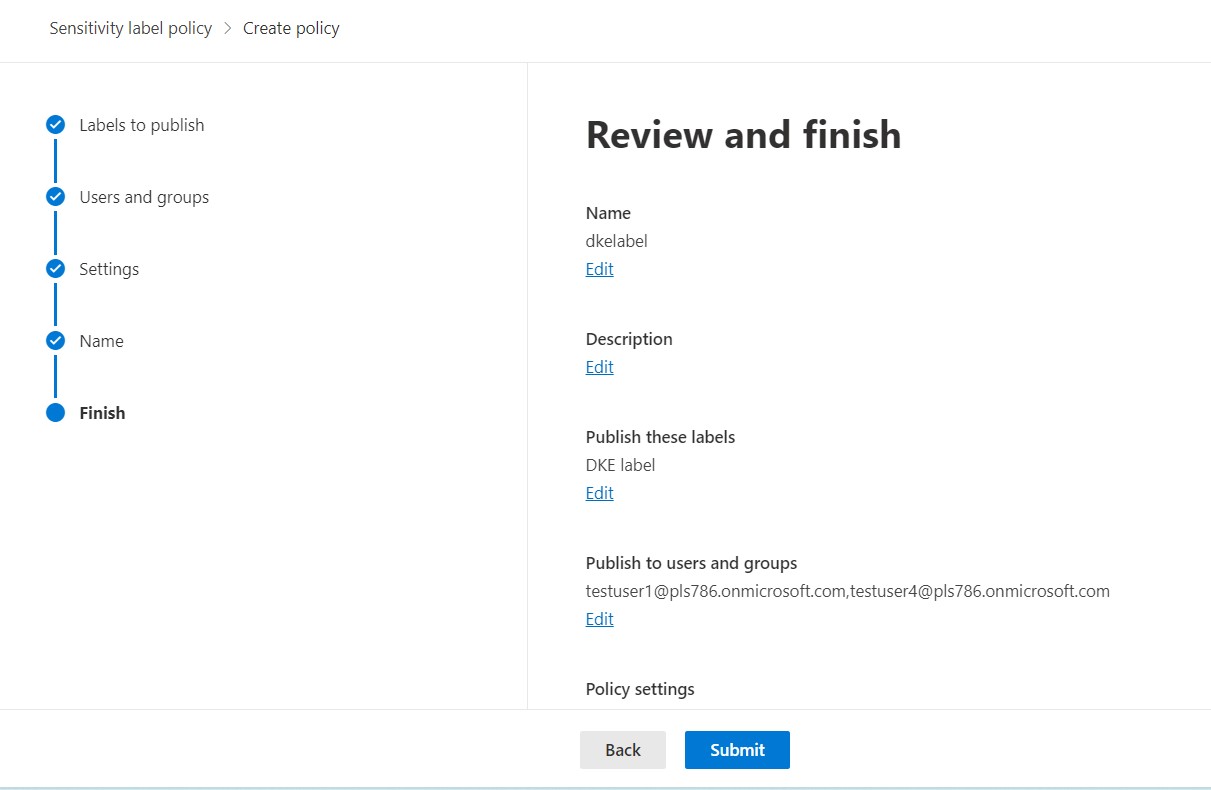
Now you can name your label policy and provide a description

Name your policy
-
Finally, review your policy. Click Done when everything is set
Information Protection
It may take up to 24 hours for the clients to refresh with the new labels.