
To generate a self-signed code signing certificate, follow the steps below.
1. Create a PowerShell script file with the name Generate_Authenticode_SelfCert.ps1 at the appropriate location, and add the following content into the script file.
# Define Utimaco Provider
$UtimacoProviderName = "Utimaco CryptoServer Key Storage Provider"

# Define Subject Name of the Self Signed Certificate
$SubjectName = "Authenticode Certificate"

# Define Friendly Name
$FriendlyName = "Authenticode_SelfCert"

# Based on the Key Store (Local Machine or Current user) make appropriate changes
# in location name parameter
 $LocationName = "Cert:\LocalMachine\My"
#$LocationName = "Cert:\CurrentUser\My"

# Container name should match with Keyname parameter in 5.2 section
$ContainerName = "Authenticode_TestKey"

# Generate Self Signed Certificate
New-SelfSignedCertificate `
  -Subject $SubjectName `
  -FriendlyName $FriendlyName `
  -Type CodeSigningCert `
  -CertStoreLocation $LocationName `
  -Provider $UtimacoProviderName `
  -ExistingKey `
  -Container $ContainerName
-
Launch PowerShell as Administrator, and run
Generate_Authenticode_SelfCert.ps1.
.\Generate_Authenticode_SelfCert.ps1
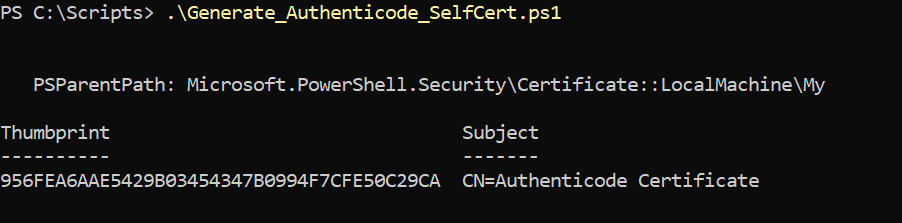
Generate certificate
If you are using Smartcard Authentication, the PIN Pad device will prompt to insert the Smartcard and enter the PIN. Then, press the OK button on the PIN Pad.
-
The self-signed certificate can be viewed in a PowerShell window, as seen below.
Get-ChildItem -Path Cert:\CurrentUser\My -CodeSigningCert -Recurse
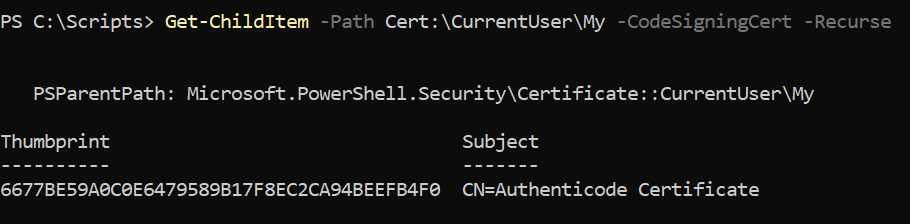
Self-signed certificate details