
To use OCSP you have to create a new revocation configuration.
-
Launch the Online Responder Management console.
-
Click on Revocation Configuration, and then Action → Add Revocation Configuration.
-
Enter a name for your configuration.
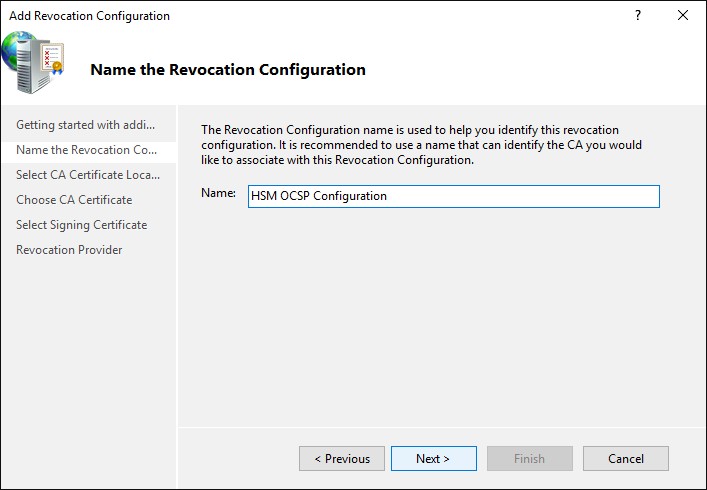
Add Revocation Configuration Wizard - Name the Revocation Configuration
-
Specify the location of your CA certificate relative to your environment.
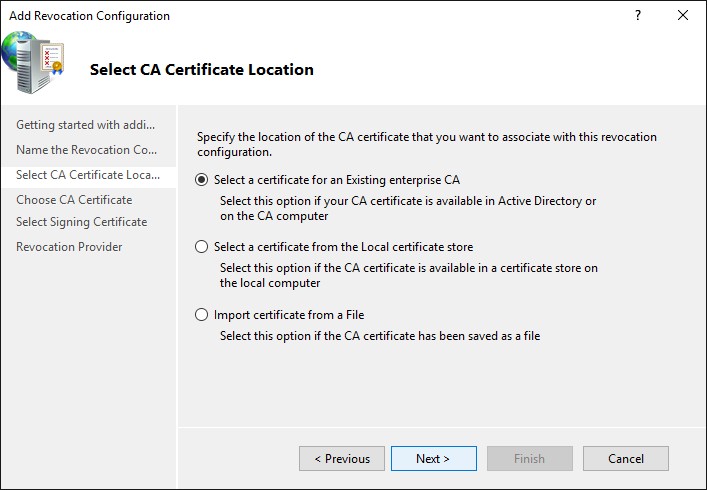
Add Revocation Configuration Wizard - Select CA Certificate Location
-
Select the OCSP certificate template created earlier.
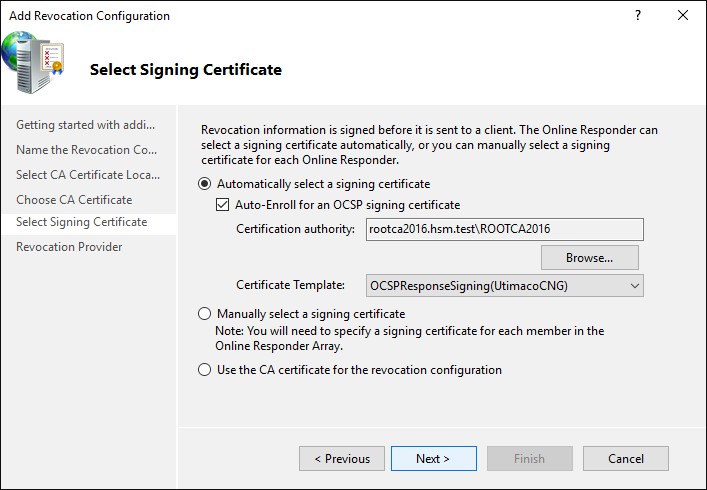
Add Revocation Configuration Wizard - Select Signing Certificate
-
To finish, configure the revocation provider. It is the location where the CRLs or Delta CRLs are stored. The configuration automatically retrieves this information in the CDP extension of the certificate.
-
Once you have set up the Revocation Configuration, you should have the status Working as below.
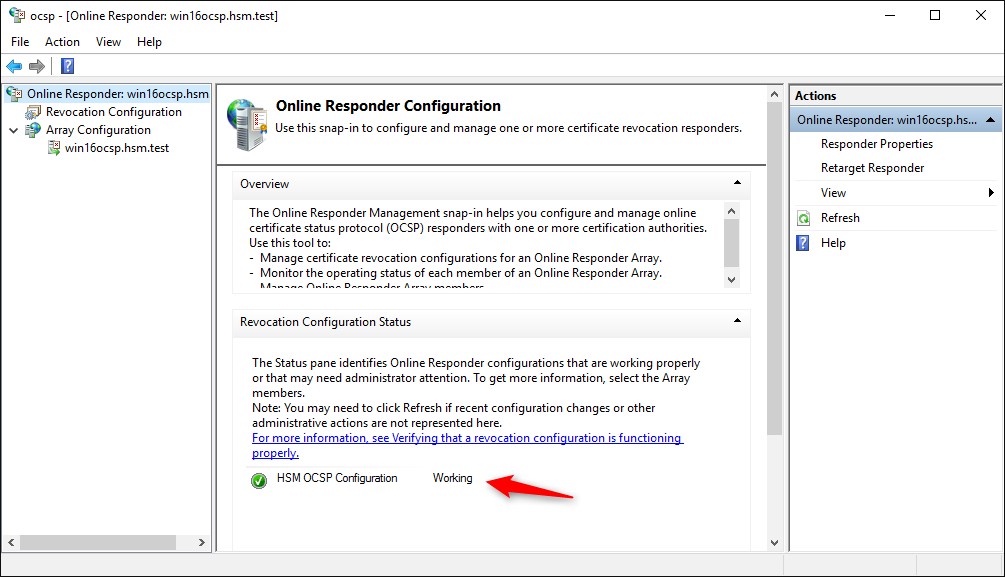
Check OCSP Service
-
You can check if the key of this certificate is really created and stored by the Utimaco CNG provider. To do this, open a PowerShell and enter
cngtool listkeys. If there is a key, you can be assured that your Online Responder Service is using the Utimaco CryptoServer HSM correctly.
|
›_ PowerShell |
|---|
|