
Ensure that all required directories and files are created (Refer to section Create Directories) before proceeding with the instructions below.
-
Create a Dockerfile named
Dockerfile.sidecarinside the/home/admin/hsm-builddirectory.
-
Add the following contents to the
Dockerfile.sidecarfile and save it.
FROM redhat/ubi9:latest

# Install dependencies
RUN dnf install -y openssl-pkcs11 && dnf clean all

# Create directories
RUN mkdir -p /opt/utimaco/bin /opt/utimaco/lib /usr/local/bin

# Copy ONLY the Utimaco client files
COPY hsm/libcs_pkcs11_R3.so /opt/utimaco/lib/
COPY hsm/p11tool2 /opt/utimaco/bin/
COPY hsm/csadm /opt/utimaco/bin/
COPY hsm/cxitool /opt/utimaco/bin/

# Copy the oc client into the image
COPY oc /usr/local/bin/oc
# Make it executable
RUN chmod +x /usr/local/bin/oc

RUN chmod -R +x /opt/utimaco/bin

CMD ["sleep", "infinity"]
-
Build the Utimaco sidecar image using the Dockerfile.
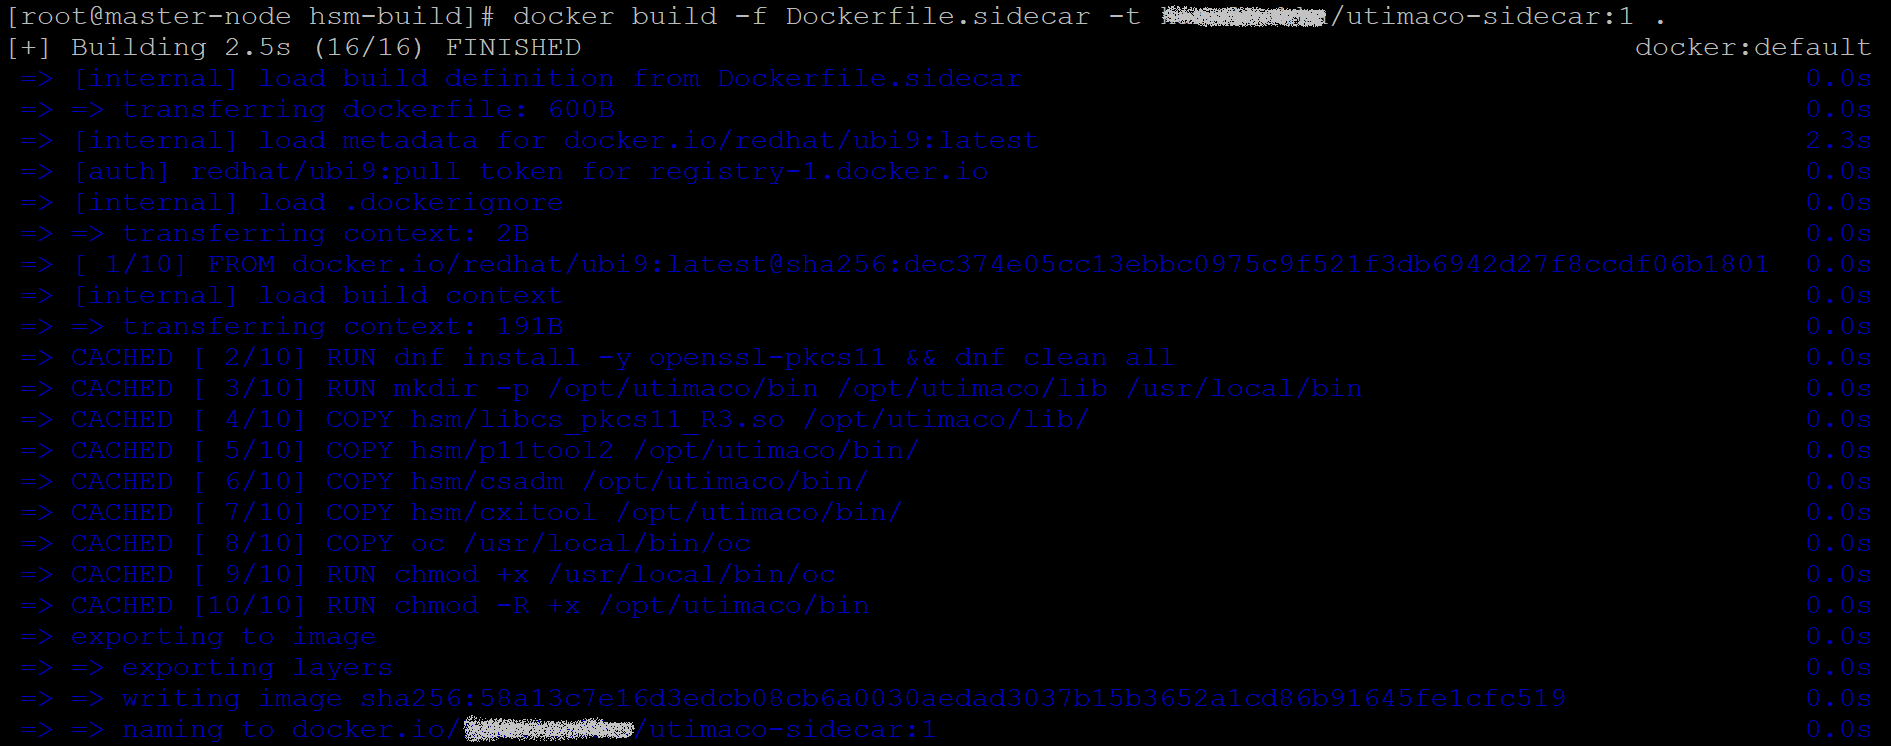
Build Utimaco sidecar Image
In the example command, replace <username> with your actual Docker Hub username when building the image (e.g., docker build -f Dockerfile.sidecar -t <your-username>/utimaco-sidecar:1 .).
The screenshots in this guide show the build process with the username blurred for security reasons. Use your own Docker Hub username while executing the commands in your environment.
-
Verify that the image has been built successfully and push it to your Docker repository.
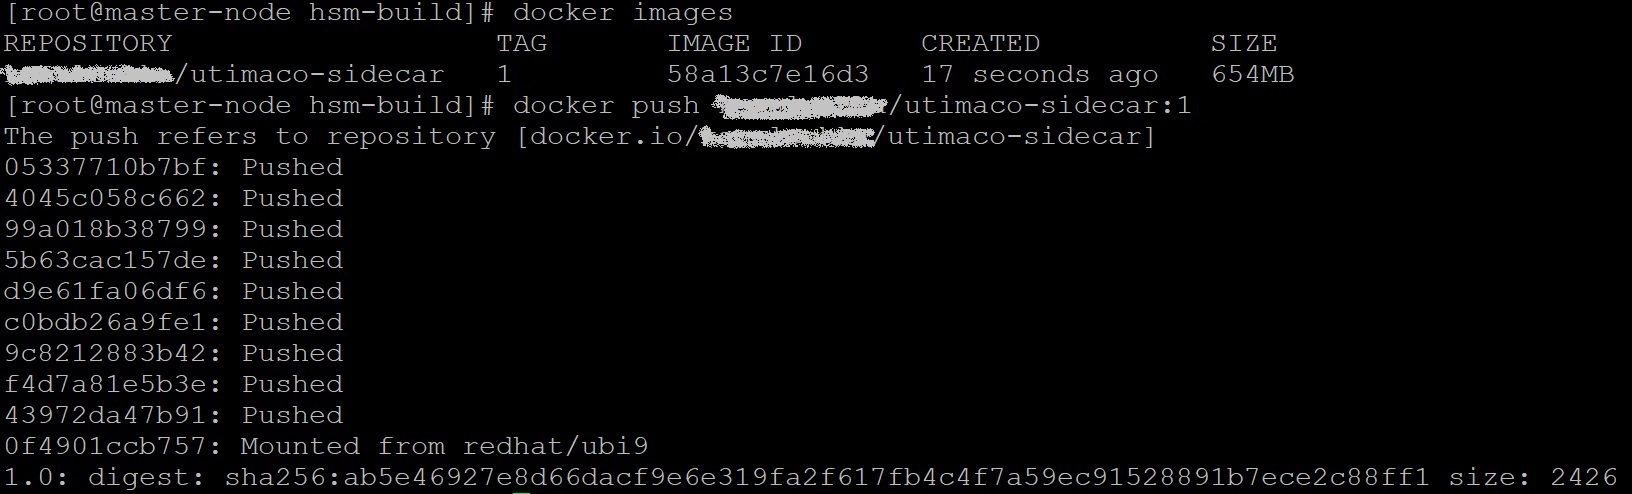
Verify and Push sidecar Image