

-
Open IDcentral Identity Registration snap-in in MMC (Microsoft Management Console).
-
Navigate to Certificate Authority section from the left panel options.
-
Click on Add Hierarchy.
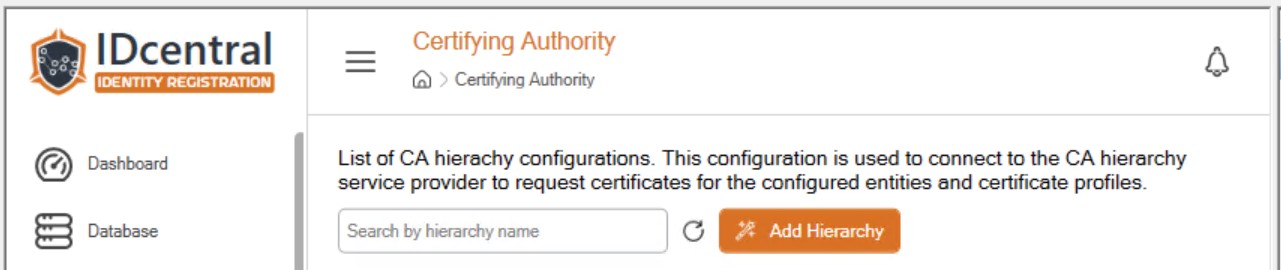
Certifying Authority window
-
Choose Provider as u.trust Identify – Utimaco from the dropdown list.
-
Provide the following necessary information.
|
Parameters |
Values |
|---|---|
|
Hierarchy Name |
Enter the CA name as configured in the u.trust’s Certificate Management System |
|
CA Certificate |
Upload the CA certificate. Please note that the CA chain must be trusted in the Idcentral server. |
|
API client certificate |
Upload the client certificate to be used for authenticating to the CMPv2 interface of u.trust Identify. |
|
CA URL |
Enter the URL of CMPv2 interface of u.trust Identify. For example: https://<FQDN des CMS>:<HTTPS-PORT>/cmp |
|
Requestor Name |
Name of support person or account |
|
Requestor Phone |
A support phone number |
|
Requestor Email |
A support person or account’s email address |
List of parameters and values
-
In Issuing CA Certificate Click on Upload to select the issuing CA certificate that will be issuing the smartcard certificates.
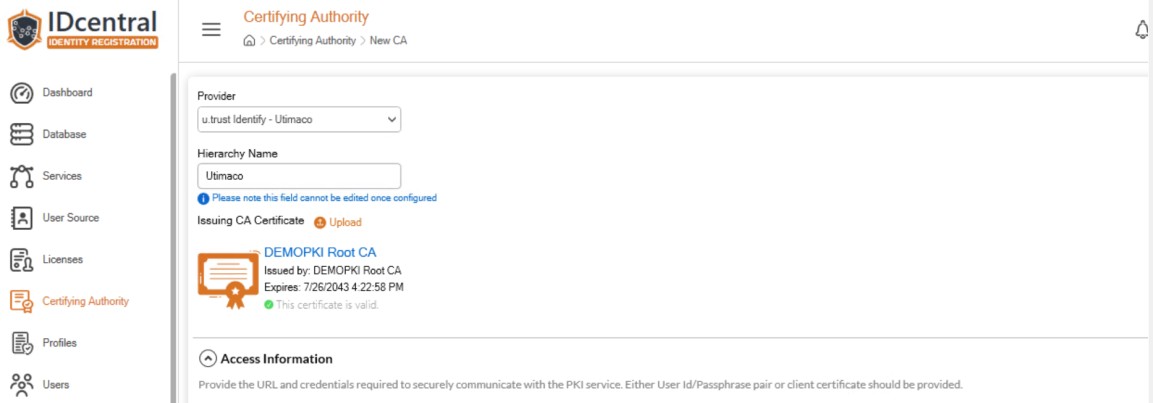
Root CA certificate
-
In Client Certificate click on Upload to browse the client certificate that is used to authenticate CMPv2 interface.
-
Select the client certificate pfx file that you have exported earlier with private keys from file browser and click Open.
-
Enter the passphrase for the client pfx certificate and click OK.
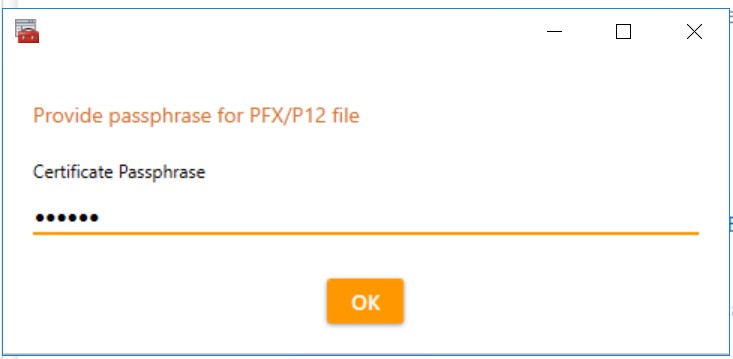
Certificate passphrase
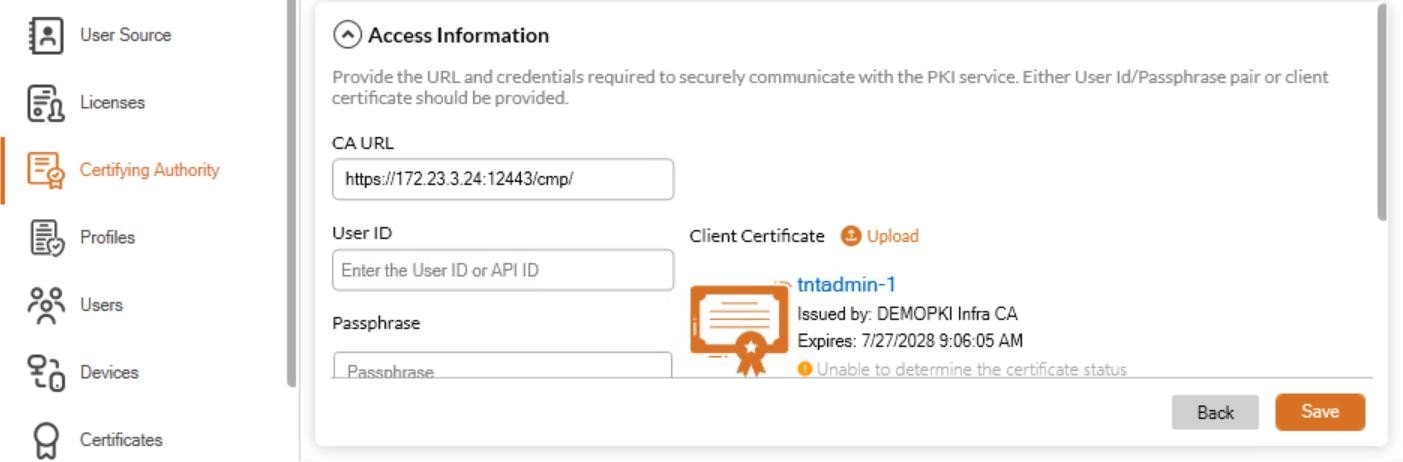
Upload client certificate
-
Click Save to proceed saving the CA configuration.
-
On success, the saved CA configuration will be listed in the Certificate Authority tab.
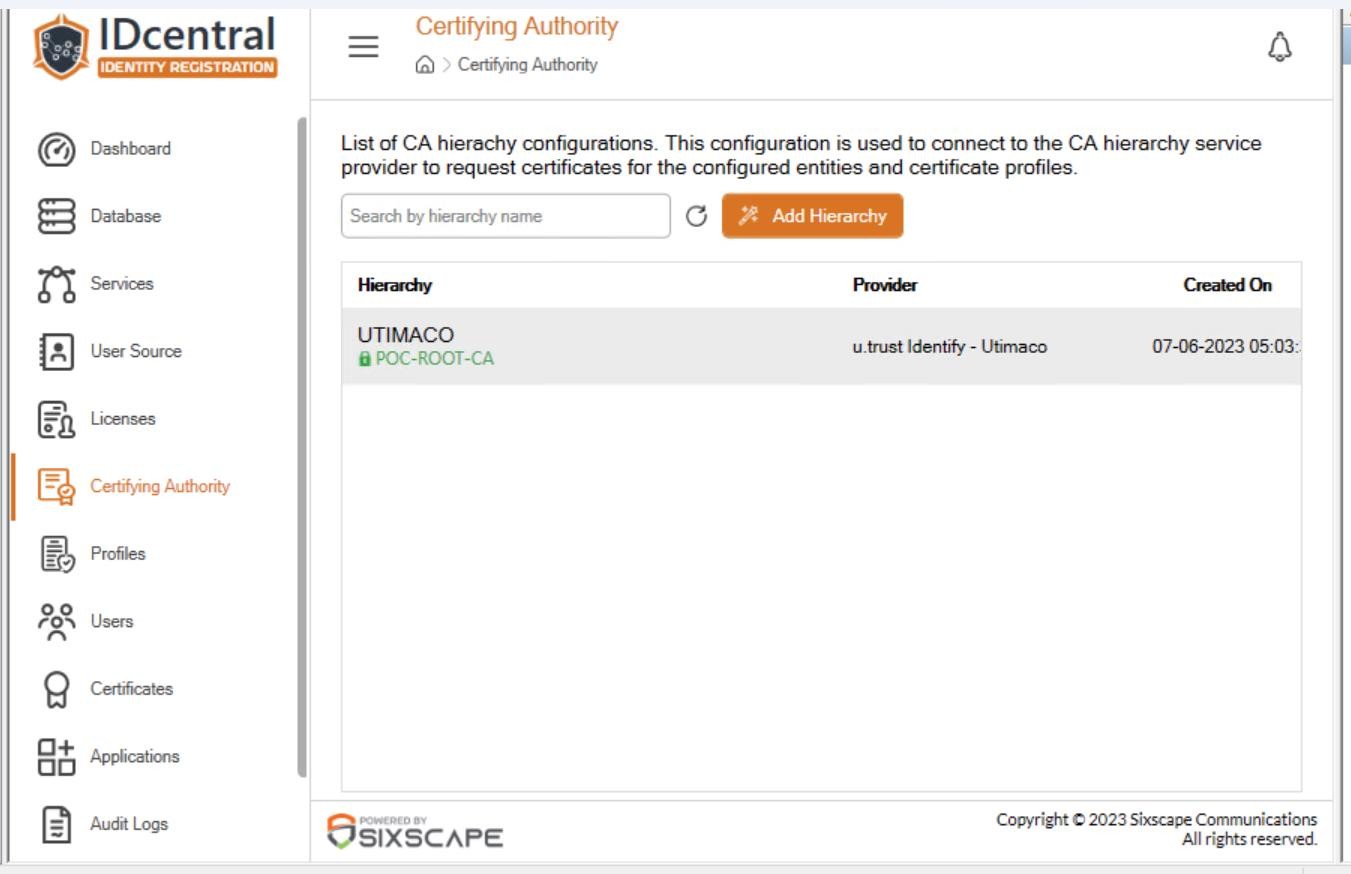
Verifying added CA