

-
From Microsoft Windows, click Start.
-
In the Search programs and files field, type certmgr and select Manage computer certificates.
-
Go to the Certificates -Local Computer > Personal > Certificates folder in the Certificate tree.
-
Right-click on the Certificates and select All Tasks > Import.
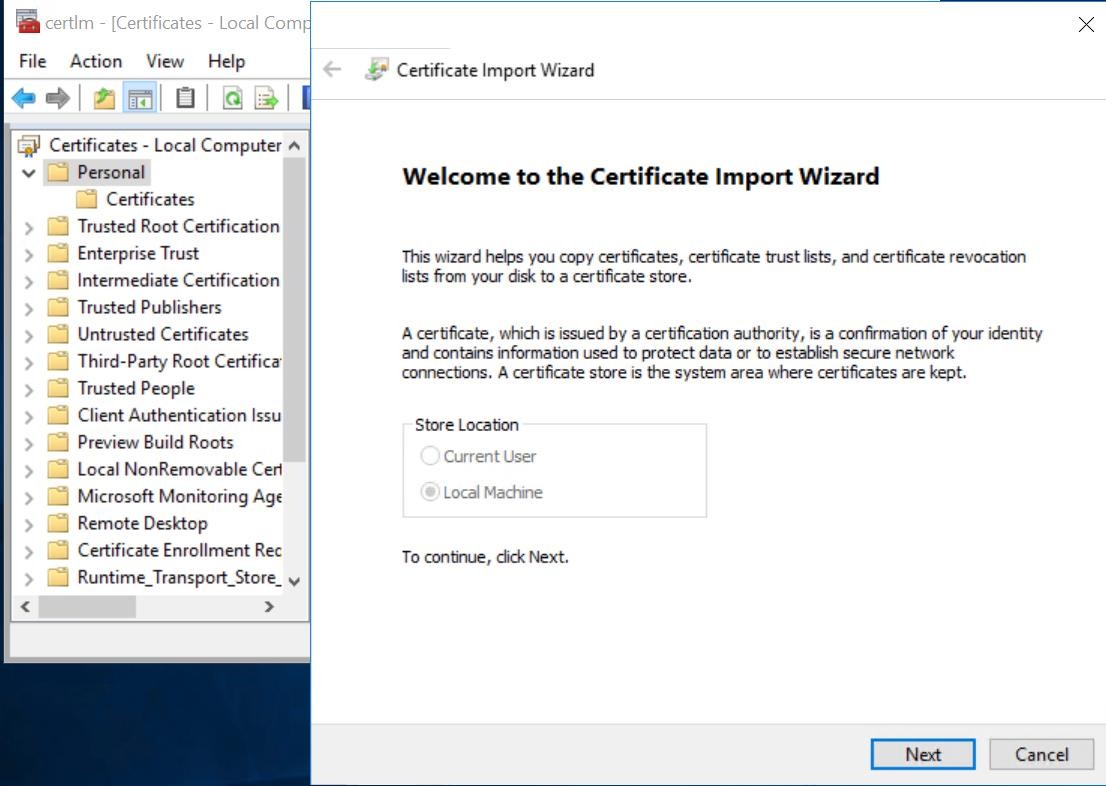
Import client certificate
-
Select the signed certificate file that you have downloaded from CMS Web and click the Open button.
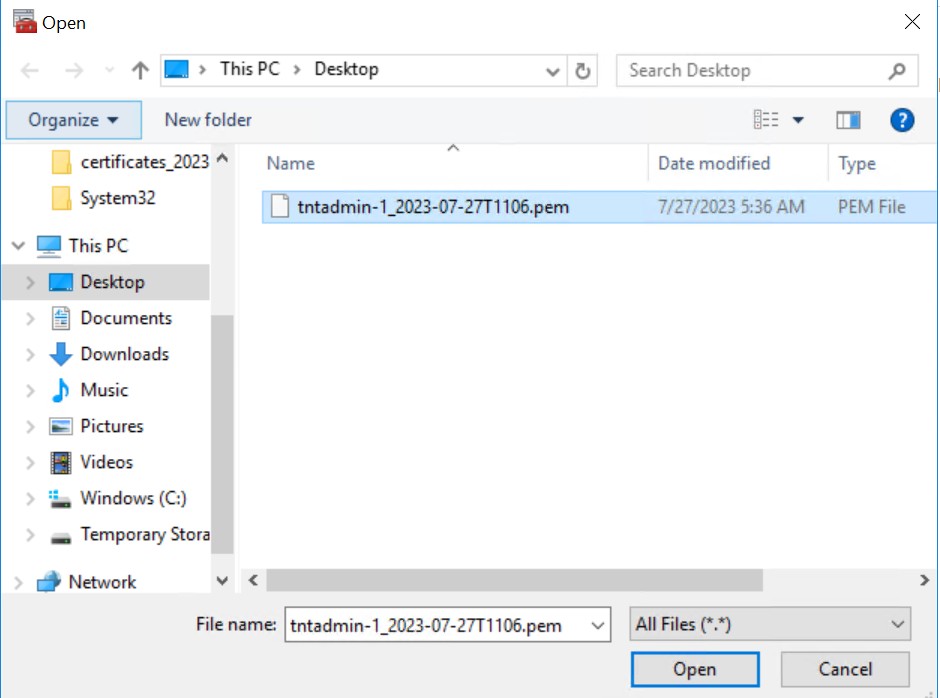
Select client certificate
-
On Certificate Import Wizard click the Next button.
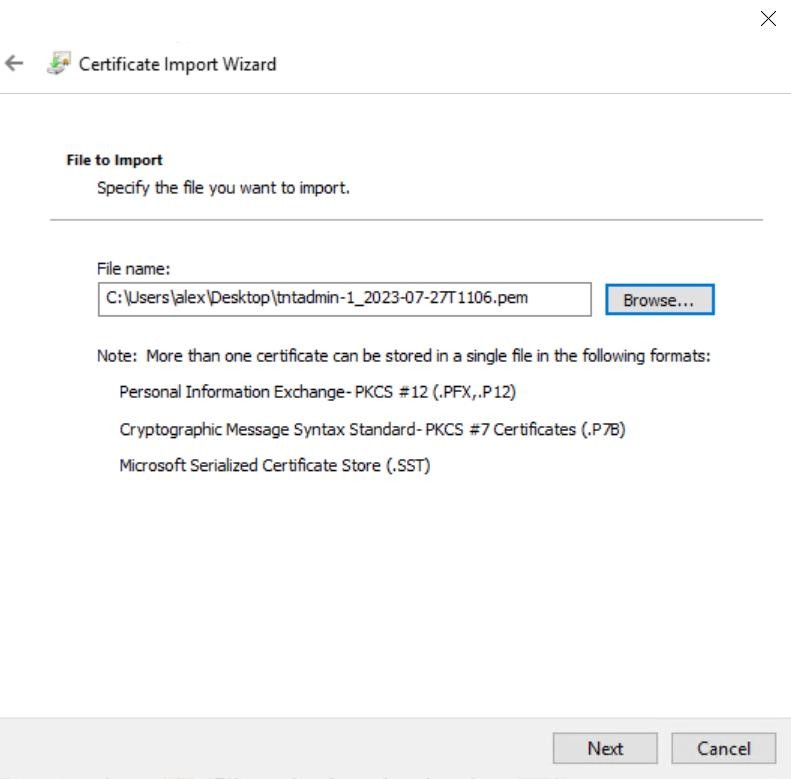
Certificate Import Wizard
-
Select Personal as certificate store and click Next.
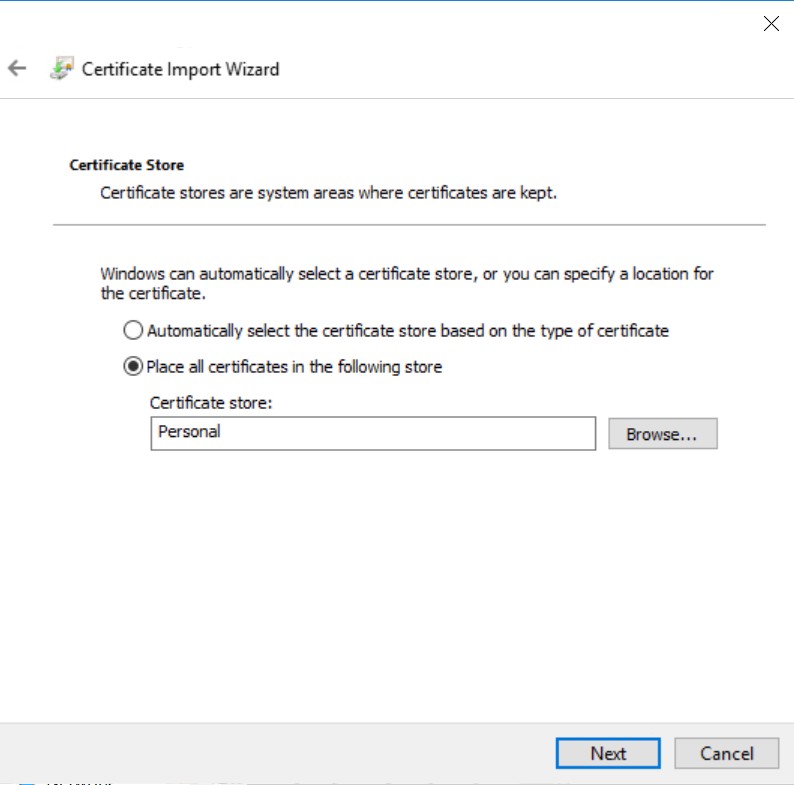
Select Certificate Store
-
Click on Finish.
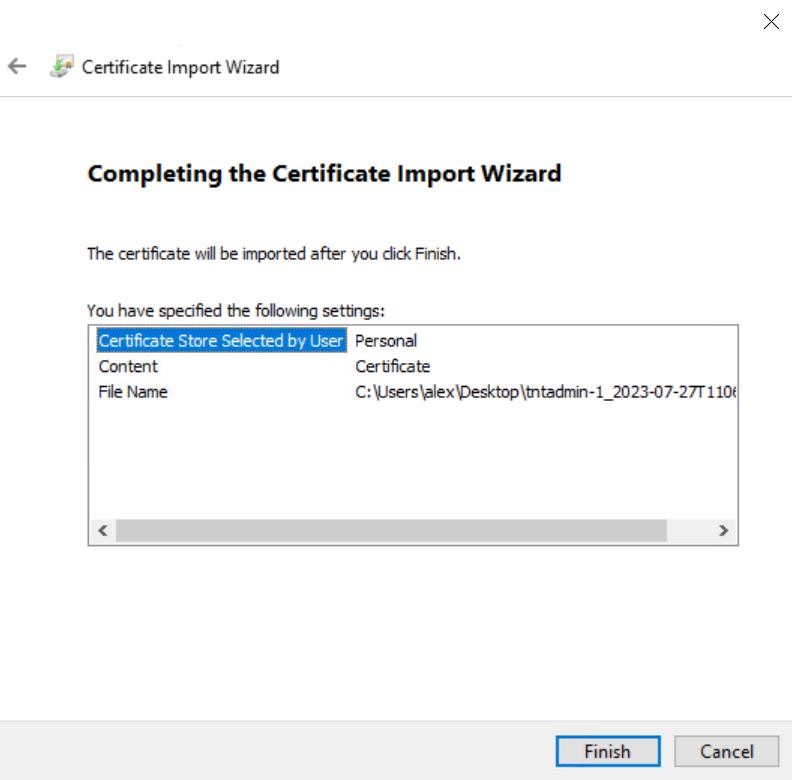
Finish window
You will get a message Import Successful.
-
Refresh the certificate list and you will notice the presence of your new certificate, with a key icon over the certificate icon to indicate the presence of a private key.
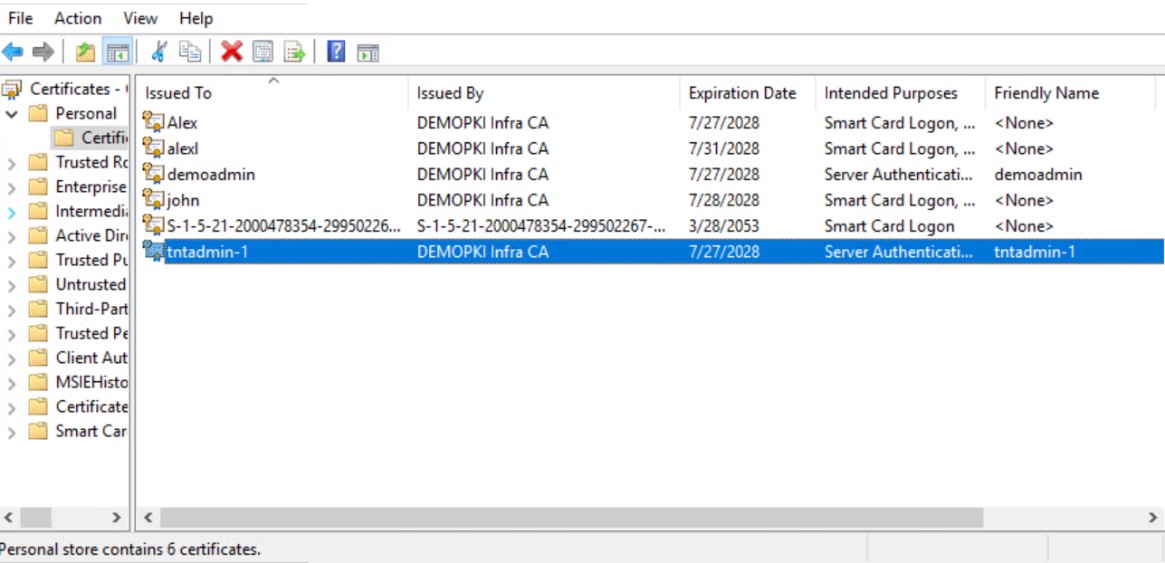
Verifying installed certificate
-
Export the newly generated certificate, right-click on tntadmin-1 certificate and Select All Taks > Export...
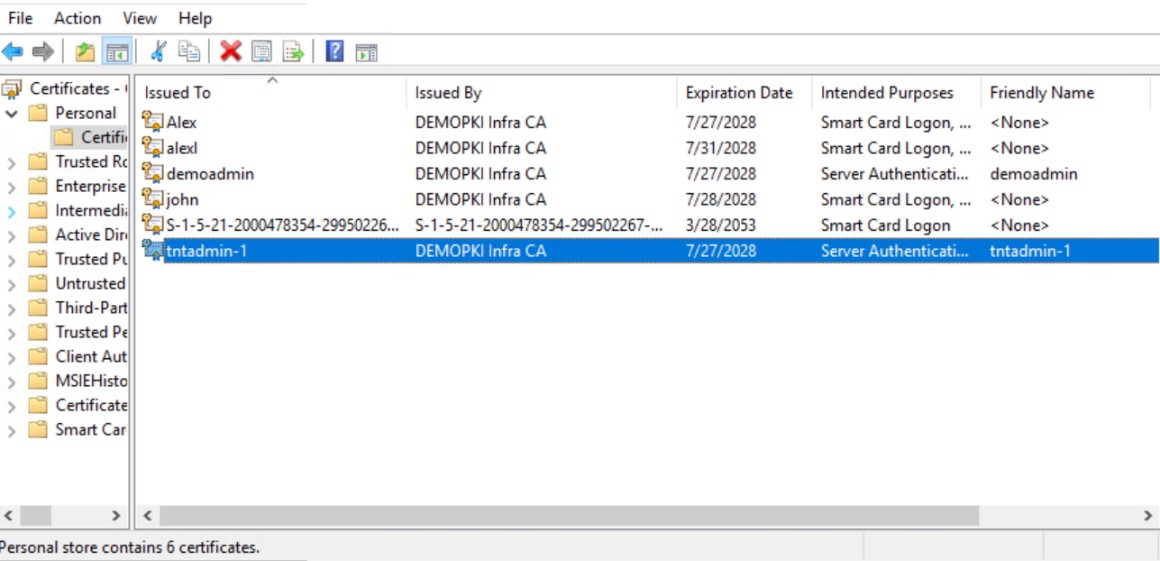
Selecting Certificate to export
-
Click the Next button to continue.
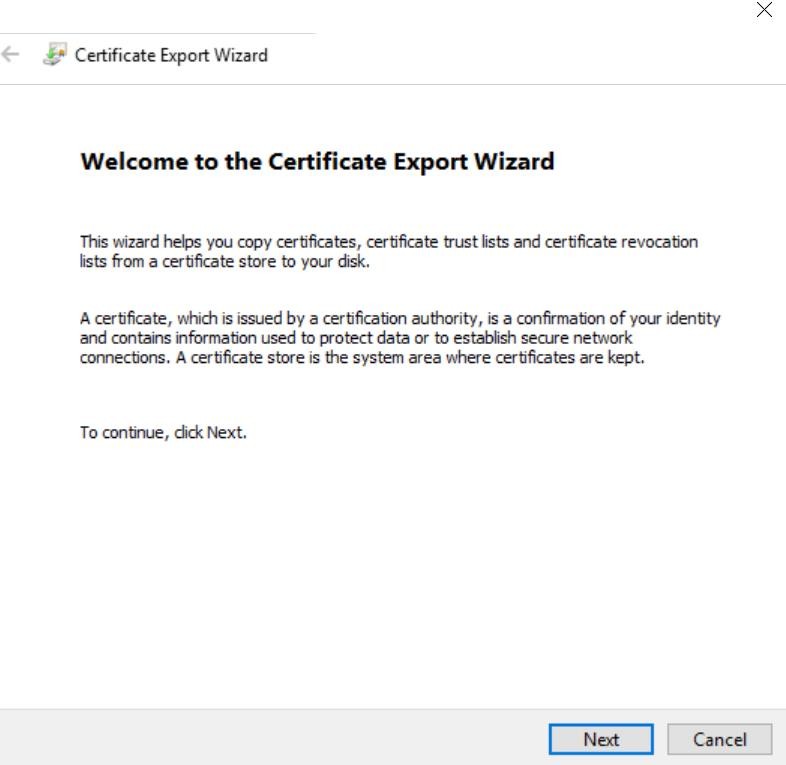
Certificate Export Wizard
-
Select Yes, export with private key option and click the Next button.
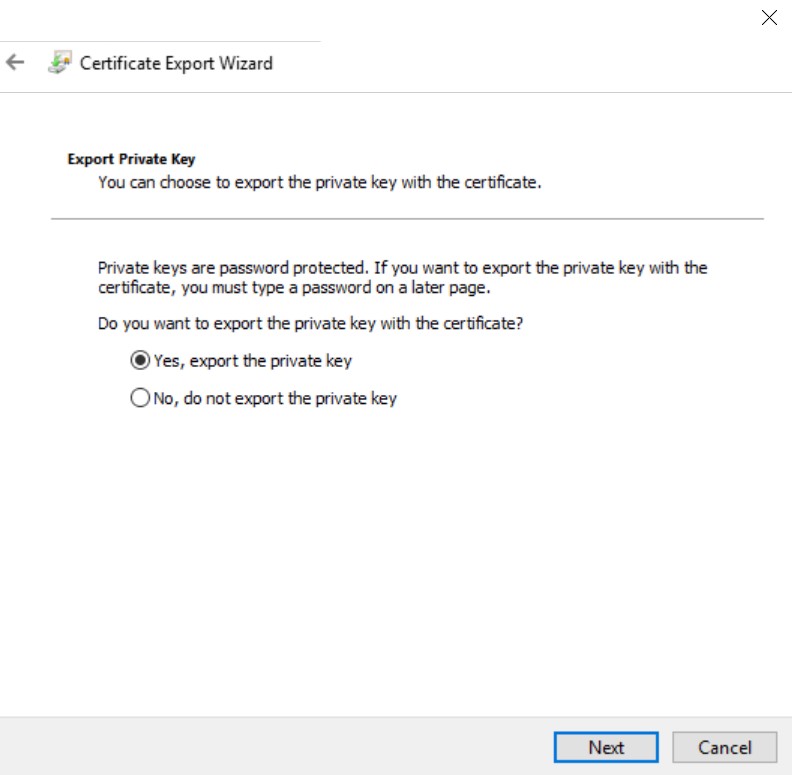
Selecting export with private key
-
Select Include all certificates in the certification path if possible and Export all extended properties.
-
Click on the Next button.
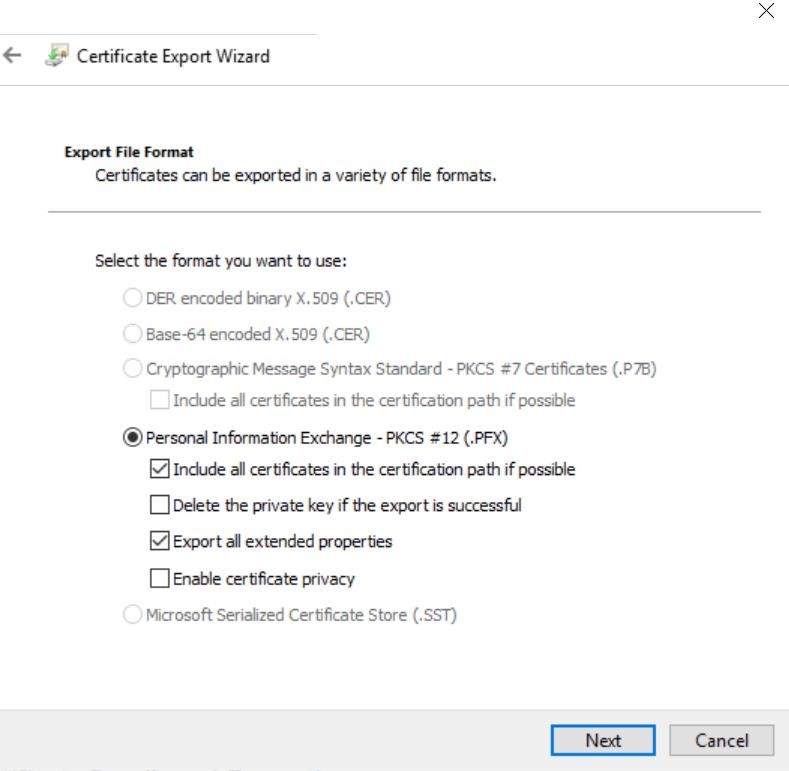
Certificate Export Wizard for file format
-
Check the Password option and enter any strong password. Click Next.
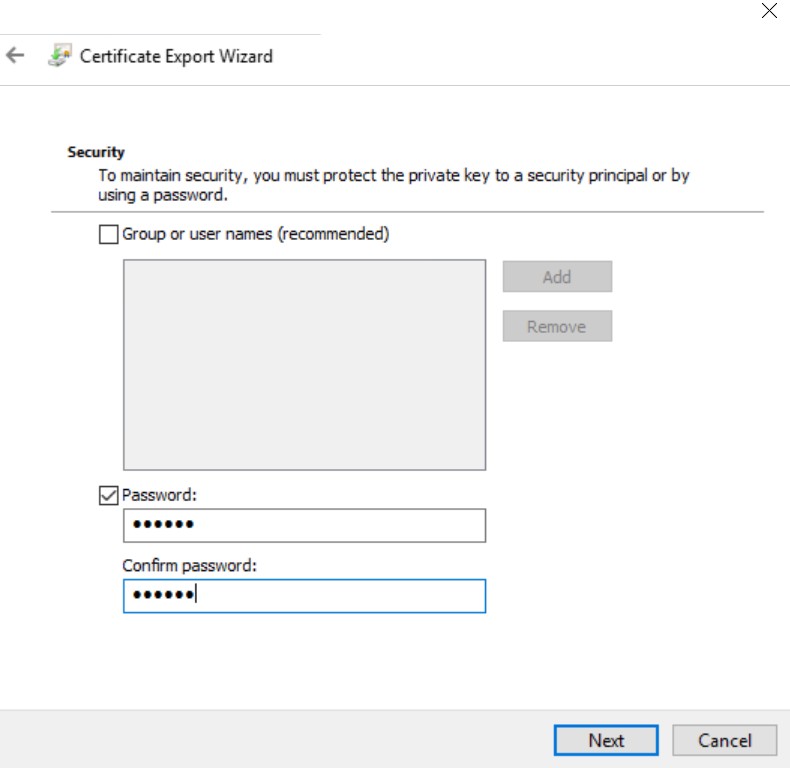
Enter the password
-
It will ask to save the certificate with key file. Click Browse
-
Select location and provide file name.
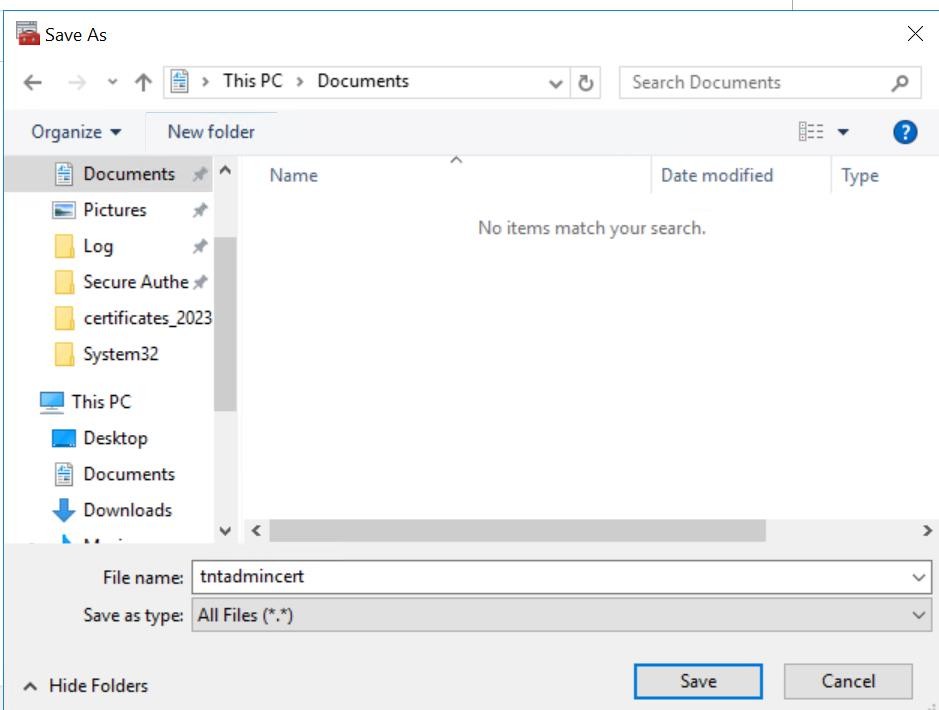
Save certificate
-
Again, click Next.
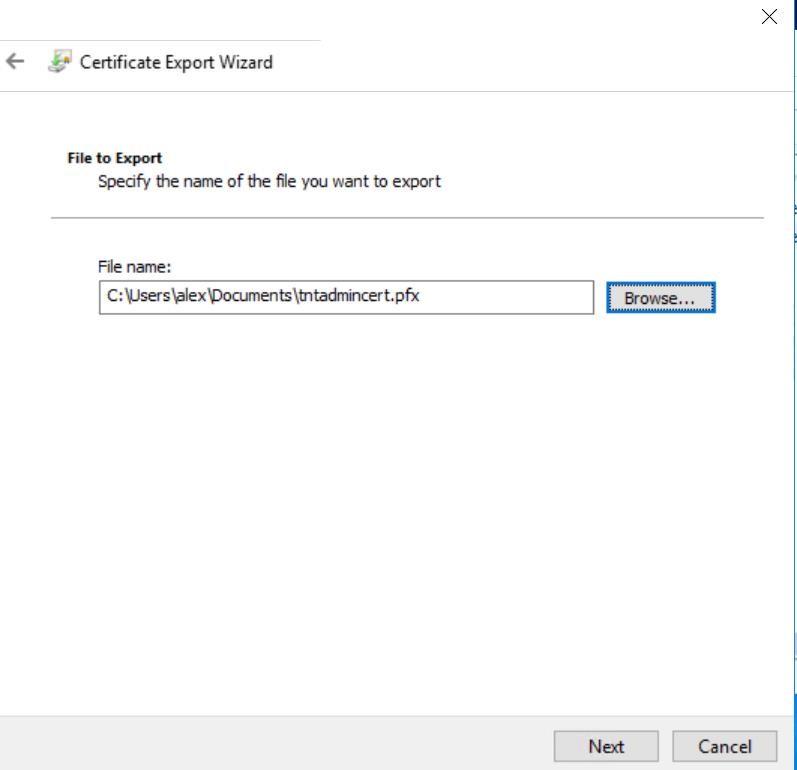
Certificate Export wizard
-
Click the Finish button.
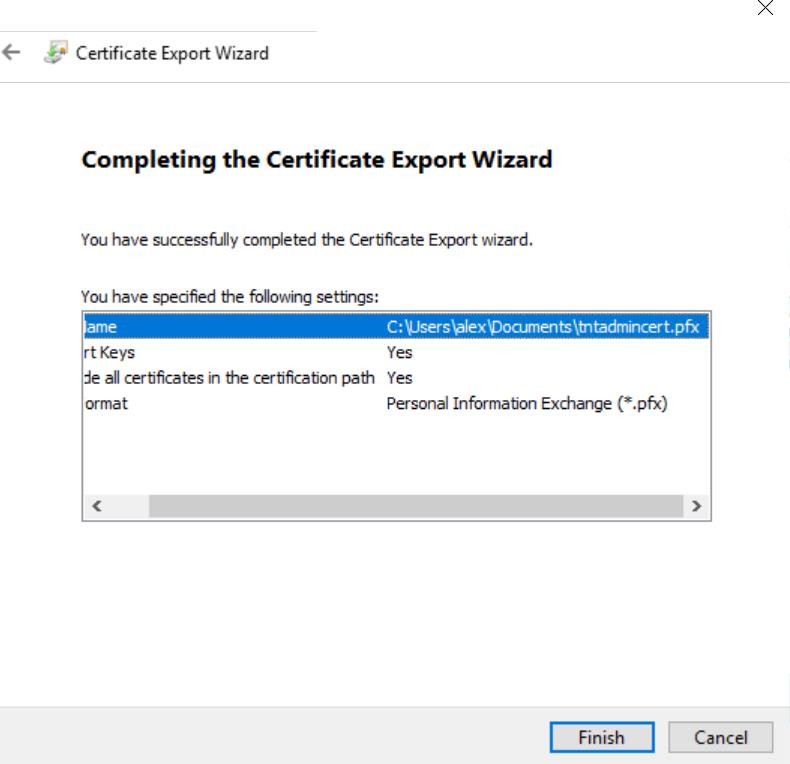
Certificate Export Wizard finish window