
This step sets up the Keyless SSL configuration in Cloudflare and uploads the signed certificate, allowing secure communication with the Keyless server for private key operations.
-
Log in to the Cloudflare Dashboard and select the target domain (zone).
-
Navigate to SSL/TLS → Edge Certificates.
-
Click on Upload Keyless SSL Certificate under Manage Edge Certificates.
-
In the configuration form, provide the following details.
-
Key Server Label.
Enter a descriptive label to identify the Keyless server (e.g.,keyless). -
Key Server Hostname.
Specify the fully qualified domain name (FQDN) of the Keyless server.
Example:kms.utimaco.ssl4saas.com. -
Key Server Port.
Enter the listening port (2407) configured for the GoKeyless service. -
SSL Certificate.
Paste the signed domain certificate (Refer to section 5.3).
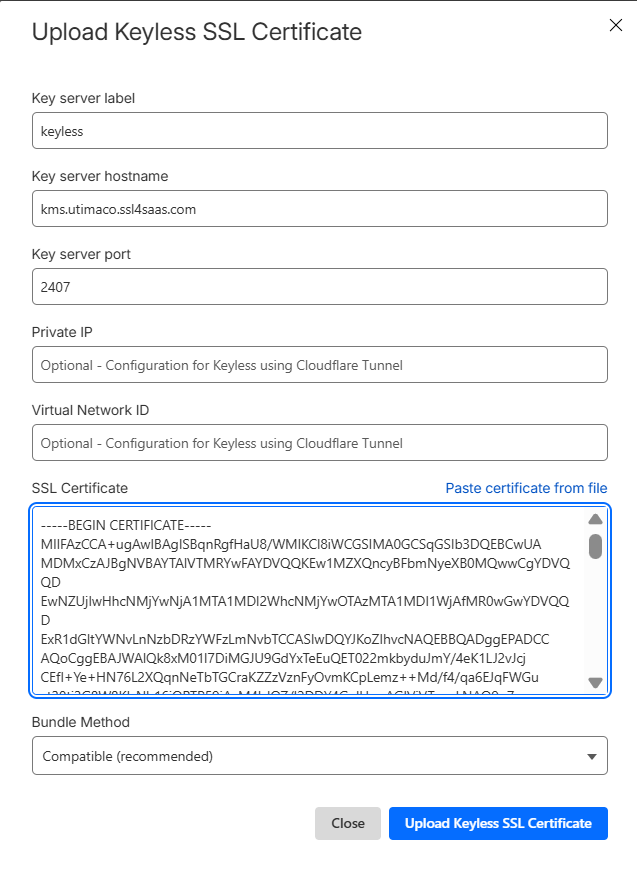
Uploading keyless SSL certificate in Cloudflare
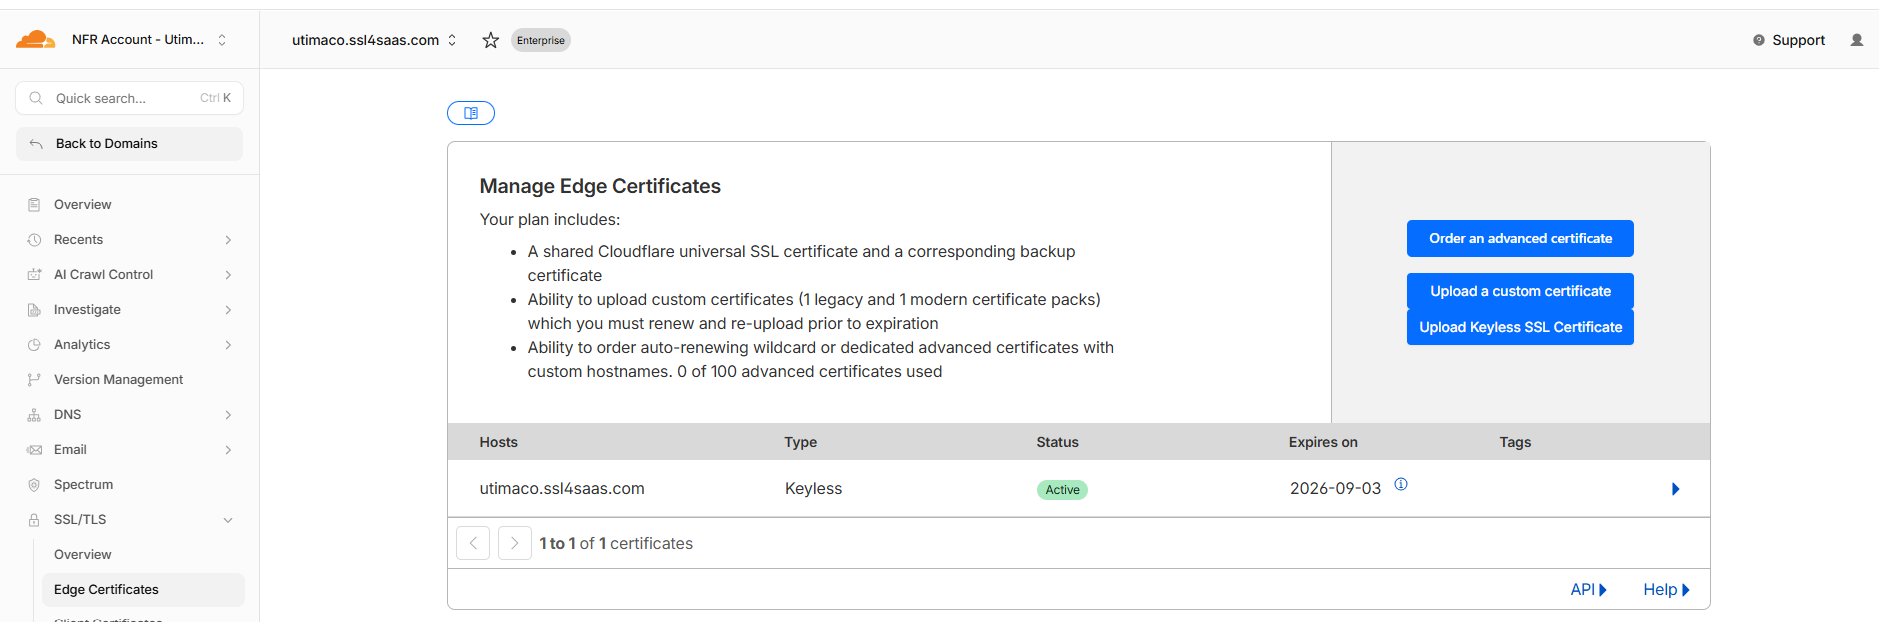
Viewing keyless SSL certificate status in Cloudflare
In this validation setup, Cloudflare SSL/TLS mode was set to Flexible, meaning HTTPS was enforced between the client and Cloudflare, while communication between Cloudflare and the origin server remained HTTP.
Customers using HTTPS at the origin should configure Cloudflare SSL mode as Full or Full (Strict) to ensure end-to-end encryption. The selection depends on whether a valid CA-signed certificate is installed on the origin server.
Misconfiguration of SSL mode can result in handshake failures, redirect loops, or insecure communication paths.