Installing OpenXPKI and Dependent Packages

  1. Update the apt repository.

›_ Console

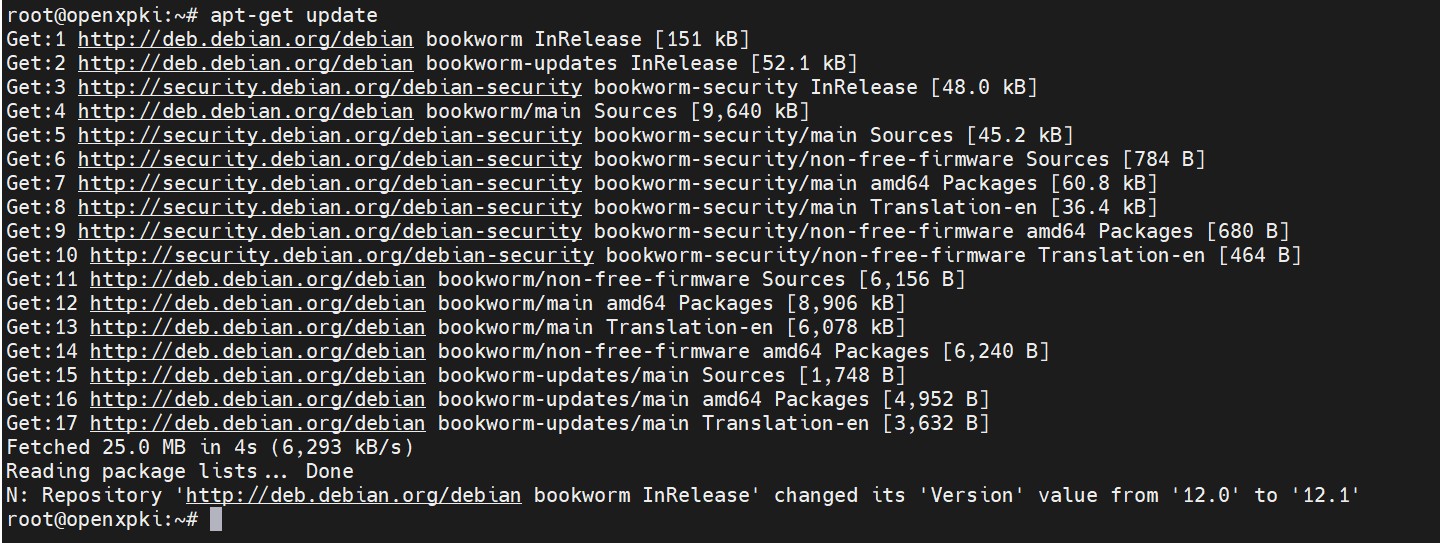
# apt-get update 
image-3286138955-1.jpg

Update apt repository

  1. Add openxpki package signing key.

›_ Console

# wget https://packages.openxpki.org/v3/bookworm/Release.key -O - 2>/dev/null 

| tee Release.key | gpg -o /usr/share/keyrings/openxpki.pgp –dearmor 
image-3286138955-2.jpg

Add signing key

  1. Add the openxpki repository to your source list and update.

›_ Console

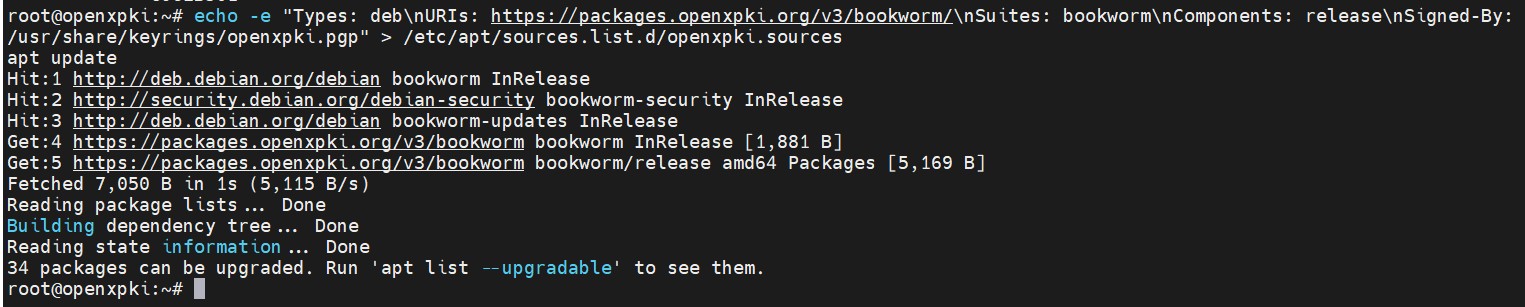
# echo -e "Types: deb\nURIs: https://packages.openxpki.org/v3/bookworm/\nSuites: bookworm\nComponents: release\nSigned-By: /usr/share/keyrings/openxpki.pgp" > /etc/apt/sources.list.d/openxpki.sources # apt update 
image-3286138955-3.jpg

Add openxpki repository

  1. Install mariadb-server and libdbd-mariadb-perl.

›_ Console

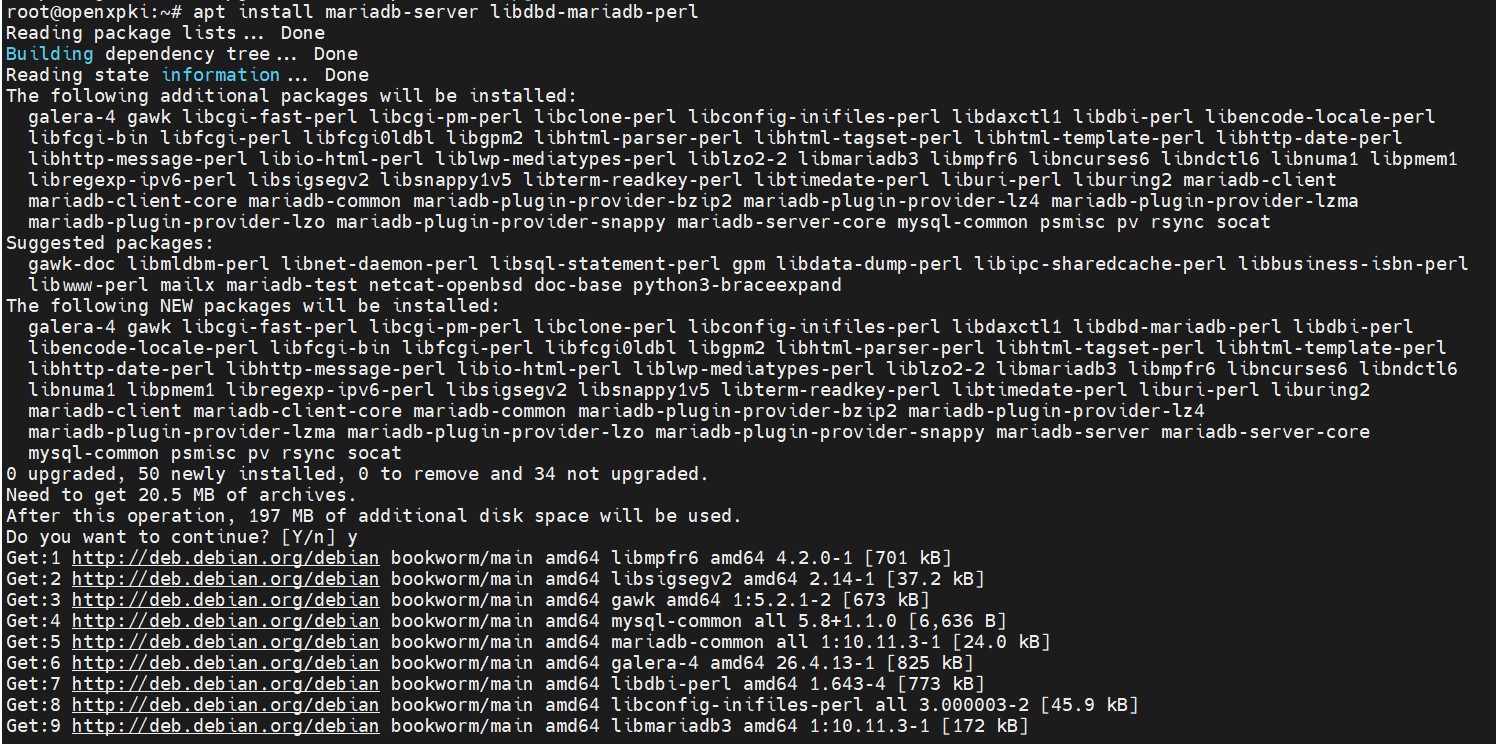
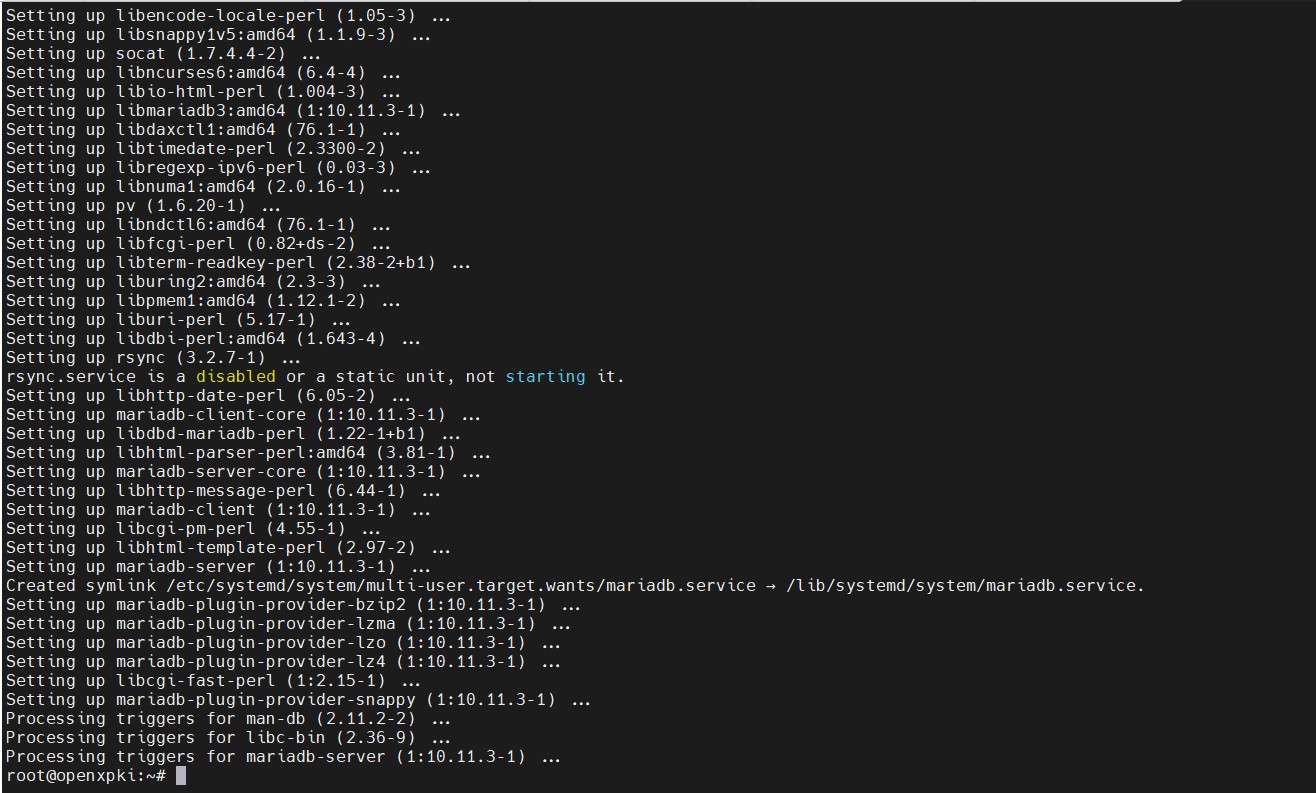
# apt install mariadb-server libdbd-mariadb-perl 
image-3286138955-4.jpg

MariaDB installation

image-3286138955-5.jpg

MariaDB installation

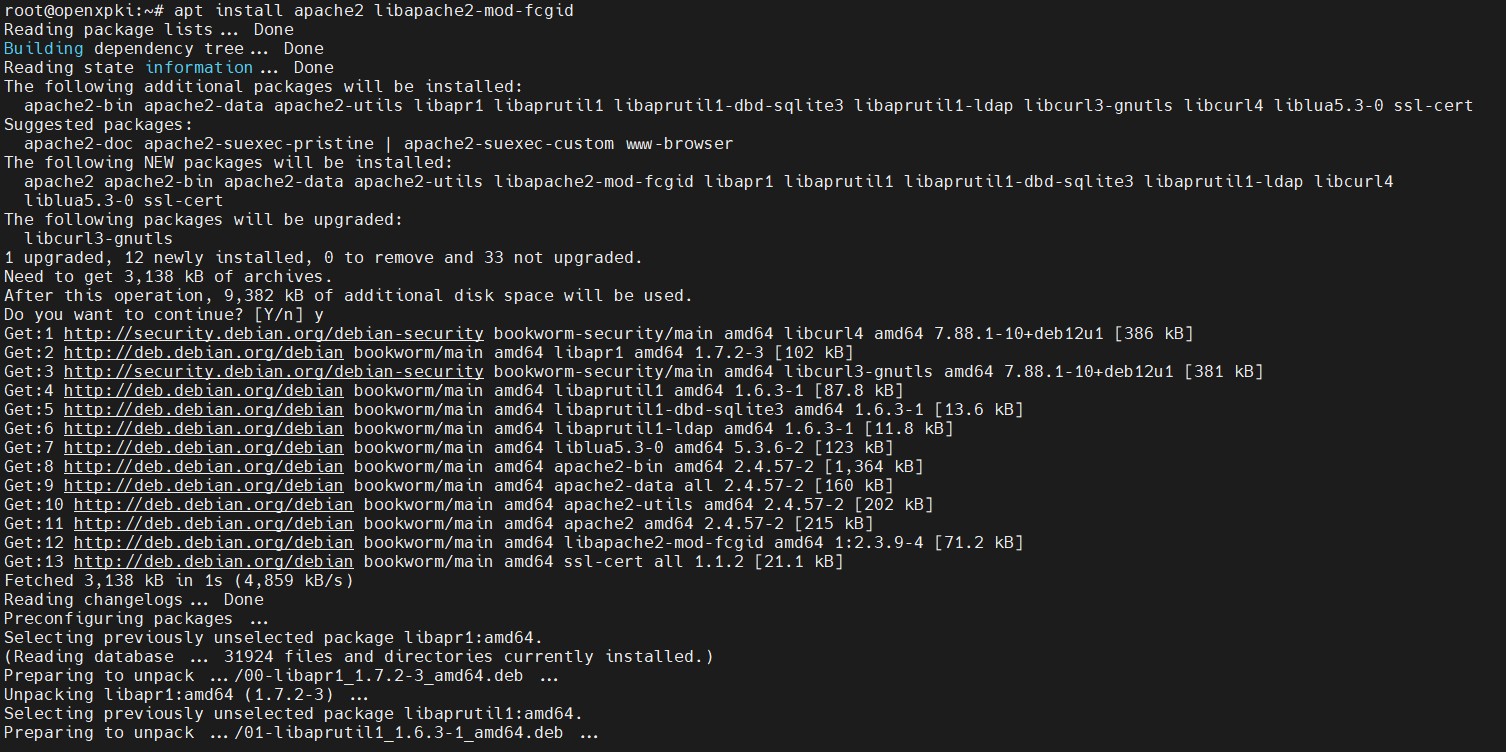
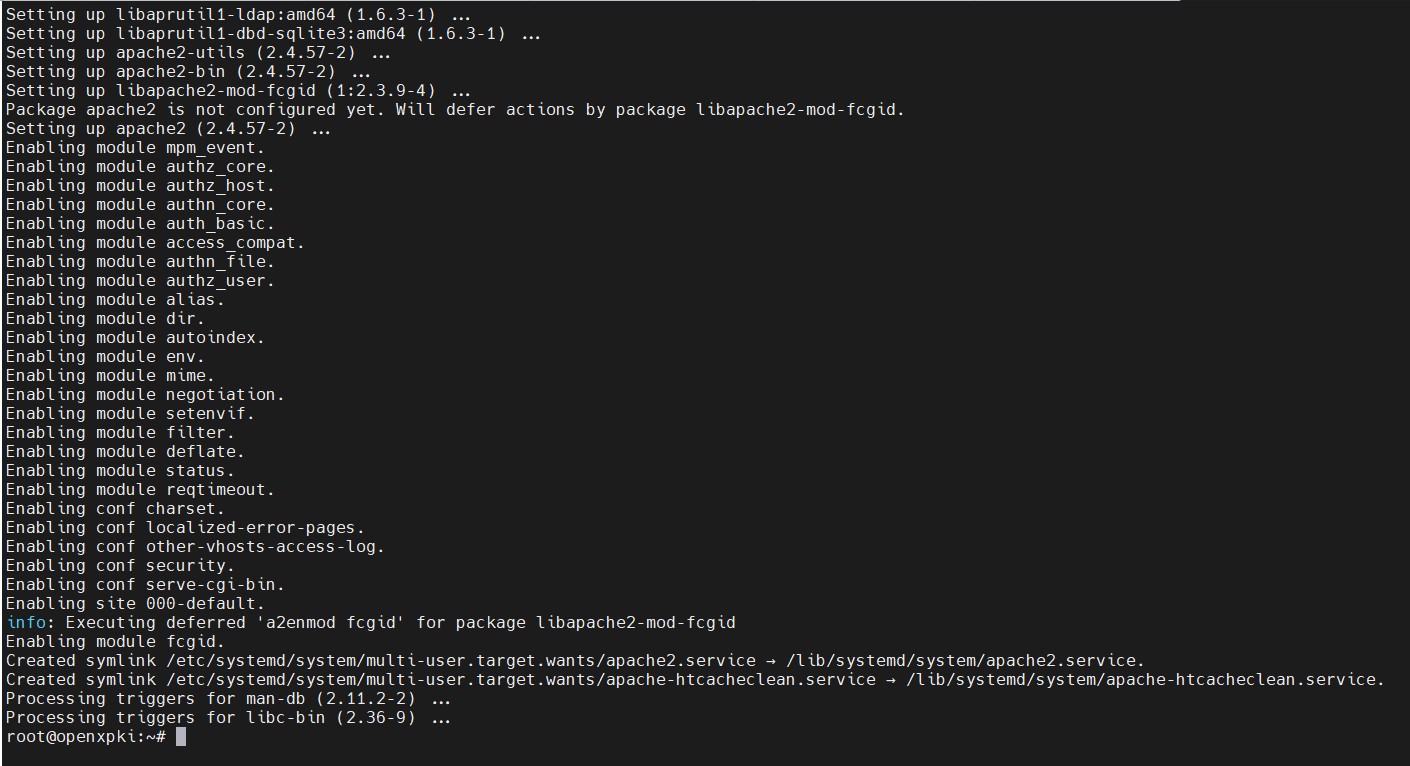
  1. Install apache2 and fastcgi module.

›_ Console

# apt install apache2 libapache2-mod-fcgid 
image-3286138955-6.jpg

Apache2 installation

image-3286138955-7.jpg

Apache2 installation

  1. Enable fcgid module.

›_ Console

# a2enmod fcgid 
image-3286138955-8.jpg

Enable fcgid

Fastcgi module should be enabled explicitly, otherwise, the .fcgi file will be treated as plain text (this is usually done by the installer already):

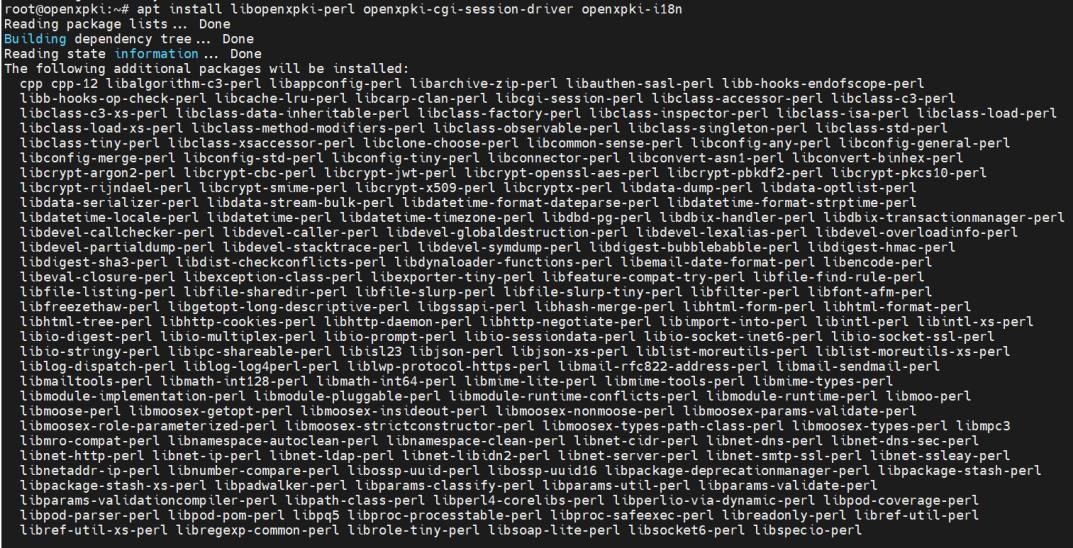
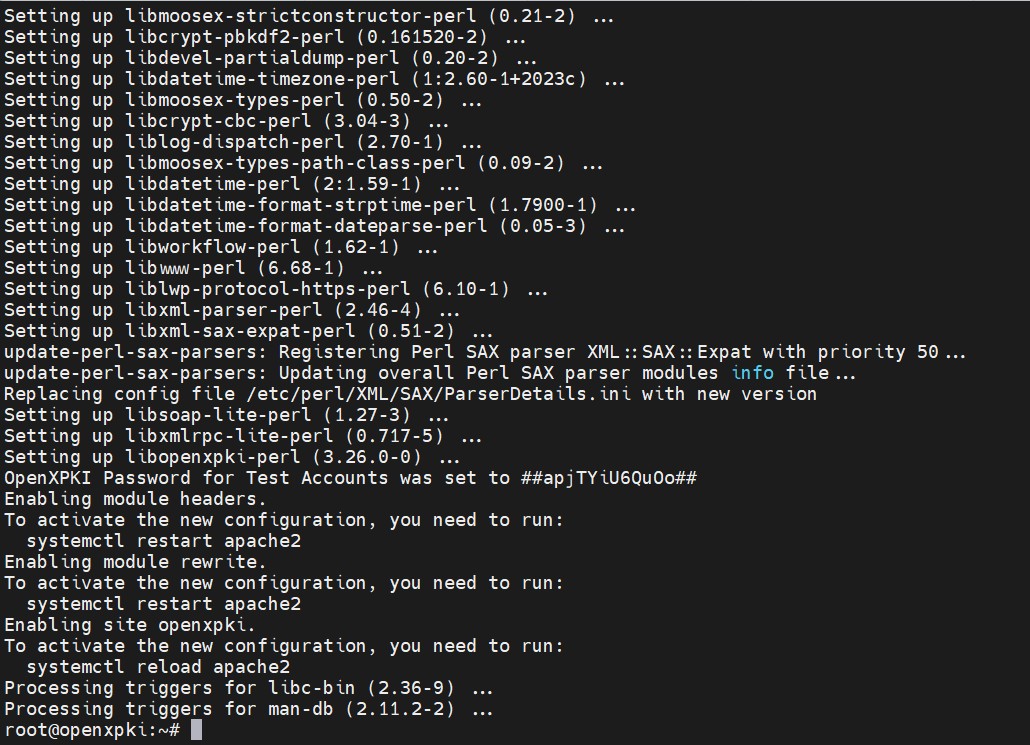
  1. Install the OpenXPKI core package, session driver and translation package.

›_ Console

# apt install libopenxpki-perl openxpki-cgi-session-driver openxpki-i18n 
image-3286138955-9.jpg

OpenXPKI installation

image-3286138955-10.jpg

OpenXPKI installation

  1. Use the openxpkiadm command to verify if the openxpki was installed correctly.

›_ Console

# openxpkiadm version 
image-3286138955-11.jpg

OpenXPKI version

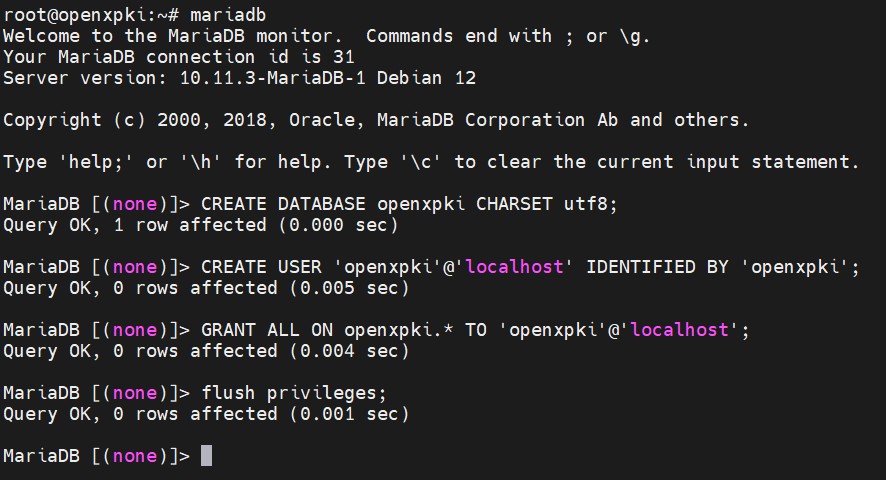
  1. Create an empty database and assign a database user.

›_ Console

# mariadb 

> CREATE DATABASE openxpki CHARSET utf8; 

> CREATE USER 'openxpki'@'localhost' IDENTIFIED BY 'openxpki'; 

> GRANT ALL ON openxpki.* TO 'openxpki'@'localhost'; > flush privileges; 
image-3286138955-12.jpg

Database creation

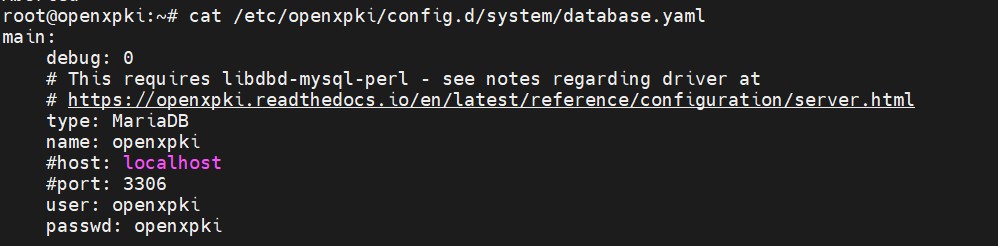
  1. Enter the above database credentials into /etc/openxpki/config.d/system/database.yaml file as shown below.

database.yaml

main:  
 debug: 0  
 type: MariaDB  
 name: openxpki  
 user: openxpki  
 passwd: openxpki  
image-3286138955-13.jpg

Database credentials

For OpenXPKI version 3.26.1 you need to replace type value MariaDB to MariabDB2 in database.yaml file.

  1. Create the empty database schema from the provided schema file /usr/share/doc/libopenxpki-perl/examples/schema-mariadb.sql.

›_ Console

# cat /usr/share/doc/libopenxpki-perl/examples/schema-mariadb.sql | mysql -u root --password --database  openxpki 
image-3286138955-14.jpg

Create database schema

Enter the database user password when prompted.

  1. Update /etc/apache2/ports.conf with any http port.

ports.conf

…  
Listen 8080  
…  
  1. Update /etc/apache2/sites-enabled/openxpki.conf with below entries.

openxpki.conf

<VirtualHost *:8080>  
 ServerAlias *  
 DocumentRoot /var/www/  
 ScriptAlias /rpc /usr/lib/cgi-bin/rpc.fcgi  
 ScriptAlias /healthcheck /usr/lib/cgi-bin/healthcheck.fcgi  
 ScriptAlias /certep /usr/lib/cgi-bin/certep.fcgi  
 ScriptAlias /.well-known/est /usr/lib/cgi-bin/est.fcgi  
 ScriptAlias /cmc /usr/lib/cgi-bin/cmc.fcgi  
 ScriptAliasMatch ^/(webui/)?(([a-z0-9-]+)/)?cgi-bin/webui.fcgi   
/usr/lib/cgi-bin/webui.fcgi  
 RewriteEngine On  
 RewriteRule ^/$ https://%{HTTP_HOST}/webui/index/ [L,R=301,NC]  
 RewriteRule ^/([a-z0-9-]+)$ https://%{HTTP_HOST}/$1/ [L,R=301,NC]  
 RewriteCond %{DOCUMENT_ROOT}%{REQUEST_FILENAME} !-d  
 RewriteRule ^/([a-z0-9-]+)/$ /var/www/openxpki/index.html [L]  
 RewriteCond %{DOCUMENT_ROOT}%{REQUEST_FILENAME} !-f  
 RewriteCond %{DOCUMENT_ROOT}%{REQUEST_FILENAME} !-d  
 RewriteCond %{DOCUMENT_ROOT}%{REQUEST_FILENAME} !-l  
 RewriteCond %{REQUEST_FILENAME} !(cgi
bin|rpc|cmc|certep|download|healthcheck)  
 RewriteRule ^/(webui/)?([a-z0-9-]+)/(.*) /var/www/openxpki/$3 [L,NC]  
 <IfModule mod_headers.c>  
 Header set Strict-Transport-Security max-age=31536000  
 Header set X-Frame-Options deny  
 Header set X-XSS-Protection "1; mode=block;"  
 </IfModule>  
</VirtualHost>  

It is highly recommended to run OpenXPKI Web UI on HTTPS. If you want OpenXPKI Web UI to run over HTTPS, then you can modify the above file with SSL settings. You can generate SSL keys on Utimaco HSM and integrate it by downloading and following the Apache Integration guide with Utimaco HSM from the support portal.

14. Reload and restart apche2 service.

›_ Console

# systemctl reload apache2.service 

# systemctl restart apache2.service 
image-3286138955-15.jpg

Reload and restart apache2 service