

-
Navigate your browser to http://<openxpki_server_ip>:8080.
-
Log in as authenticated user.
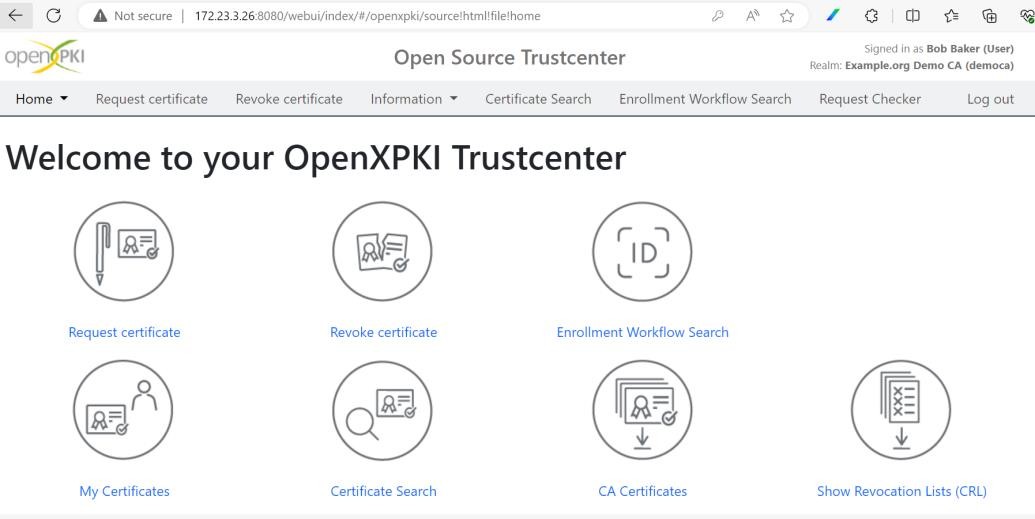
Home page of openxpki user
-
Go to Request, select Request new certificate and select any certificate profile.
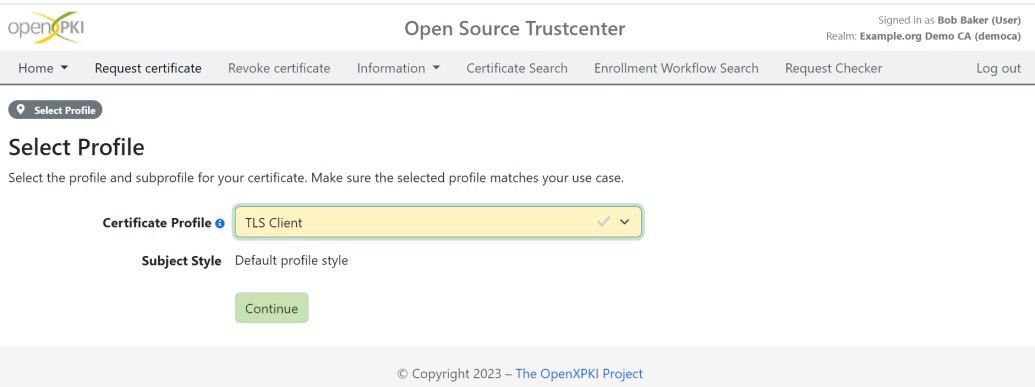
Request for new certificate
-
Click Continue.
-
Click on Generate Key on PKI.
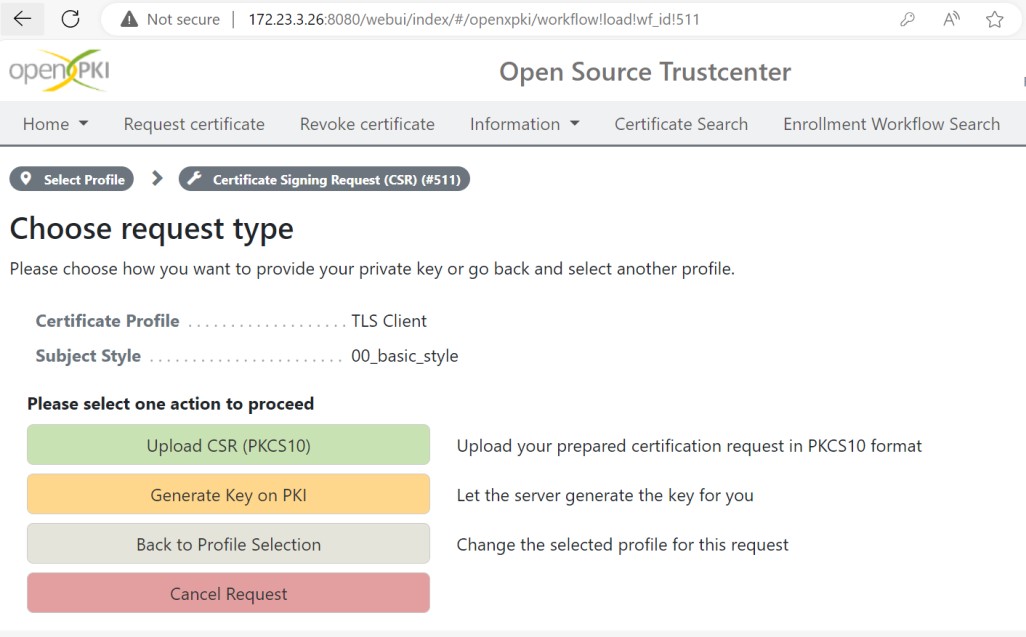
Generating key on PKI
-
Select Key Algorithm and Key length then click on Continue.
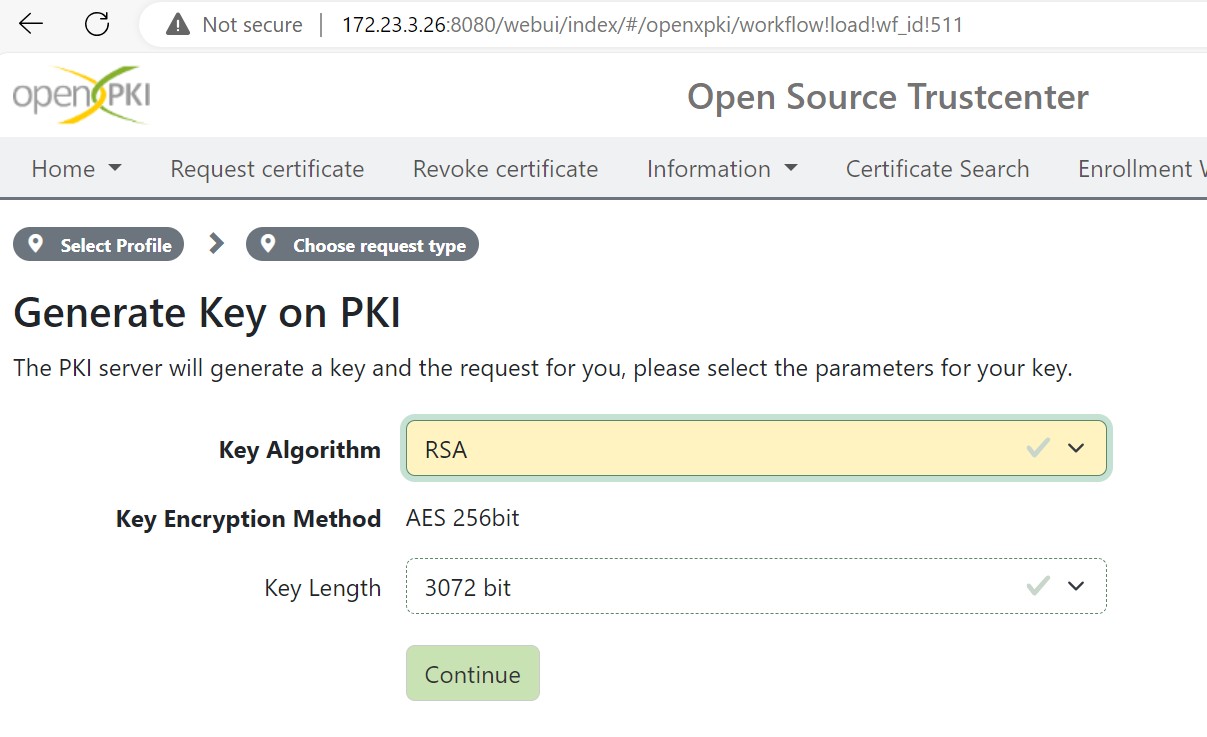
Select key algorithm and length
-
Enter the Hostname and Application Name of your machine and click on Continue tab.
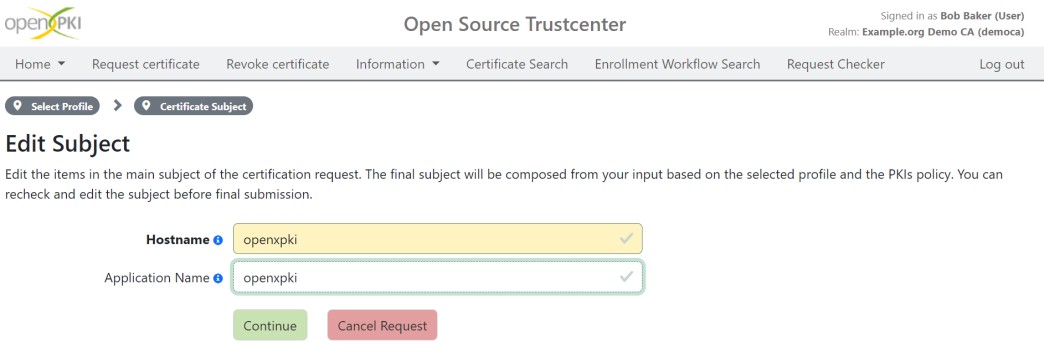
Update host and application details
-
Provide the Email address and other information and click on Continue tab.
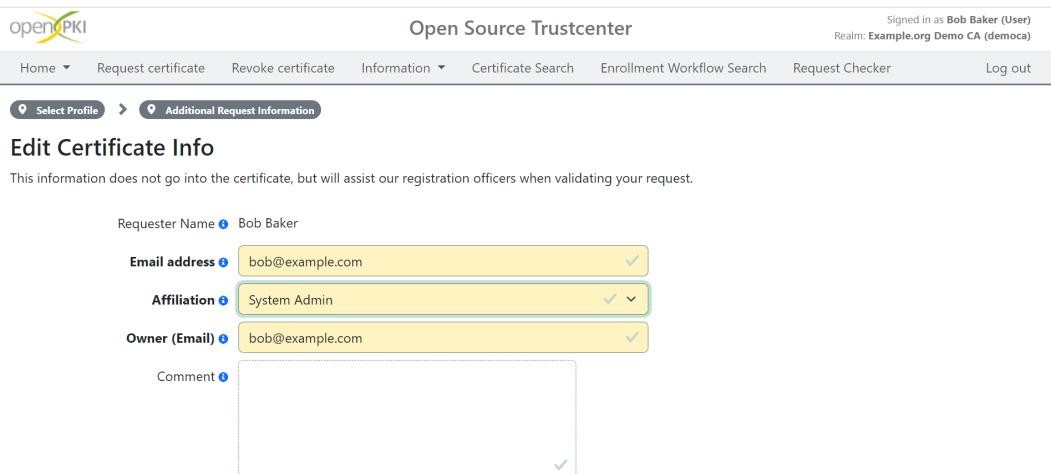
Update other details
-
Click on Submit request.
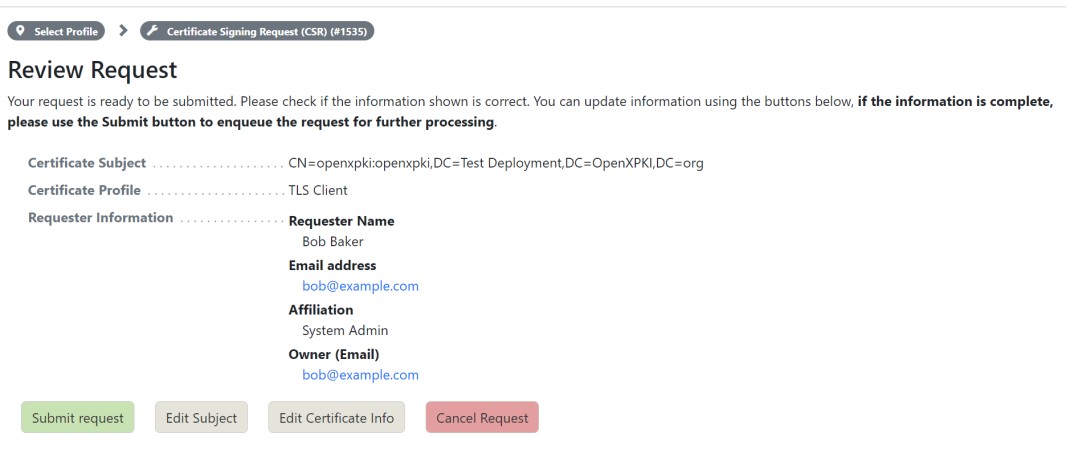
Submit Request
-
Enter your Key Password.
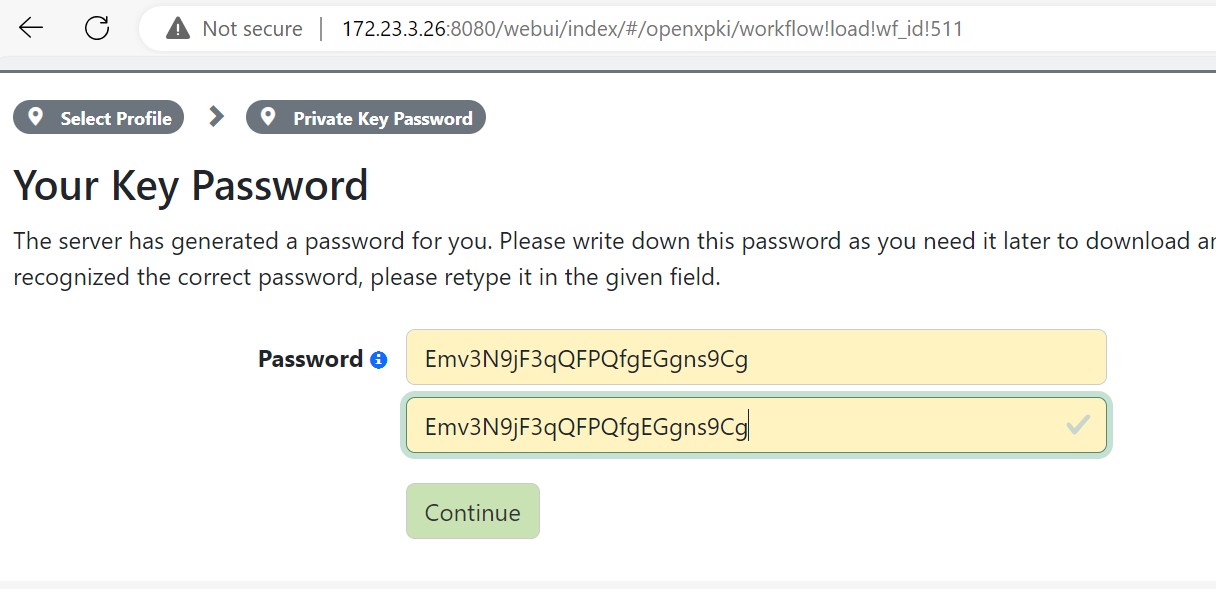
Set Key Password
-
Click on Continue.
-
Request awaits for the approval.
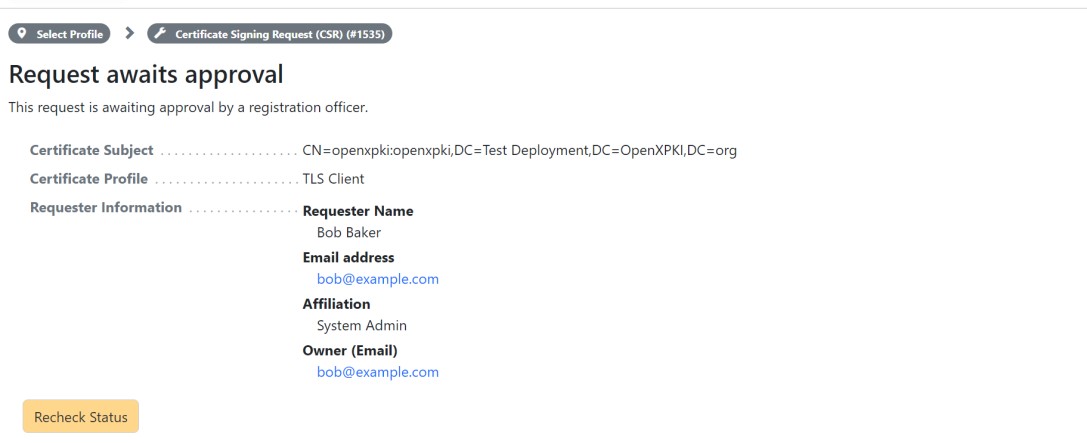
Request for approval
-
Log out and re-login as user who has permission to approve and issue certificate.
-
Select Home and click on My Tasks, there should be a table with one request pending.
-
Select your Request by clicking the line.
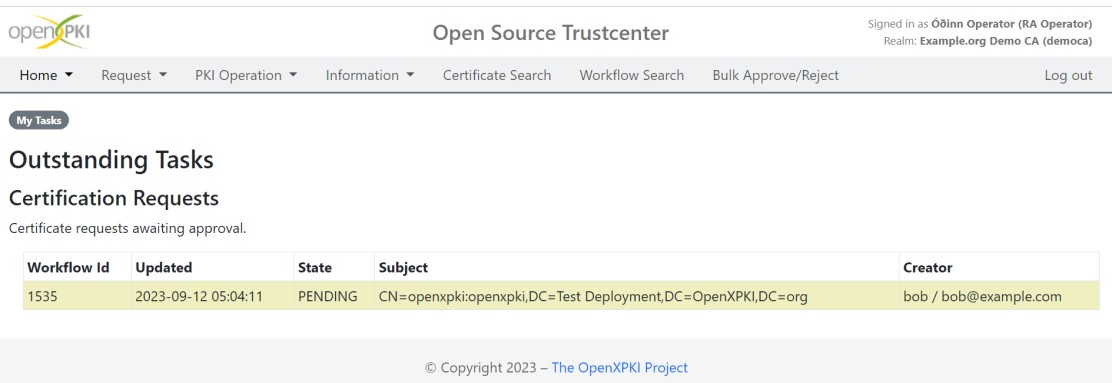
My tasks page
-
Click the Approve Request button.
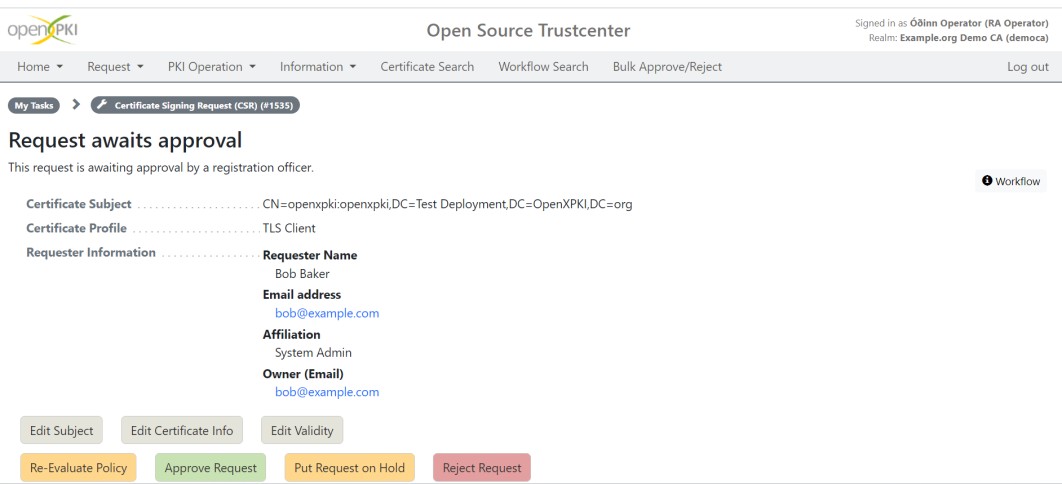
Approving request
-
After few seconds, your first certificate is issued.
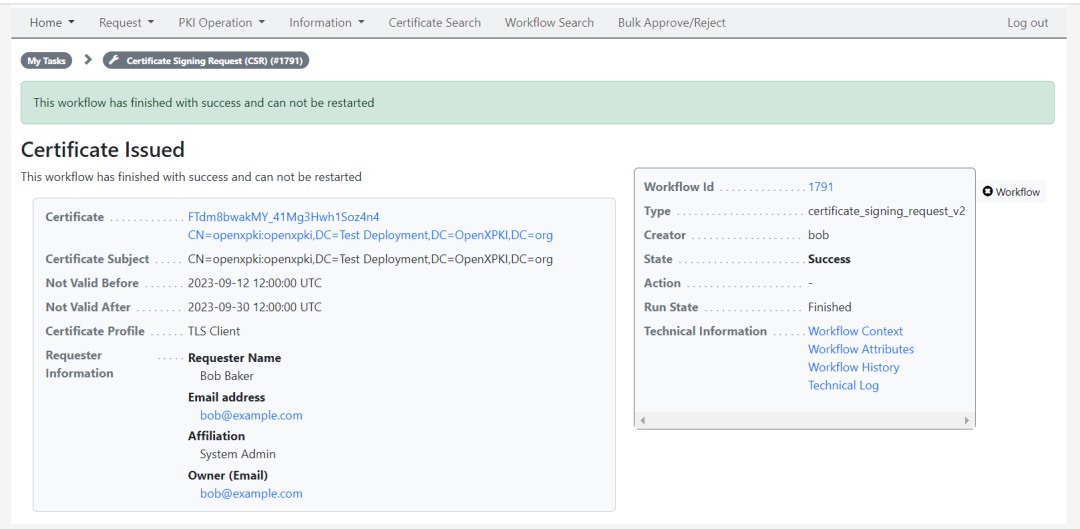
Certificate Issued
-
Log out and log in with your requestor username. Open My Certificates. Now you can download the issued certificate.
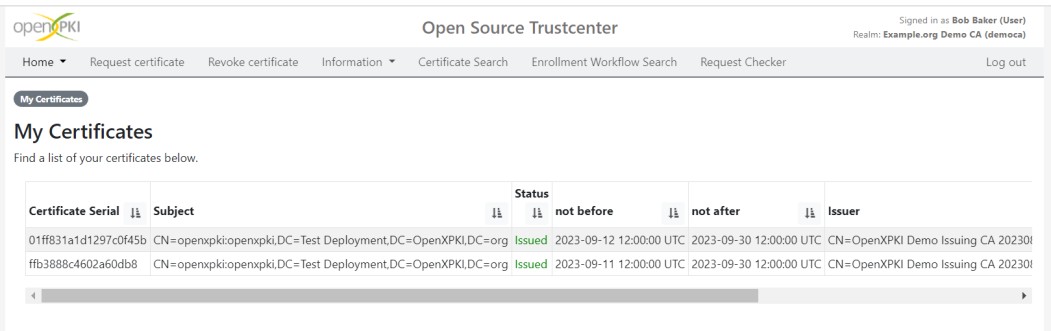
Issued certificate options
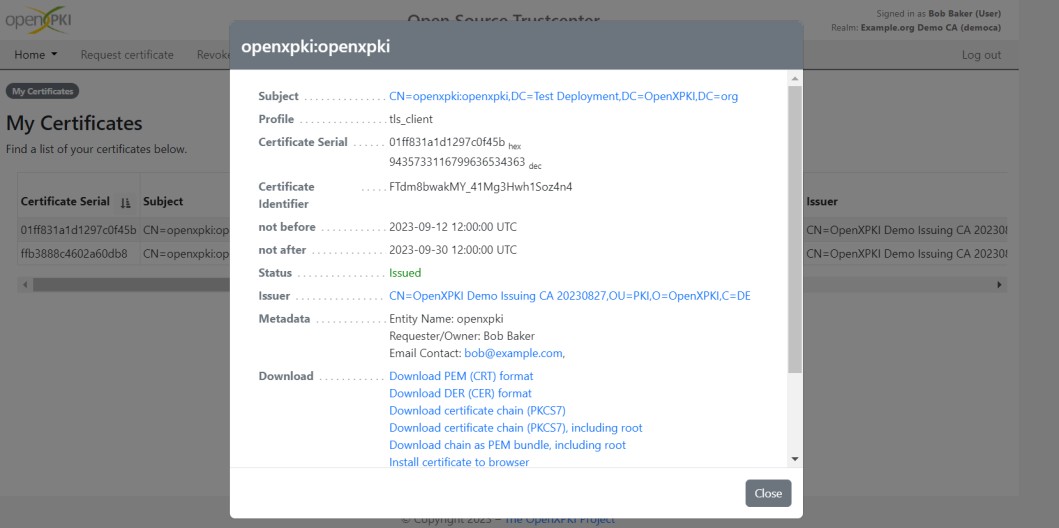
Issued certificate options
This completes the integration for OpenXPKI with Utimaco SecurityServer.