
-
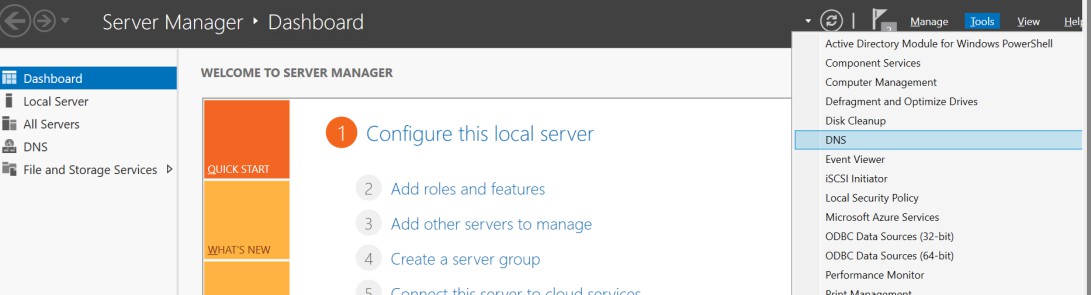
Click on Server Manager by selecting Start > Server Manager.
-
Click Tools and open DNS Manager.
Server Manager
-
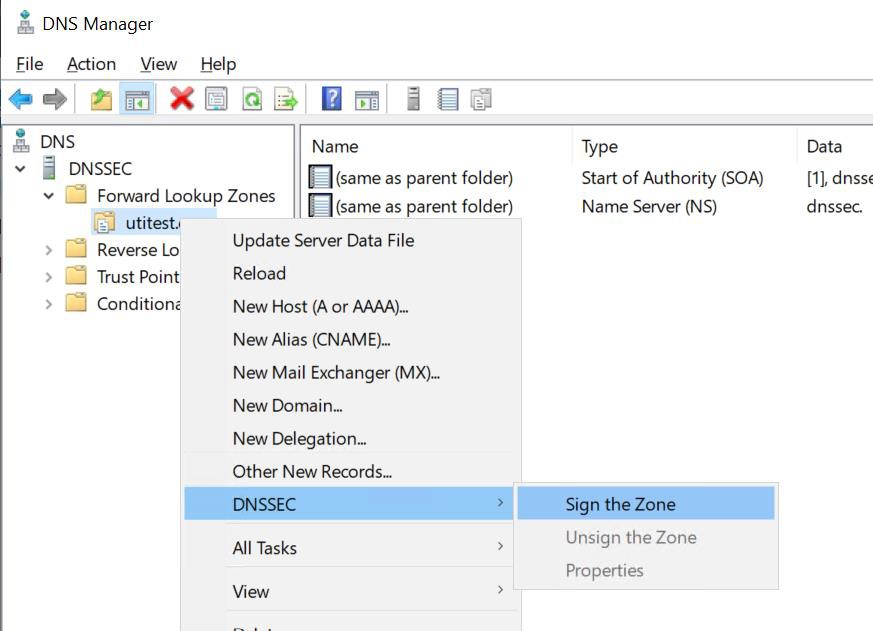
In the DNS Manager, browse to your Domain name, then right click on the forward zone that you have created.
-
Click DNSSEC and then click Sign the Zone.
Sign the Zone
-
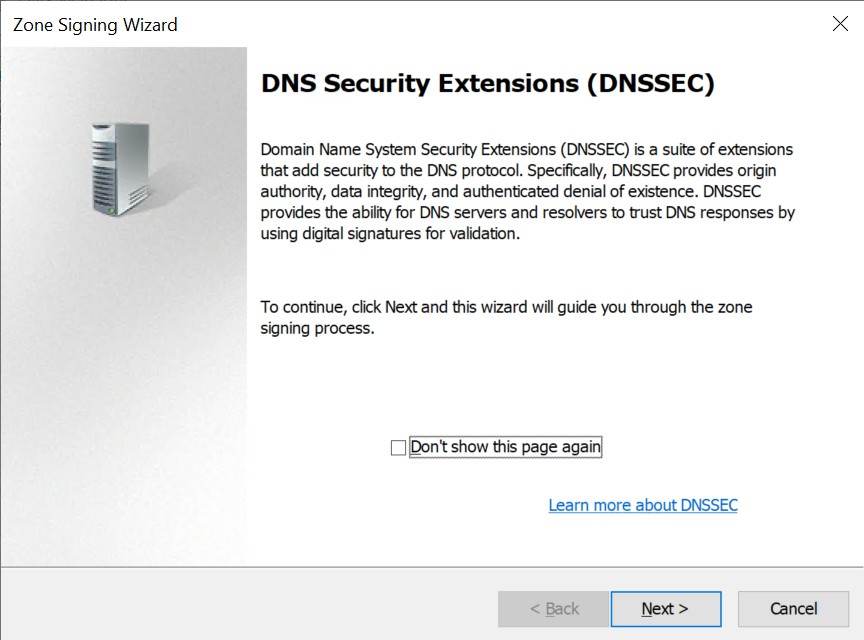
In the Zone Signing Wizard, click Next.
Zone Signing Wizard
-
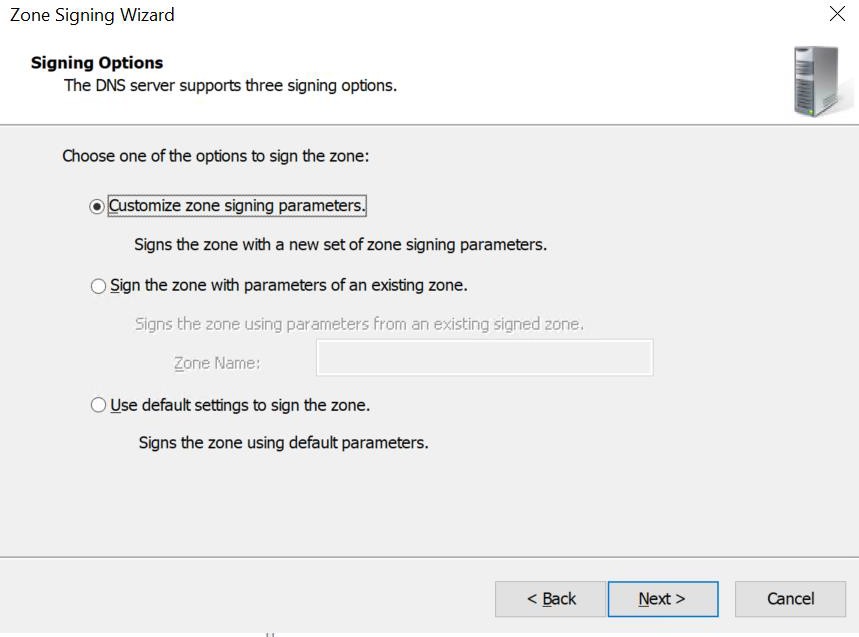
In the Zone Signing Wizard options, click Customize zone signing parameters, and then click Next.
Signing Options
-
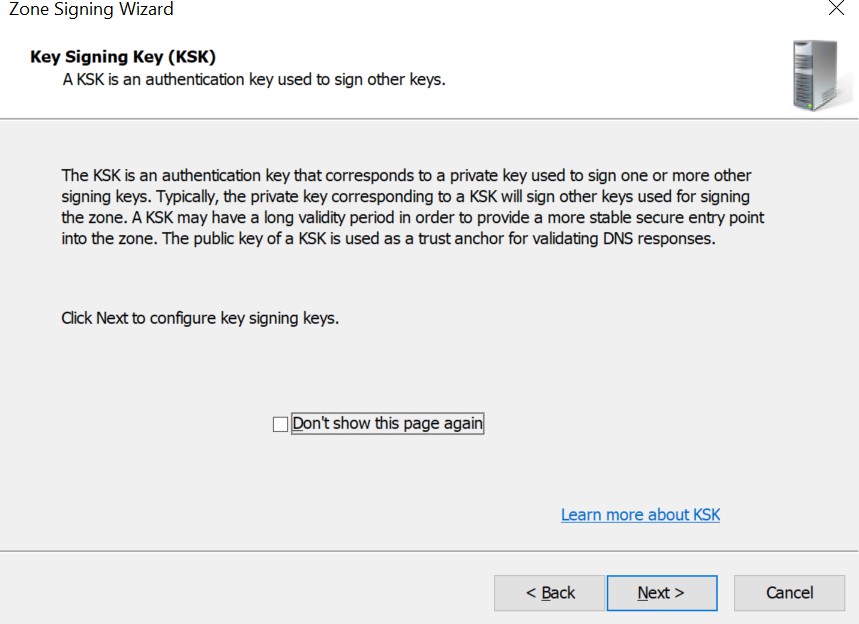
On the Key Signing Key (KSK) Wizard, click Next.
Key Signing Key
-
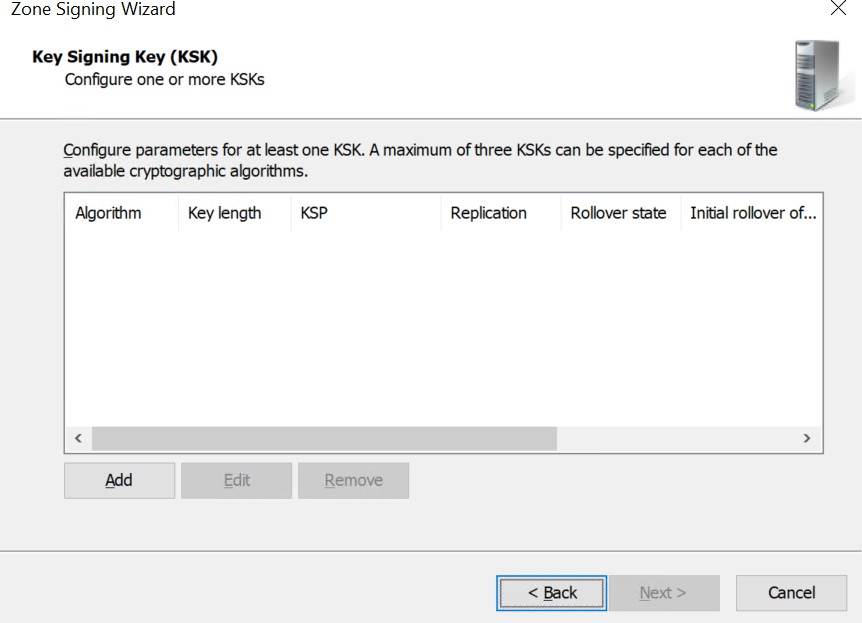
On the Key Signing Key (KSK) Wizard, click Add.
Key Signing Key Wizard
-
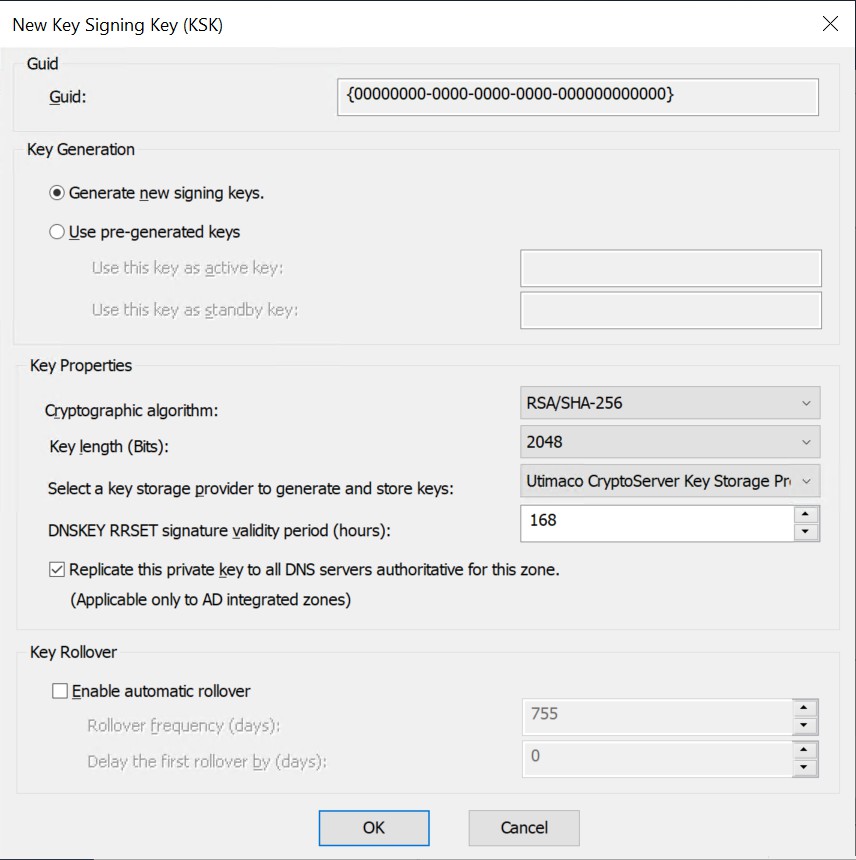
On the New Key Signing Key (KSK) Wizard, from the dropdown of Select a key storage provider to generate and store keys, select Utimaco CryptoServer Key Storage Provider.
-
Provide other information such as Cryptographic Algorithm and Key Length and then click OK.
-
Uncheck the rollover option.
New Key Signing Key
Automatic key rollover is not supported with Utimaco HSM. The user has to manually rollover the keys before their expiry.
-
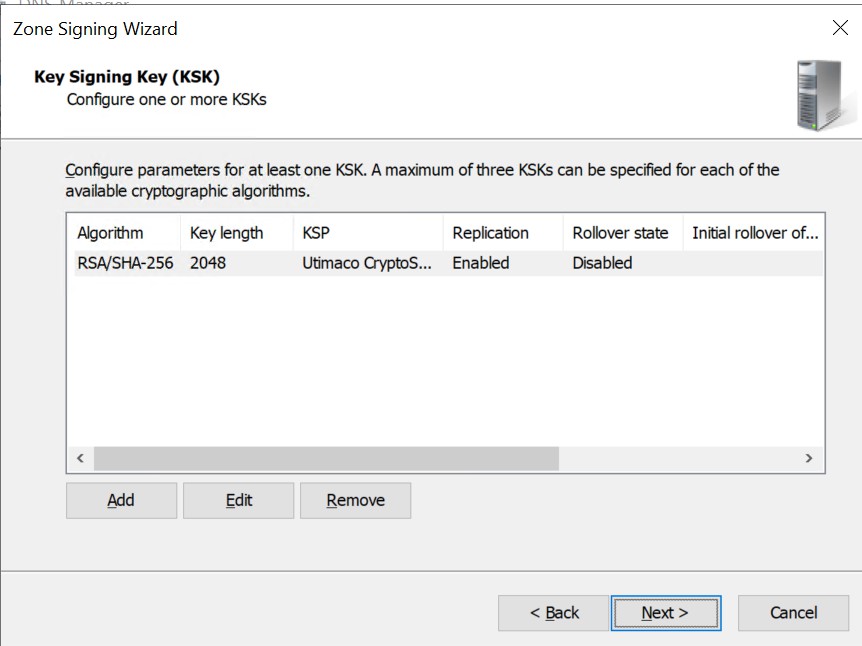
On the Key Signing Key (KSK) interface, click Next.
New Key Signing Key
-
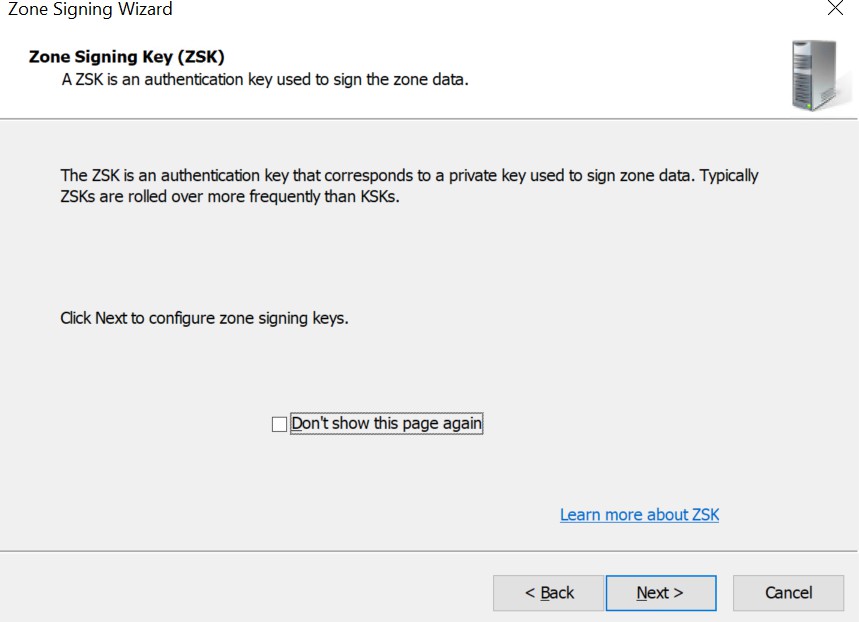
On the Zone Signing Key (ZSK) Wizard, click Next.
Zone Signing Key Wizard
-
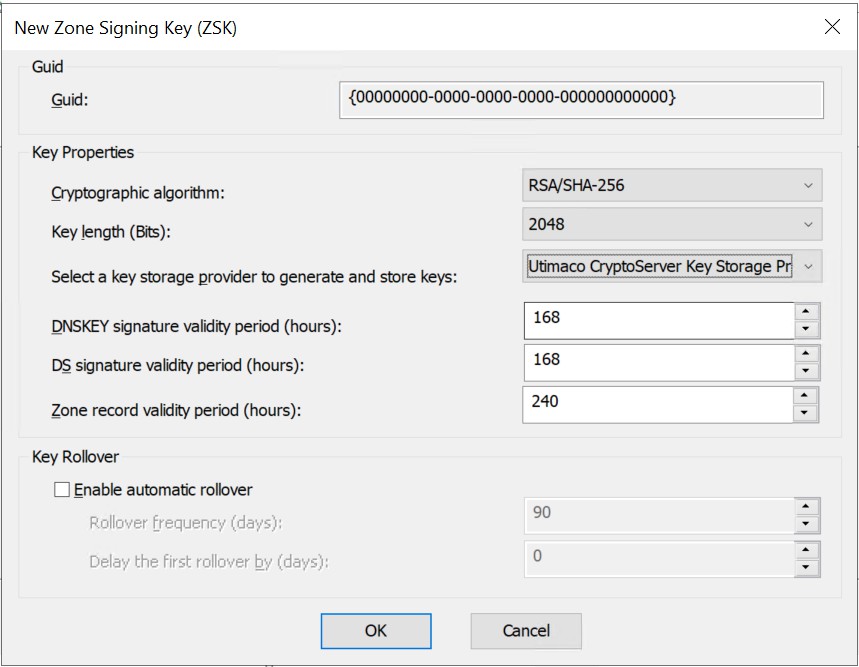
On the Zone Signing Key (ZSK) interface, click Add.
-
On the New Zone Signing Key (ZSK) interface, from the dropdown of Select a key storage provider to generate and store keys, select Utimaco Key Storage Provider.
-
Provide other information such as Cryptographic Algorithm and Key Length and click OK.
-
Uncheck the rollover option.
New Zone Signing Key
Automatic key rollover is not supported with Utimaco HSM. The user has to manually rollover the keys before their expiry.
-
On the Zone Signing Key (ZSK) Wizard, click Next.
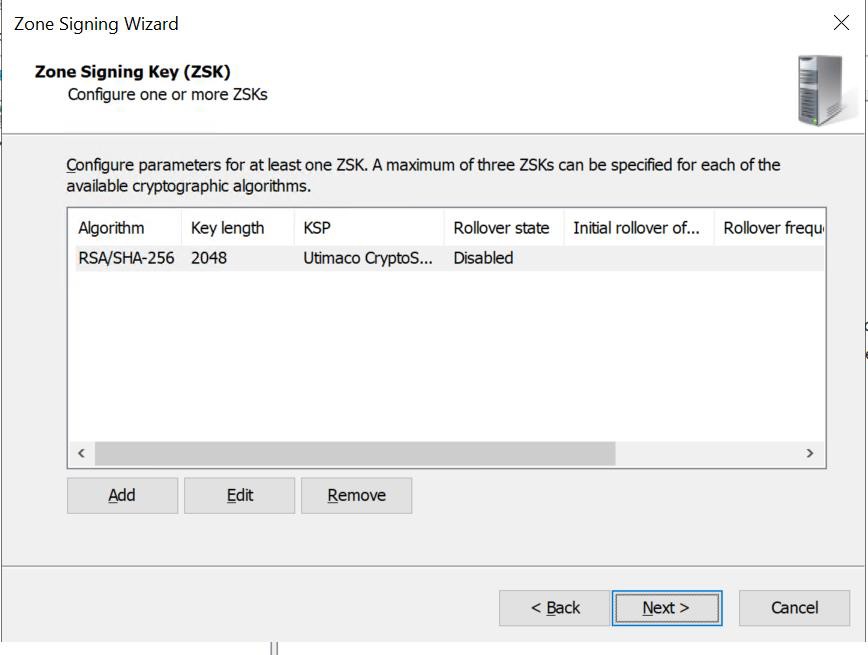
Configure parameters for Zone Signing Key
-
On the Next Secure (NSEC) Wizard select NSEC3, click Next.
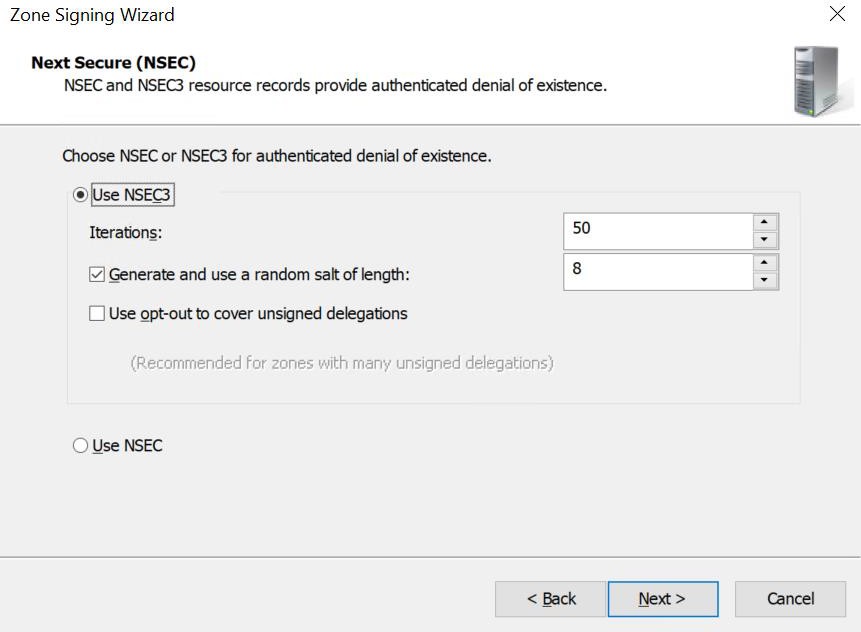
Next Secure Wizard
-
On the Trust Anchors (TAs) interface, check the Enable the distribution of trust anchors for this zone box, and click Next.
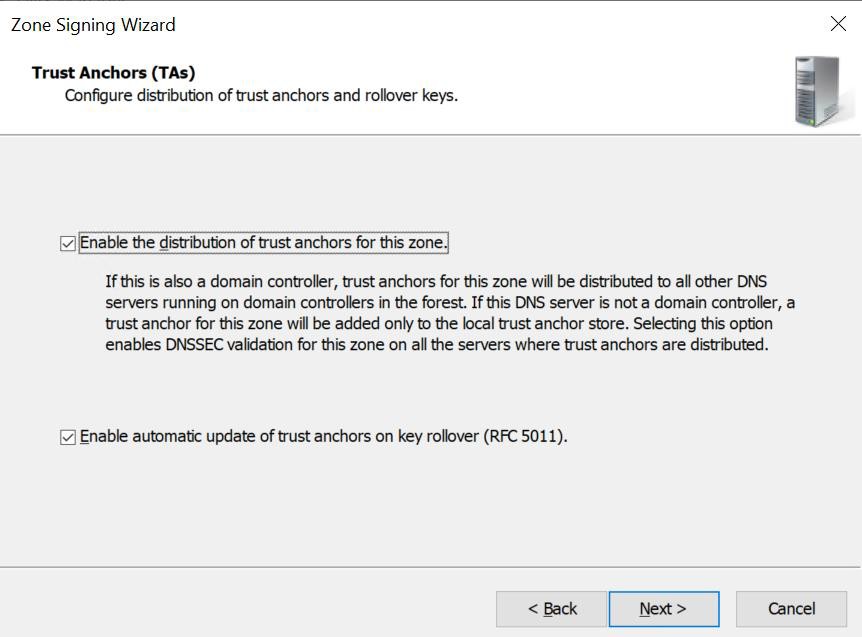
Trust Anchors
-
On the Signing and Polling Parameters wizard, click Next.
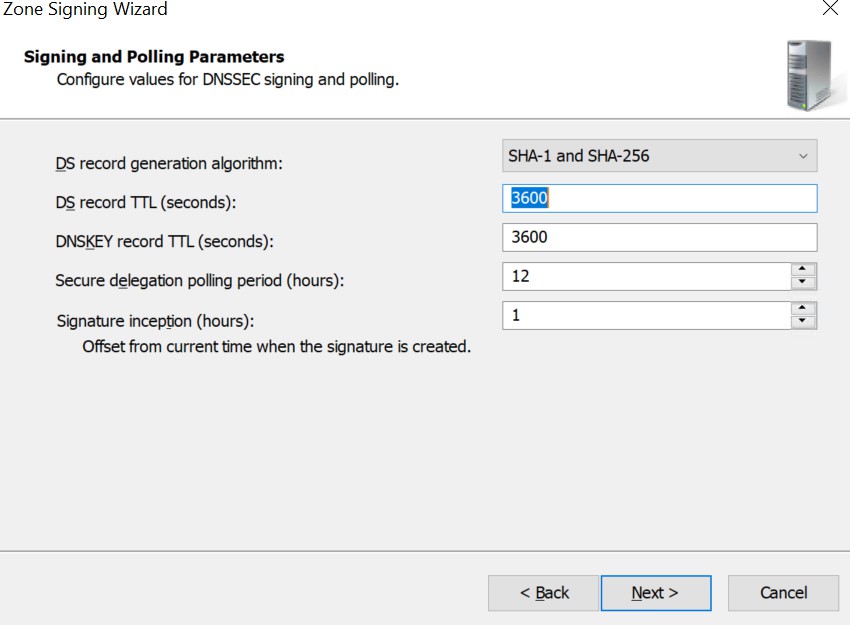
Signing and Polling Parameters
-
On the DNS Security Extensions (DNSSEC) interface, click Next, and then click Finish.
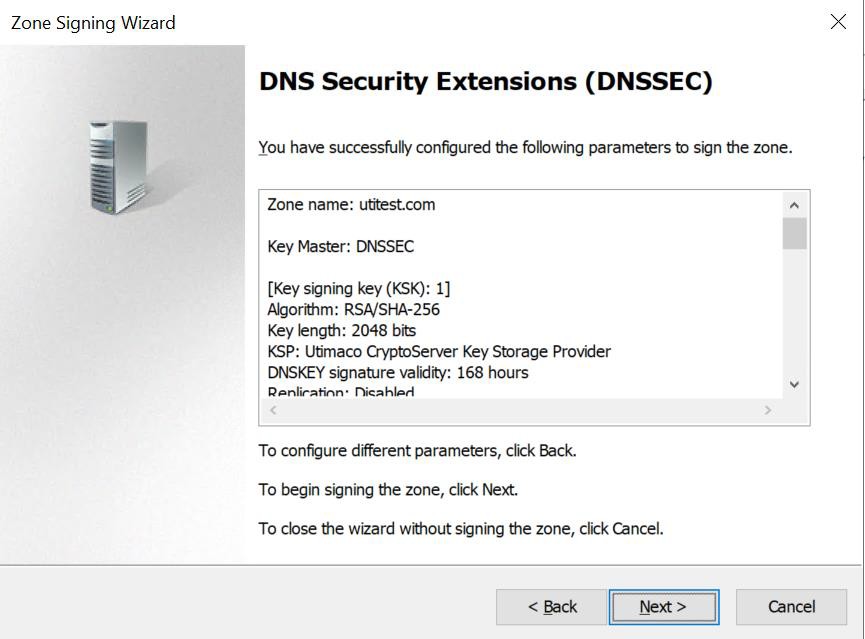
DNS Security Extensions
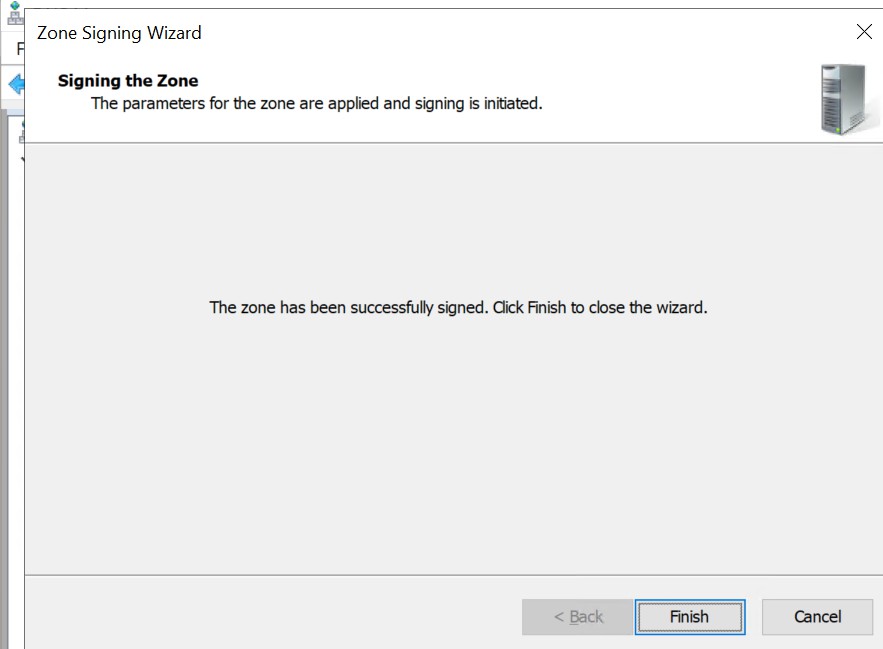
Signing the Zone
-
In the DNS console, expand Trust Points, then select com and select utitest, and click your domain name.
-
Ensure that the DNSKEY resource records display, and that their status is valid.
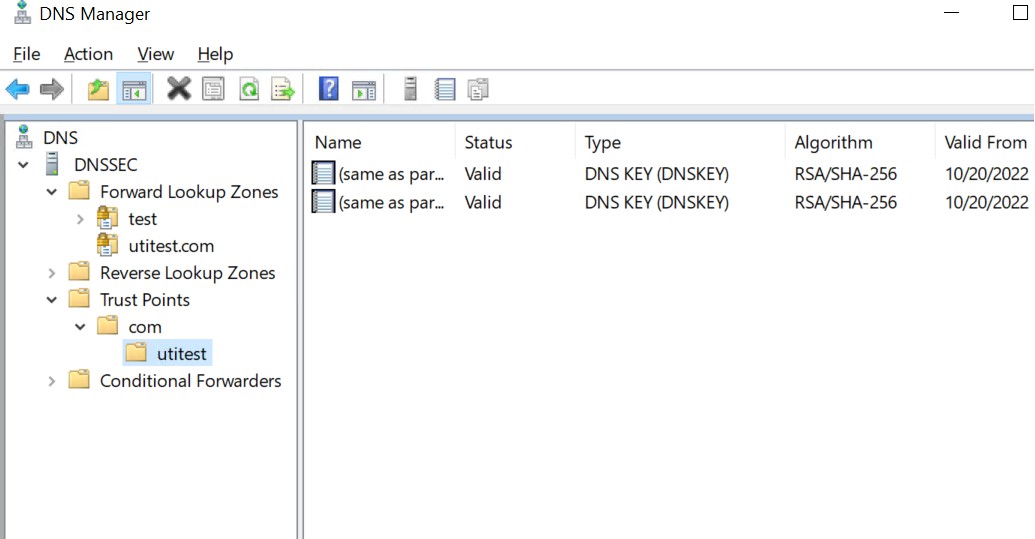
DNS Manager
-
Open Server Manager, click Tools and open Group Policy Management.
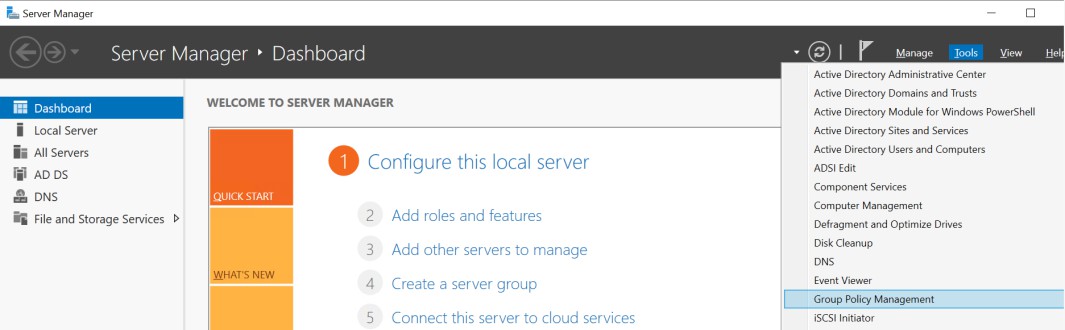
Server Manager
-
Next, open Local Computer policy -> Computer Configuration -> Windows Settings -> Name Resolution Policy.
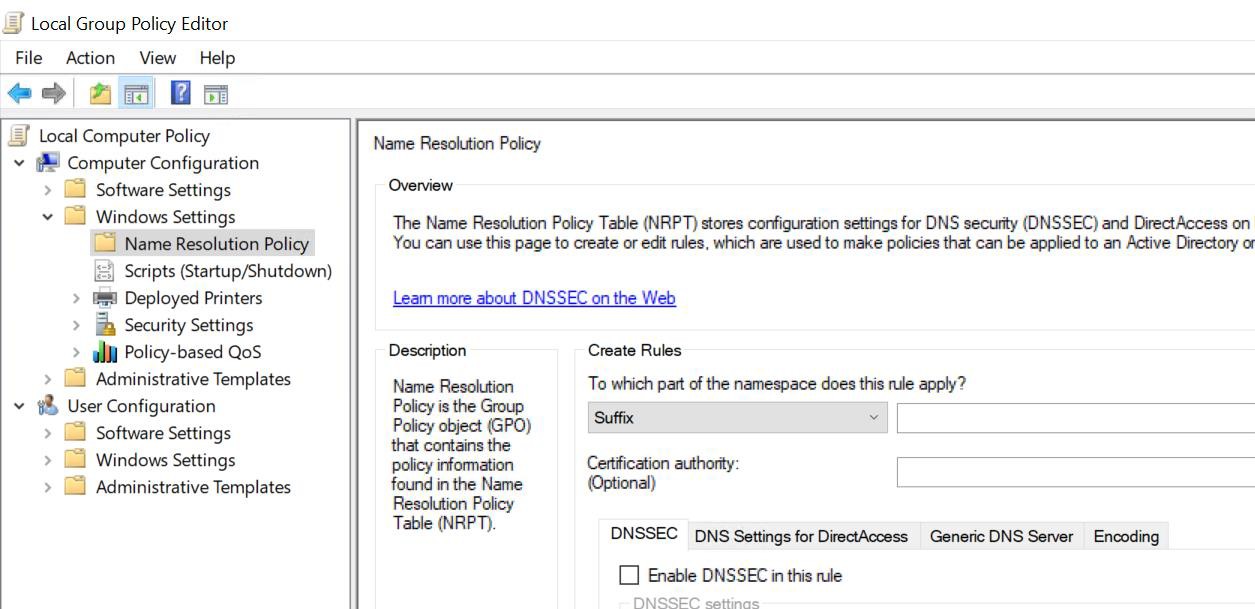
Local Group Policy Editor
-
In the right pane, under Create Rules, in the Suffix box, type utitest.com to apply the rule to the suffix of the namespace.
-
Select both the Enable DNSSEC in this rule check box and the Require DNS clients to check that the name and address data has been validated by the DNS server check box, and click Create.
-
Restart DNS service and check its settings.
|
›_ Console |
|---|
|

DNS service stop and start
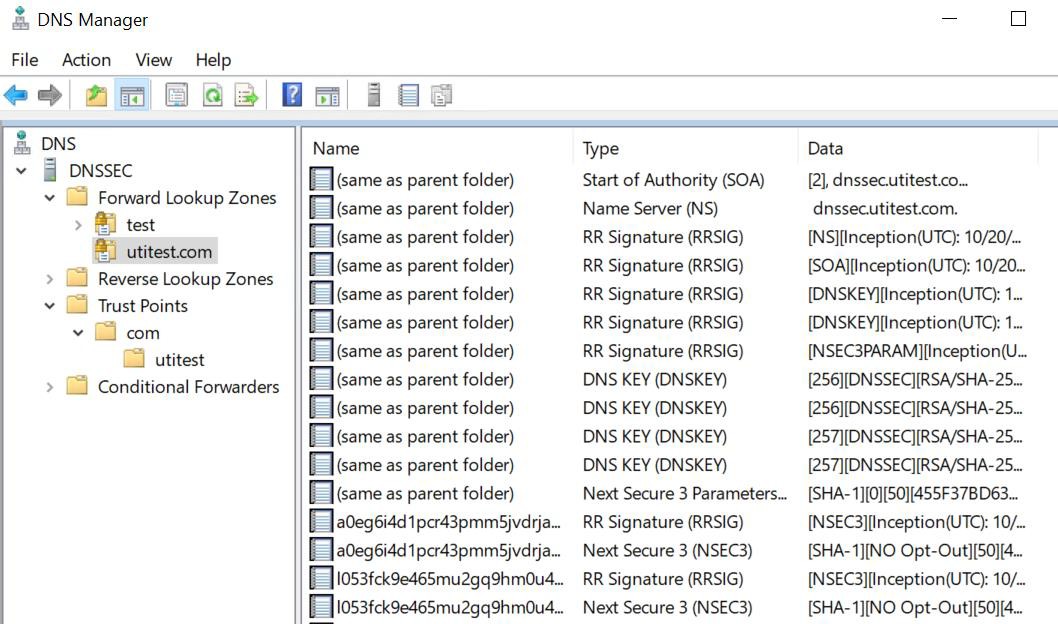
DNS Manager
-
Verify that the keys are generated on the HSM.
|
›_ Console |
|---|
|