
-
Log on to the Domain Controller with enterprise permissions
-
Click the Start button, open Run and type dssite.msc and then click OK
-
Select the top node in the left pane
-
In the View menu, select Show services node
-
In the left pane, select the Services and Public Key Services, and then select AIA
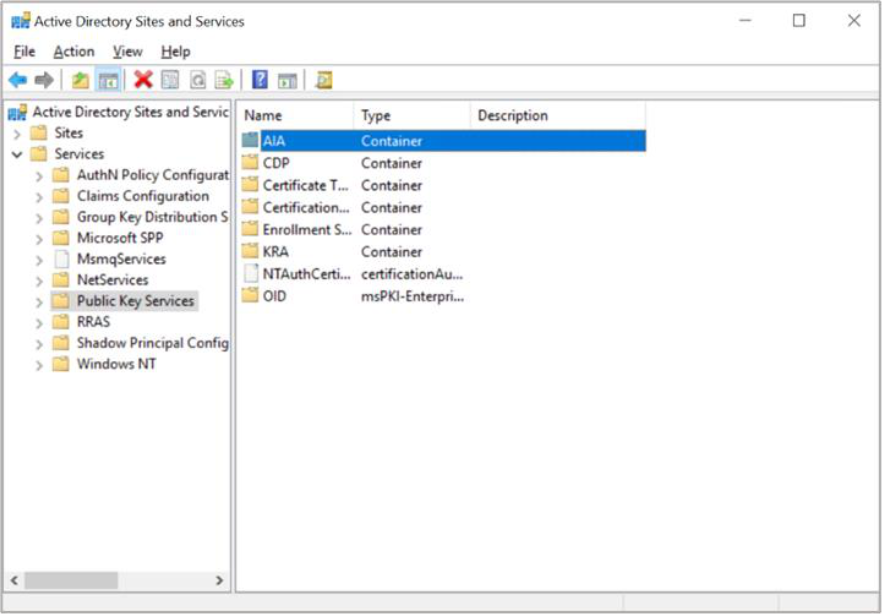
Figure 109: Active Directory Sites and Services window
-
In the middle pane, select the CA name as it shows in the Certification Authority MMC Snap-in
-
In the Action menu, select Properties
-
Click Security
-
Click Add
-
Select Object Types then select Computers, and then click OK
-
Type the computer name(s) of the other cluster node(s) as the object name and click OK
-
Make sure that the computer accounts of all cluster nodes have Full Control permissions
-
Click OK
-
All cluster nodes also have to be permitted on the Enrollment Services container
-
In the left pane, select Enrollment Services.
-
In the middle pane, select the Certificate Authority name
-
In the Action menu, select Properties. Select the Security tab and click Add....
-
Select Object Types, select Computers and click OK
19. Type the computer name(s) of the all-cluster node(s) as the object name
-
Make sure that the computer accounts of all cluster nodes have Full Control permissions
-
Click OK
-
In the left pane, select KRA
-
In the middle pane, select the Certificate Authority name
-
In the Action menu, select Properties then select the Security tab and click Add
-
Select Object Types, select Computers and then click OK
-
Type the computer name of all cluster node as object name and click OK
-
Make sure that the computer accounts of all cluster nodes have Full Control permissions
-
Click OK