

-
Navigate to portal.azure.com and log in to your Azure Account.
-
Locate the Key vaults Azure service, click on it to get redirected to your key vaults.

Azure services
-
Click on + Create to start the process of creating a key vault.

Home page of Azure Key Vaults
-
Select your subscription and the resource group. Enter the Key vault name and Region for the key vault you will be using. Make sure to select the Premium pricing tier to include support for the HSM backed keys. Set the Recovery options according to your company’s policies.
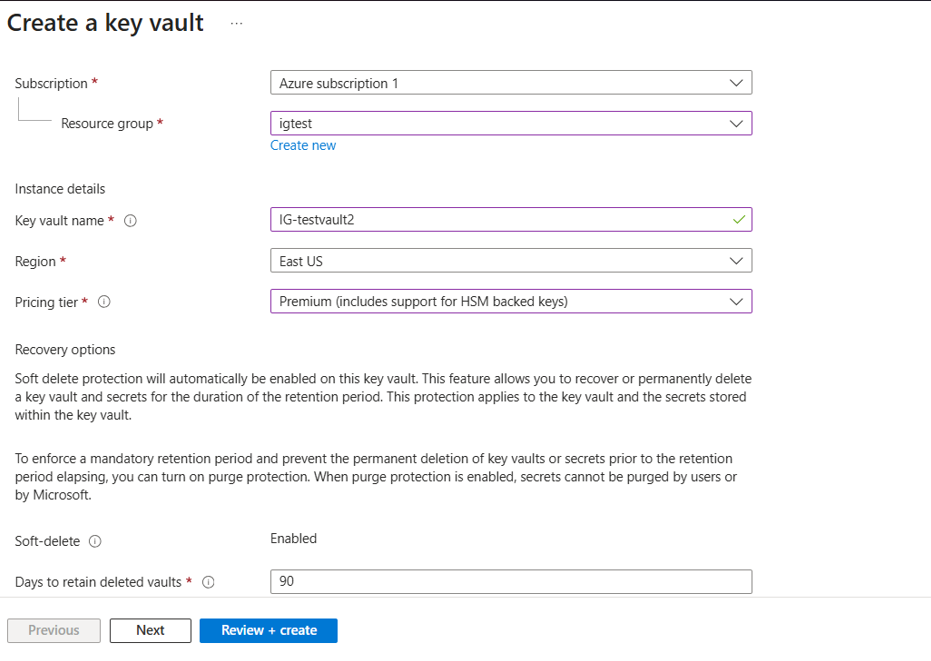
Create key vault page
-
Enable access to your selected users and administer the policy which is the most suitable for your company.
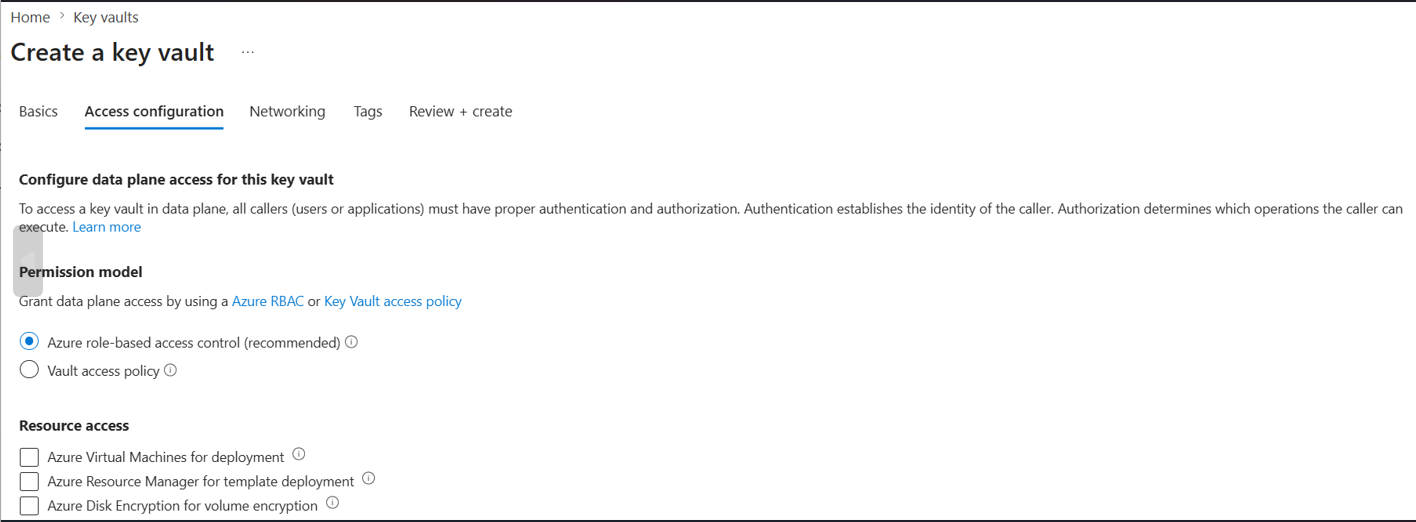
Create key vault access policy page
-
Select your connectivity method.
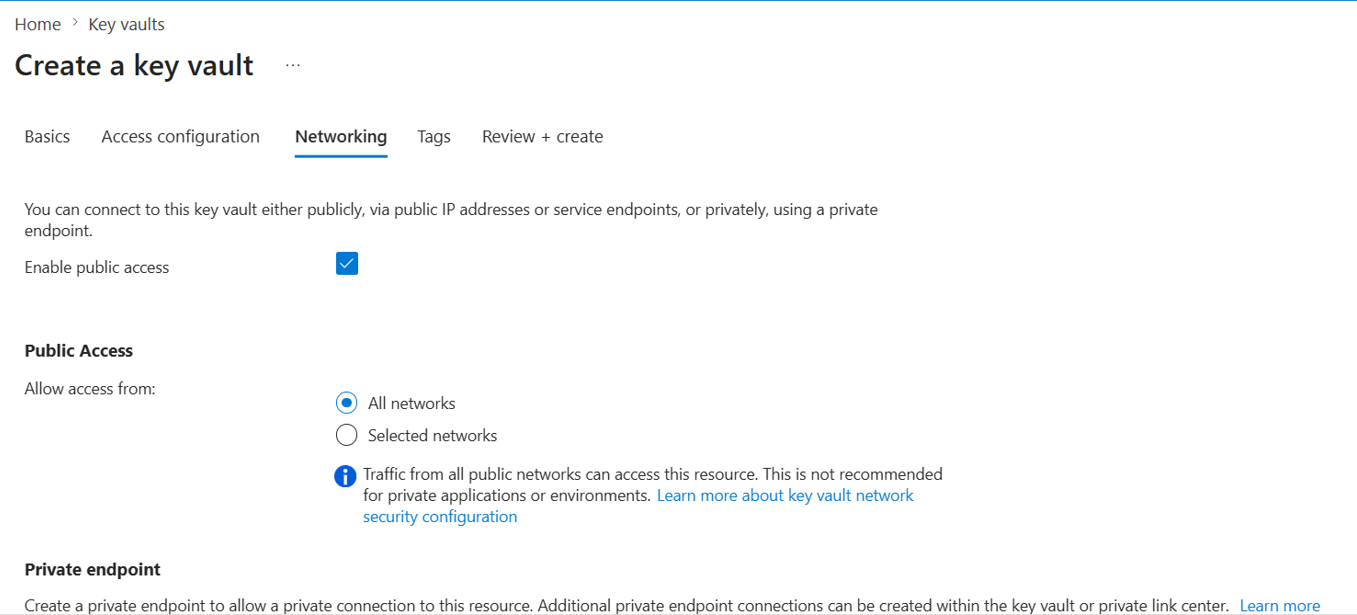
Create key vault networking page
-
If needed, add tags to categorize resources and view consolidated billing.
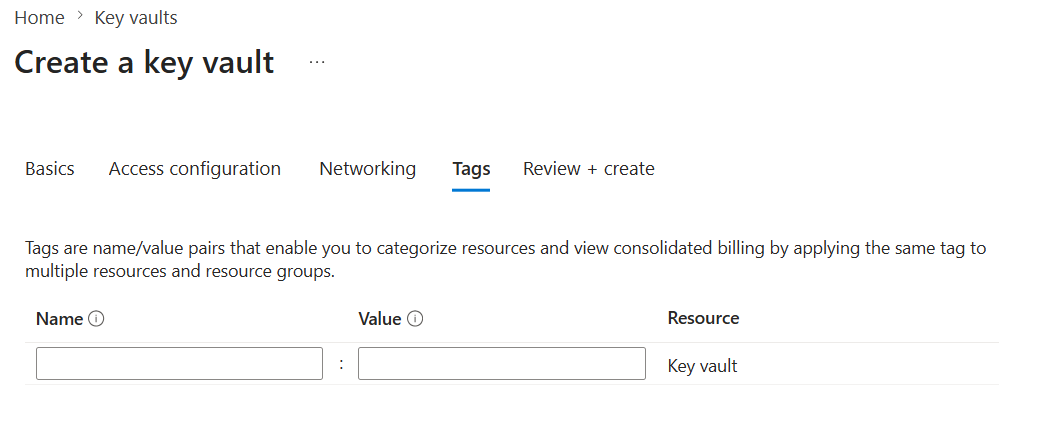
Create key vault tags page
-
Review the creation of the key vault. After reviewing, click on Create to finish the creation of the key vault.
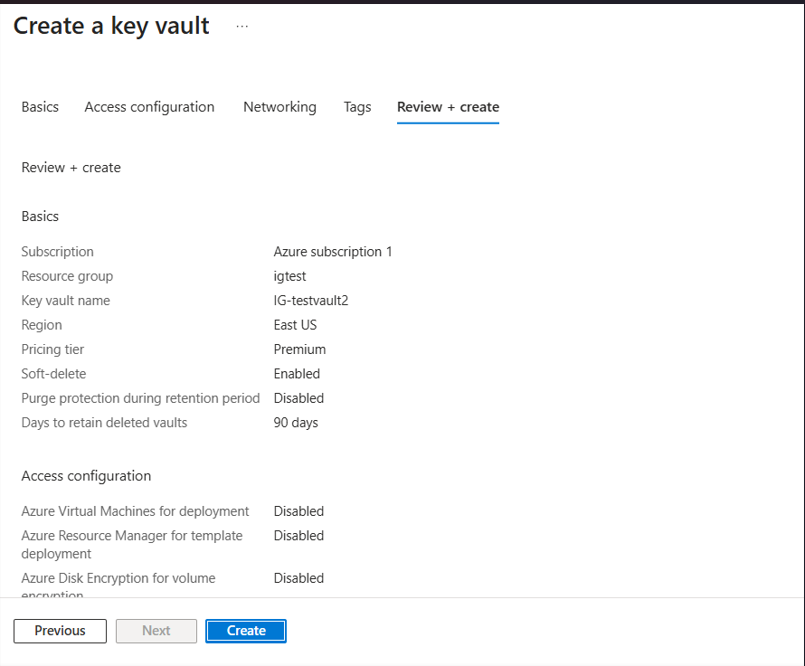
Create key vault review and create page