
Use the following steps to add the token-signing certificate to the AD FS Management snap-in.
-
Open PowerShell and run the following:
Set-ADFSProperties -AutoCertificateRollover $false.
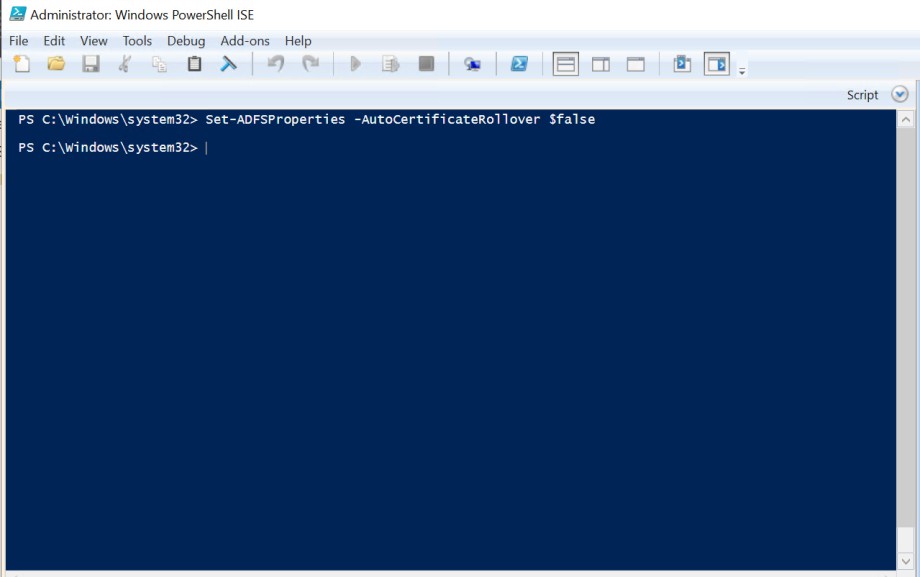
PowerShell console
AutoCertificateRollover is not supported with Utimaco HSM, and its value needs to be set as false. If AutoCertificateRollover is set to false, AD FS will not automatically generate or start using new token-signing or token-decrypting certificates. You will have to perform these tasks manually. Once you have allowed enough time for your federation partners to consume your new certificate (either they pull your federation metadata or you send them the public key of your new certificate), you must promote the secondary certificate to primary certificate.
-
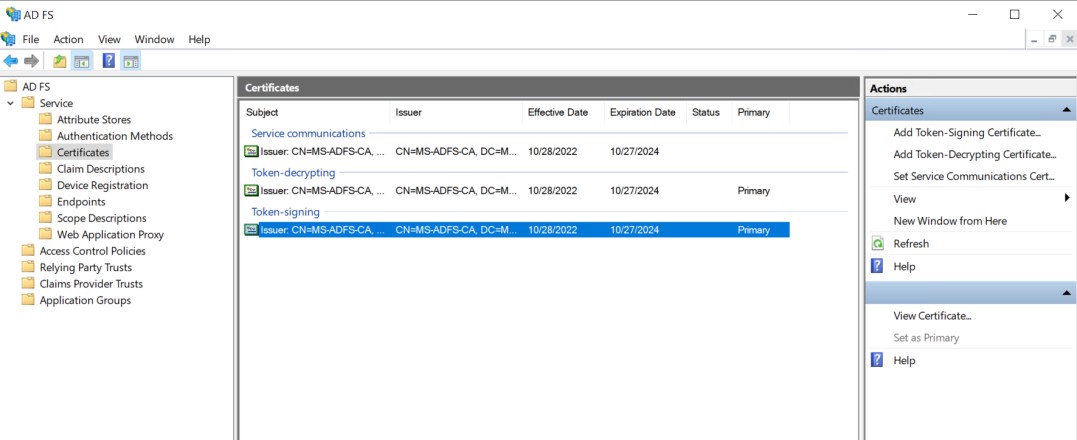
On the Start screen, type “AD FS Management”, and press ENTER.
-
In the console, double-click on Service, and then click on Certificates.
-
In the Actions pane, click the Add Token-Signing Certificate link.
-
In the Browse for Certificate file dialog box, navigate to the certificate file that you have created previously, the Token Signing Certificate. Select the certificate file, and click Open.
If you are using Smartcard Authentication, the PIN Pad device will prompt to insert the Smartcard and enter the PIN. Then, press the OK button on the PIN Pad.
Add the token-signing certificate